Using Manage E-Mails by Status
When you use the status management function, you can set status of each e-mail to quickly understand its progress.
You can filter and sort e-mails using the status on the "E-mail" screen.
You can also set the status automatically for e-mails that match the filter conditions.
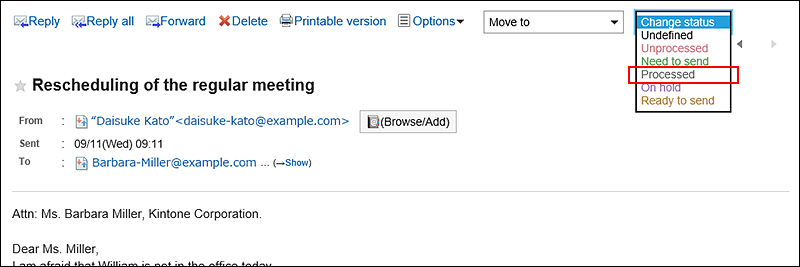
The following statuses can be set.
- Not set
- Unprocessed
- Need to send
- Processed
- On hold
- Ready to send
Enabling the Manage E-Mails by Status Feature
You can enable Manage e-mails by status.
-
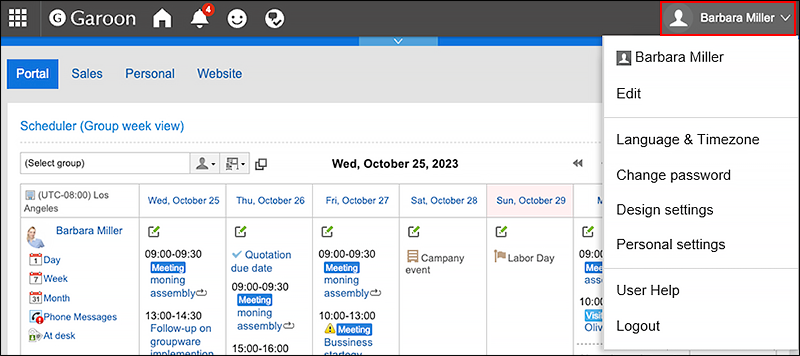
Click User name in the header.
-
Click Personal Settings.
-
Click Setting of each application.
-
Click E-mail.
-
Click item for the Status Management.
-
In the item of "Manage e-mails by status"on the "Status Management" screen, select the "Allow" checkbox.
-
Confirm your settings and click Save.
Setting the Status to E-mails
You can set the statuses to e-mails.
-
Click the app icon
 in the header.
 -
Click E-mail.
-
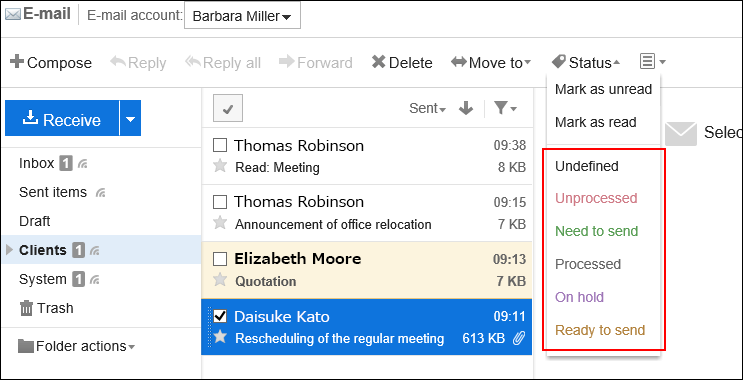
To set statues to e-mails, select a folder on the "E-mail" screen.
The steps for setting the status vary by views you are using.
- When preview is shown
- Select the e-mail for which you want to set the status.
- From the "Status" dropdown list, select the status you want to set.
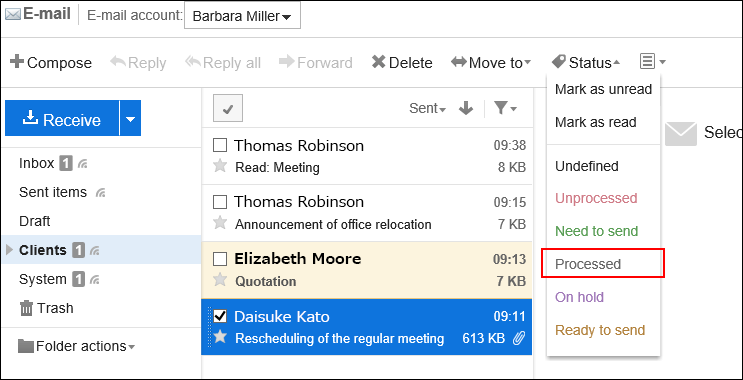
- When preview is hidden
- Click the subject of the e-mail for which you want to set the status.
- On the "E-mail Details" screen, select the status you want to set from the "Status" dropdown list.