Office Settings
The system administrator may set up a working time and a calendar for each office, if the business hours and holidays vary for each of them.
Users can customize office information that has been applied by the system administrator and set up their own office information.
Customized office information can only be used by the user who has set it up.
If you set your work days and working hours, your non-working hours will be displayed in gray in the "Group day view" screen in Scheduler and in the "Confirm appointment" screen.
Other users can easily confirm your working hours.
-
Click User name in the header.
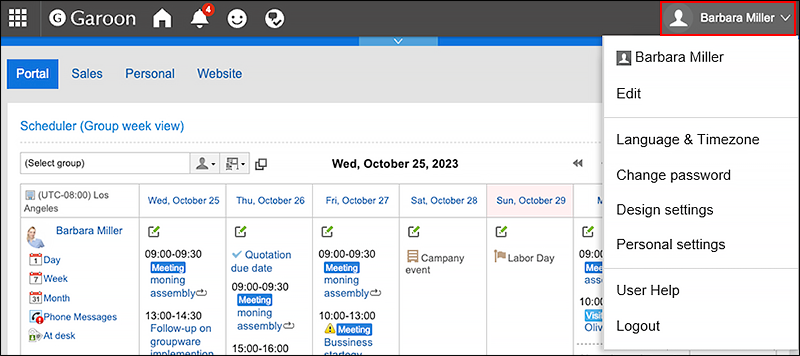
-
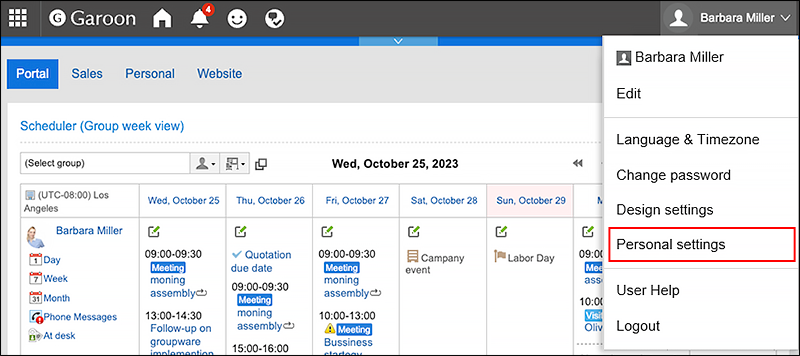
Click Personal Settings.
-
Click "Common settings".
-
Click Calendar.
-
Click Office Settings.
-
In the "Office Settings" screen, select the office where you want to customize the settings.
If you select the item for user-specific settings, you can set the office only for that user.
When you select an office set by your system administrator, you can customize the office information set by your system administrator.
If you have customized the office that has been set by your system administrator, "(customized)" is displayed after the office name.
-
Set the required items for the advanced settings.
- Working day:
Select the day of the week the office is running. - Uptime:
Set the time period when the office is running. Multiple time periods can be set. - Calendars:
From a calendar created by your system administrator, select the calendar that you want to apply to the office.
The calendar includes work days and holidays.
To apply the calendar workdays to the office, select the "Apply Calendar workdays" checkbox.
- Working day:
-
Confirm your settings and click Save.