Selecting Users and Facilities
Learn how to select users and facilities to decide attendees for schedules or set recipients for messages.
Selecting Users
The "Select users" screen is shown when you click ![]() in the "Scheduler" screen, the message creation screen, or the screen for setting up proxies in Workflow.
in the "Scheduler" screen, the message creation screen, or the screen for setting up proxies in Workflow.
This section describes how to select users on the "Select users" screen.
The texts or icons of buttons may vary depending on each screen.
-
On the "Select users" screen, select the organization where the target user belongs.
You can also use the search box to search users using the following information.
- User names
- User names (in English)
- Login name
- Pronunciation
- E-mail address
- Job title
-
Select the users you want, and then click "Users, organizations, roles".
 To clear the selection, click Remove.
To select all of the users listed in the list, click "Select All" below the list.
To cancel all of them, click "Clear all".
To set multiple users for recipients, repeat step 1 through step 2. -
Confirm your settings and click "Apply".
Selecting Facilities
This section describes how to select facilities on the "Select users & facilities" screen.
The "Select users & facilities" screen is displayed on the day view and week view screen of the Scheduler by clicking "Select users & facilities".
The texts or icons of buttons may vary depending on each screen.
-
In the "Select users & facilities" dialog box, select the facility group where the target facility belongs.
You can also use the search box to search for facilities using the following information.
- Facility names
- Facility notes
-
Select the target facility, and click Add.
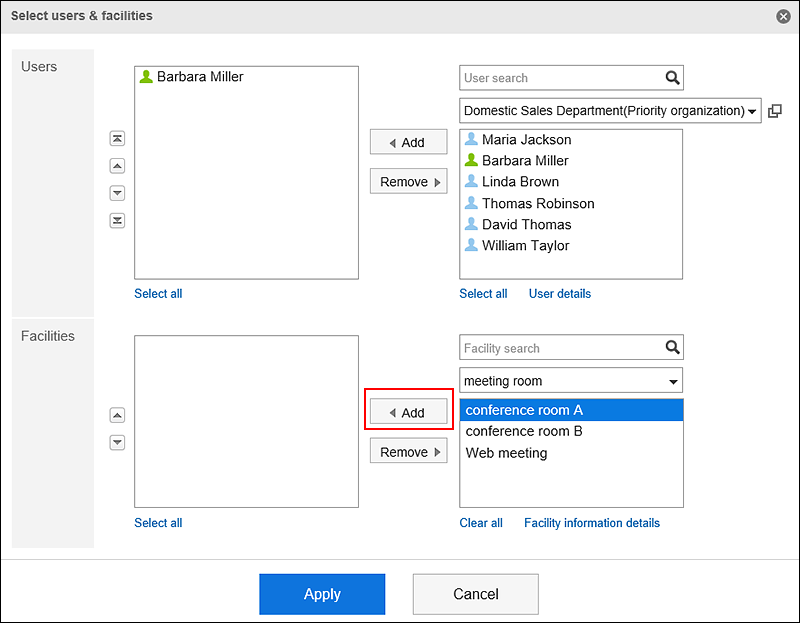 To select all of the facilities listed in the list, click "Select All" below the list.
To cancel all of them, click "Clear all". -
Confirm your settings and click Save.