Working with Text Formats
This section describes how to use the text format.
If your system administrator allows you to use the text format, you can use it in the body of the topics and the body of the messages.
Steps:
-
In the input field where you can use the text format, select the item to use text format.

-
Edit comments and body text using the following text formatting features.
Description Description 
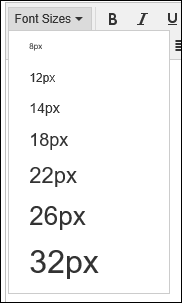
Changes the font size of characters.
Bold 
Makes text bold. Italic 
Makes text italic. Underline 
Adds an underline to the character. Strikethrough 
Adds a strikethrough to the character. Text color 
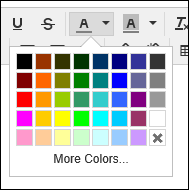
Changes the text color.
Background color 
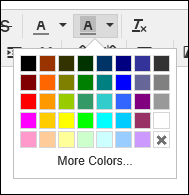
Changes the background color of the text.
To remove the background color, select the target range and select the same color as the current background.
Clear Formatting 
Clears the formatting that you have set.
The default format is applied when you clear formatting.Bullets 
Creates bulleted list. Symbols are added at the beginning of each line. Numbered list 
Makes the texts into numbered list. Sequential numbers are added at the beginning of each line. Left adjusted 
Aligns lines as left-justified. Centered 
Aligns the rows to the center. Right adjusted 
Aligns lines to the right-justified. Remove indent 
Removes indent. Add indent 
Sets indent. Quote 
Indicates that the text is quoted.

Inserting and editing links 
Inserts a link to the text.
When you click the icon to insert or edit links, the link settings screen is displayed.
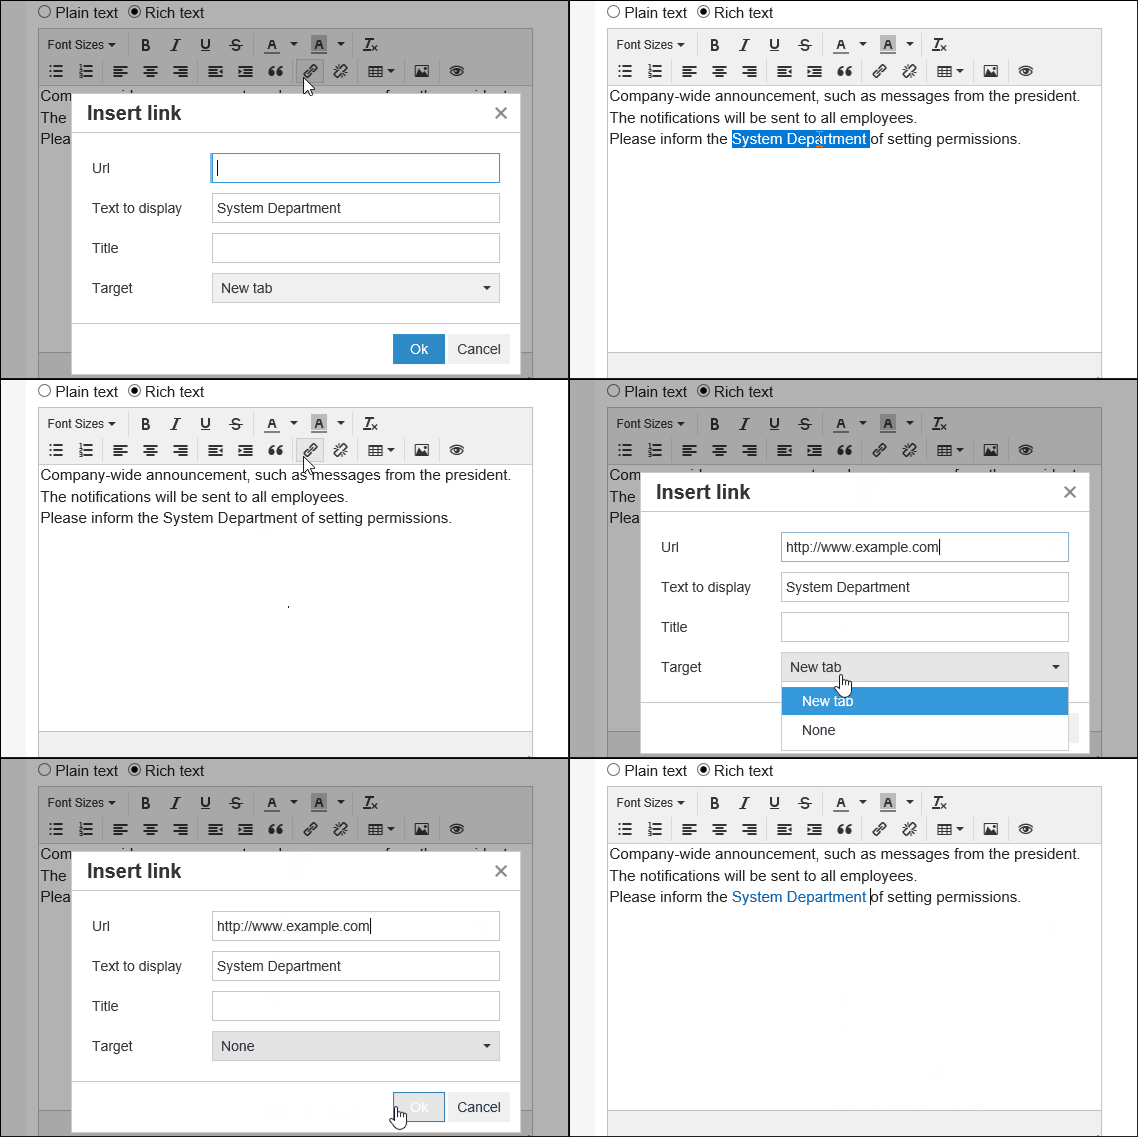
To insert a link, you must specify the followings.
- Target link URL:
Enter a URL.
If you specify a URL containing ":", make sure it begins with one of the following characters:
ed2k:, ftp:, gopher:, http:, https:, irc:, mailto:, news:, nntp:, telnet:, webcal:, xmpp:, callto: - Text to display:
Enter text to make it a link.
If you have already selected a text, it becomes the text to display. - Title:
If the selected text is insufficient for describing the link target, enter an additional description.
The added description will appear when hovering the cursor over the link. - Target:
Select how to display the linked page.- "New tab":
The linked page will be displayed in a separate tab. - "None":
The linked page will be displayed in the same tab.
- "New tab":
Removing links 
Removes links. Insert Table 
Inserts a table.
When you click the insert icon in the table, a menu is displayed to set the cells of the table to insert.
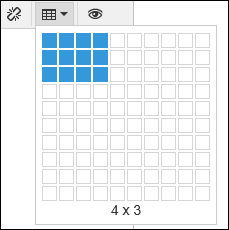
When you click the inserted table, a menu appears.- When you click on the left side:
A menu for creating a table is displayed.
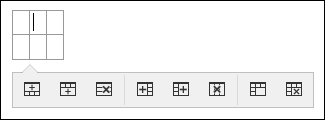
- When you click on the right side:
The following menus are displayed.- Deleting tables
- Changing background color
- Changing color of borders
Inserting and editing images 
Files with ".gif", ".jpeg", ".png", and ".bmp" extensions can be inserted.
Your system administrator configures the maximum size of a file which can be inserted. For details, refer to how to set file size limits.
Inserting and editing images are available in the following features.- HTML portlet:
You can use images only while configuring HTML portlet in the system administration screen. - Body text and comments of topics:
By clicking the insert/edit link icon, setting screen for images appears.
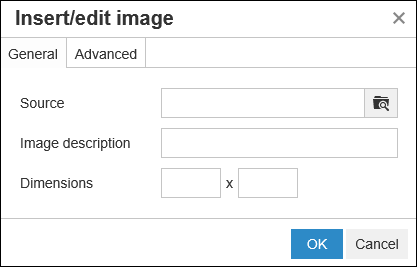
Preview 
Previews text - Target link URL: