Filter Settings
You can configure filters.
The filter is used to automatically set the status of incoming e-mails or save them to the specified folder.
Filter settings are applied to e-mails received after the settings are completed. E-mails received before the settings are completed have to be moved manually to the desired folders.
For details on how to move e-mails, refer to Moving E-mails.
Adding Filters
You can add filters.
-
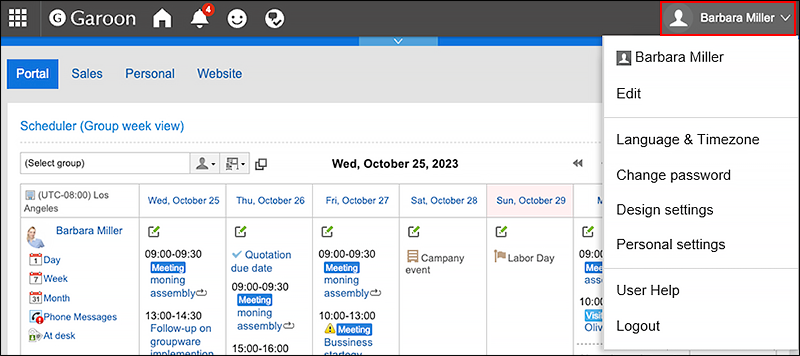
Click User name in the header.
-
Click Personal Settings.
-
Click Setting of each application.
-
Click E-mail.
-
Click "Filter settings".
-
On the "Filter settings" screen, select the e-mail account from the dropdown list, and click "Adding filters".
-
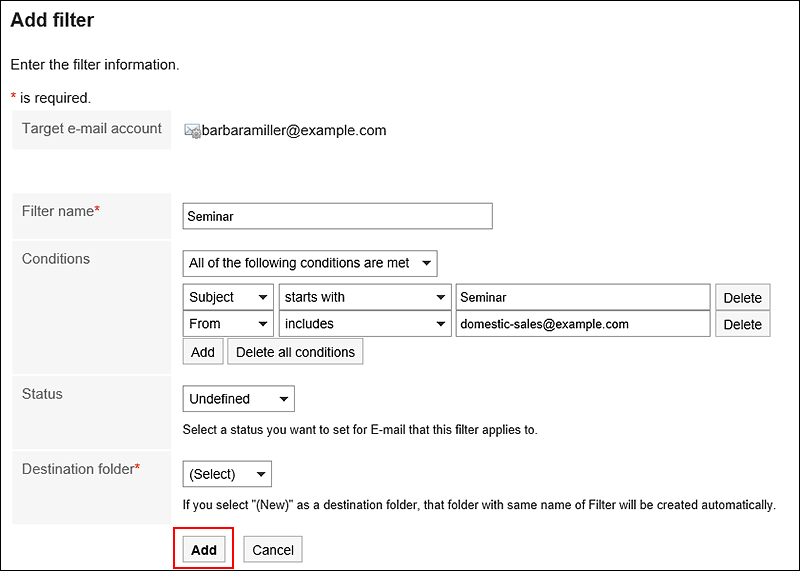
Enter a name for the filter settings.
Enter a name for the filter settings. You must set the filter name. -
Define the filter conditions.
Set up conditions for filtering e-mails.
You can combine each condition using the following methods.- All the following conditions are met
- Any of the following conditions are met
Conditions can be subject, From, To, CC, e-mail headers, and e-mail size.
The following operators can be set for each item.- includes
- does not include
- is the same as
- is different from
- starts with
If you want to add conditions, click the item to add conditions.
To delete the added conditions, click "Delete".
If you click "Delete all", you can delete all conditions.Example: Filter e-mails based on their subjects and the e-mail addresses of the sendersIf you configure the filter with the following conditions, e-mails whose subjects start with "Seminar" and whose sender is "sales@example.com" will be stored in any folder.
- All the following conditions are met
- [Subject][includes]"Seminar"
- [From][includes]"sales@example.com"
-
Set the statuses.
Select the status that you want to set for e-mails matching the filter conditions. -
Set the destination folder.
Select the folder where you want to save e-mails that match the filter conditions.
When you select "New", a folder with the same name as the name of filter settings is created. -
Confirm your settings and click Add.
Changing Filters
You can change the settings of filters.
-
Click User name in the header.
-
Click Personal Settings.
-
Click Setting of each application.
-
Click E-mail.
-
Click "Filter settings".
-
On the "Filter settings" page, select an e-mail account from the dropdown list.
-
Click the name of the filter settings you want to change.
-
On the filter details screen, click Edit.
-
Set the required items, and then click Save.
Reordering Filters
You can reorder filters.
Changing the order also changes the priority of conditions applied to e-mails.
-
Click User name in the header.
-
Click Personal Settings.
-
Click Setting of each application.
-
Click E-mail.
-
Click "Filter settings".
-
On the "Filter settings" page, select an e-mail account from the dropdown list.
-
Click "Reordering filters".
-
On the page for reordering filters, change the order of the filters.
-
Confirm your settings and click Save.
Deleting Filters
You can delete filters.
-
Click User name in the header.
-
Click Personal Settings.
-
Click Setting of each application.
-
Click E-mail.
-
Click "Filter settings".
-
On the "Filter settings" page, select an e-mail account from the dropdown list.
-
Click the name of the filter settings you want to delete.

-
On the filter details screen, click Delete.
-
Click Yes on the page for deleting filters.