Editing Appointments
Change the appointments of users and facilities.
-
Click the app icon
 in the header.
 -
Click Scheduler.
-
On the "Scheduler" screen, click the title of the appointment you want to change.
-
On the "Appointment details" screen, click Edit.
-
On the change appointment screen, set the required items.
For details on the settings, refer to Items on the "New appointment" screen. -
Confirm your settings and click Save.
Changing Repeating Appointments
Change the period and date/time of the repeating appointments.
-
Click the app icon
in the header. -
Click Scheduler.
-
On the "Scheduler" screen, click the title of the repeating appointment you want to change.
-
On the "Appointment details" screen, click Edit.
-
On the change appointment screen, set the field for setting up a period.
- If you want to change only the appointment you have selected in step 3:
Select the item for this appointment only (YYYY/MM/DD (Day of the week)). - If you want to change all repeating appointments after the specified date:
Select the item for appointments after YYYY/MM/DD (Day of the week). - If you want to change all repeating appointments:
Select all appointments.
- If you want to change only the appointment you have selected in step 3:
-
Set the required items.
For details on the items, refer to Items on the "New appointment" screen.
If you try to change an appointment by selecting "All appointments" or Appointment after YYYY/MM/DD (Day of the Week), a dialog may appear indicating that a facility appointment is duplicated on some date and time.
When you click Yes, an appointment is created only when a facility does not have a conflict. -
Confirm your settings and click Save.
Changing Tentative Appointments
Change the tentative appointment.
On tentative appointments, you cannot change the date and time suggestions, attendees, or facilities.
-
Click the app icon
in the header. -
Click Scheduler.
-
On the "Scheduler" screen, click the title of the tentative appointment you want to change.
The title of the tentative appointment is displayed in green characters.
-
On the "Appointment details" screen, click Edit.
-
On the change appointment screen, set the required items.
For details on the settings, refer to Items on the "New appointment" screen. -
Confirm your settings and click Save.
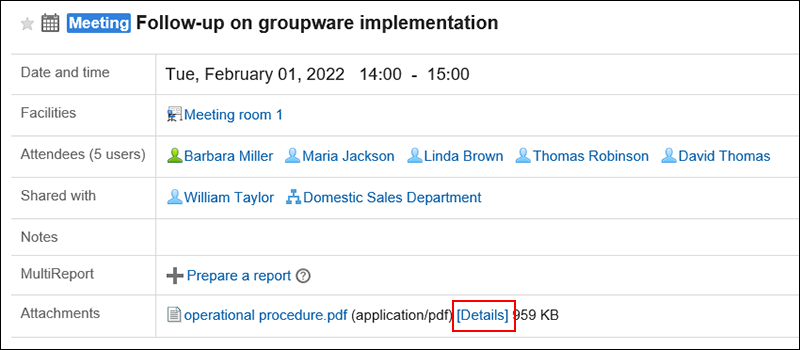
Actions on Attachments
You can update files attached to an appointment or change the file information.
You can do this procedure only when the edit permission has been granted for the appointment.
-
Click the app icon
in the header. -
Click Scheduler.
-
On the "Scheduler" screen, click the title of the schedule for which you want to edit the attachments.
-
On the "Appointment Details" screen, click Details for the attachment you want to work with.
 For details of managing attachments, refer to the following pages about "Cabinet":
Changing File Information
Updating Files
Deleting Files
Changing Date and Time of Appointments by Drag and Drop
If you have enabled drag and drop on the "Personal settings" screen, you can change the date and time of your appointment directly on the day view or week view screen.
You can change the date and time of an appointment by grabbing the target appointment and moving it vertically and horizontally.
You cannot change the title or contents of an appointment by drag and drop.

The system administrator settings may prevent you from using drag and drop appointment changes.
-
On the "Personal settings" screen, confirm that you have enabled the drag and drop feature.
To enable the drag and drop feature, follow these steps.
- Click the "User name" in the header.
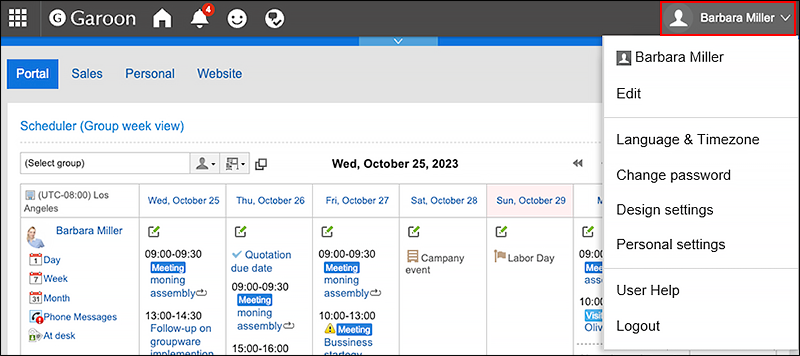
- Click Personal Settings.
- Click Setting of each application.
- Click Scheduler.
- Click "Display settings".
- In the "Drag and drop" field on the "Display settings" screen, select the checkbox for moving appointments by drag and drop.
- Confirm your settings and click Save.
- Click the "User name" in the header.
-
Click the app icon
in the header. -
Click Scheduler.
-
On the "Scheduler" screen, select "Day view" or "Week view".
-
Hover the cursor over the appointment you want to change.
-
To revise an appointment without changing the time required for it (for example, 1 hour):
Grab the entire appointment and move it to the desired time.
The start and end times can be moved by 30 minutes (for example, from 08:00 - 09:00 to 08:30 - 09:30).
-
To change the start time and end time of an appointment:
Grabs the top or bottom of an appointment and adjusts the width of the appointment to the time that you want to change.
You can change the start time or end time by 30 minutes (for example, from 08:00 to 09:30).- Top: Grab it to change the start time of the appointment.
- Bottom: Grab it to change the end time of the appointment.
-
-
On the confirmation screen, click Edit.
If you want to change the title and contents of an appointment, click the item to edit details and change it on the change appointment screen.
If you are attempting to change the date and time of an appointment and the desired facility is not available during the specified times, a list of other vacant facilities will be displayed.
a): Displayed only when you change the repeating appointments.
b): A list of available facilities during the specified time period. Facilities in the same facility group as the selected facilities are displayed.
c): Specify whether to use the facility for this appointment.
d): Click to show the change appointment screen.
- If you want to select another vacant facility:
Select a facility and click Edit.
If you do not want to use the facility, select the "No facility is required for this appointment checkbox, and then click Save. An appointment without any facilities created with the specified time period. - When you select a facility that requires a usage request:
The "Purpose" field is displayed.
Enter a purpose for the facility, then click Update.
After changing the date and time of an appointment with the attendance request by drag and drop, a confirmation dialog box appears whether to initialize the attendance responses.
Select the checkbox for "Clear all attendance responses" and click Edit.
The response statuses of all attendees will become "Pending".
If the checkbox is cleared, all attendees' responses will be kept and only the date and time will be changed.
For details, refer to Responding to attendance request.