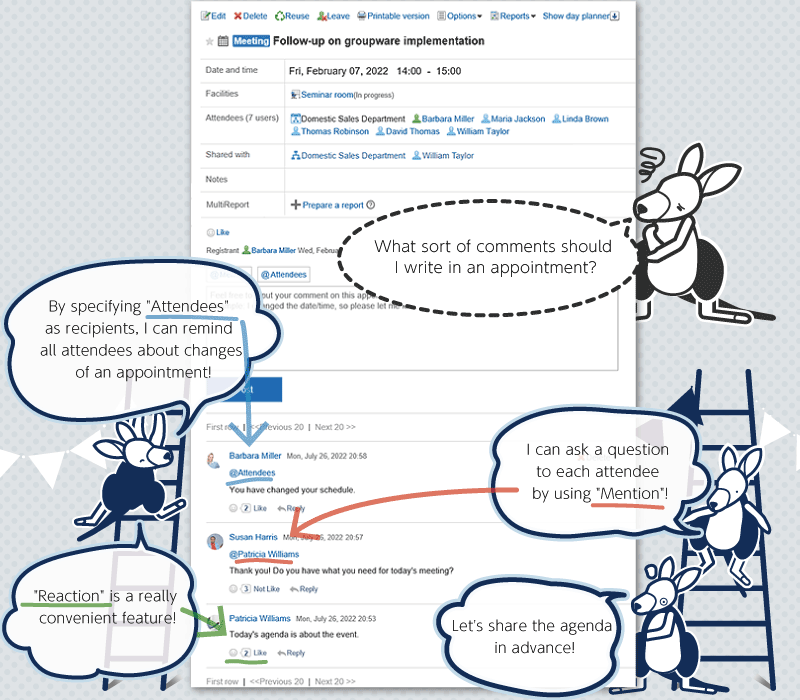
Scheduler Comment Feature
Garoon has a feature that enables you to write a comment for Scheduler.
The followings are some examples of using the comment field.
- Notify all attendees of a schedule change in the comment field.
- Use the comment field to tell others that you might be late for the next meeting because it seems that the previous meeting will not end on time.
- To have a smooth discussion in the meeting, use the comment field in advance to collect topics and information to be shared before the meeting.
The comment with the latest updated date and time comes on the top.
You can notify those who do not attend the appointment of your message by posting a comment using "@Mention".
If you use "@Attendees", you can notify all appointment attendees of your message as "@To me".
The following actions are not allowed for the scheduler comment.
- Attaching Files
- Using the anchor feature
The anchor feature is a feature that creates a link to any comment by adding a ">> (single-byte less-than sign)" followed by the comment number.
Posting a Comment
You can post a comment to the schedule.
When you post a comment to a repeating appointment, only the appointment that you have placed a comment will be changed to a regular appointment.
-
Click the app icon
 in the header.
 -
Click Scheduler.
-
On the "Scheduler" screen, click the title of the appointment you want to post a comment.
-
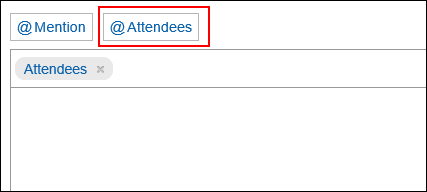
If you want to specify all appointment attendees as recipients, click "@Attendees" in the comment field on the "Appointment details" screen.
You can use "@Attendees" in Garoon version 5.15.0 or later.
You can specify all appointment attendees as recipients with one action, not by specifying one by one.- Notifications:
All appointment attendees will receive "@To me" notification.
However, if an organization is included in the appointment attendees, users who belong to the organizations will not receive notifications. - Attendance:
In the case of appointments with attendance response request feature enabled, attendees will be included in the "@Attendees" recipients even if they already chose not to attend or they have not answered. - Shared with:
The "Shared with" users are not included in the "@Attendees" recipients.
- Notifications:
-
If a comment is for specific users, click "@Mention" in the comment field on the "Appointment details" screen.
You can use "@Mention" in Garoon version 5.5.0 or later.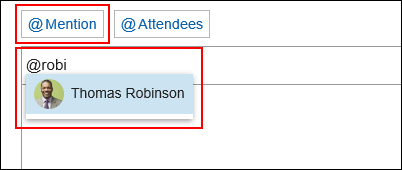
In the recipient, you can specify users, departments, and roles.
When the system administrator allows users to configure the role, you can specify roles as recipients.
Recipients which can be specified vary according to the types of recipients.Type of Recipient Recipient which can be specified Users - For public appointments:
Users who satisfy all the conditions can be specified as recipients. - For private appointments:
Following users can be specified as recipients.- Users who have the view privileges for the appointments
- Users who have been set as attendees or "Shared with" of the appointments
Organization All organizations can be specified as recipients.
However, if a department is specified as a recipient in a private schedule, only users who are specified as attendees or "Shared with" of the appointment will receive the notifications.Role All roles can be specified as recipients.
However, if a role is specified as a recipient in a private schedule, only users who are specified as attendees or "Shared with" of the appointment will receive the notifications. - For public appointments:
-
Enter your comment.
-
Click "Post".
Replying to a Comment
You can reply to a comment.
-
Click the app icon
in the header. -
Click Scheduler.
-
On the "Scheduler" screen, click the title of the appointment you want to post a reply comment.
-
In the "Appointment details" screen, click Reply of the comment to which you would like to post a reply.
The recipients of the reply are set automatically.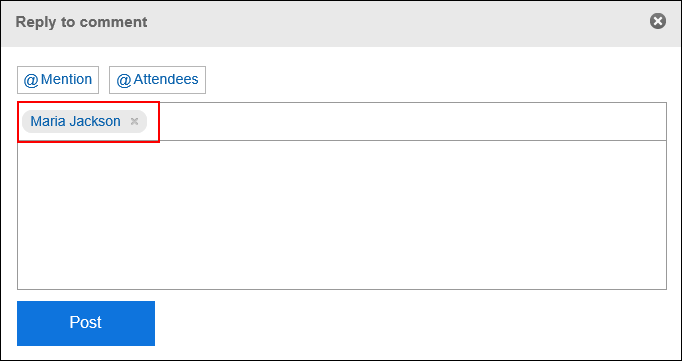
-
Enter your comment.
-
Click "Post".
Reply All
Send a reply to all recipients (except yourself) specified in the original comment.
-
Click the app icon
in the header. -
Click Scheduler.
-
On the "Scheduler" screen, click the title of the appointment you want to post a reply comment.
-
In the "Appointment details" screen, hover the mouse cursor over the comment to which you want to post a reply, and click Reply all.
Sender of the original comment, and users (except yourself), organizations, and roles specified as recipients in the original comment are set automatically.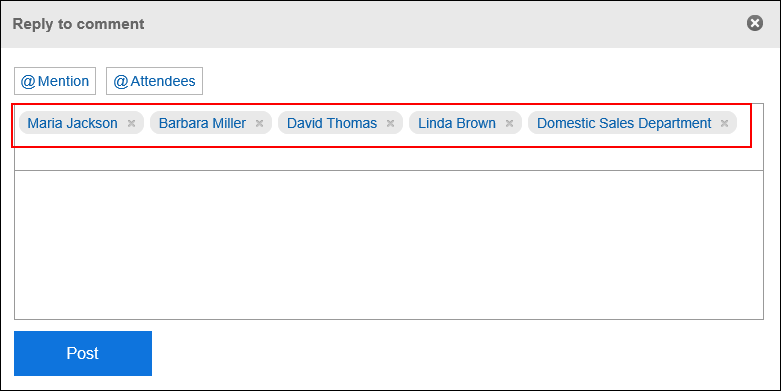
-
Enter your comment.
-
Click "Post".
Deleting a Comment
You can delete a posted comment.
Only the user who posted the comment can delete it.
No notification is sent even though you delete the comment.
-
Click the app icon
in the header. -
Click Scheduler.
-
On the "Scheduler" screen, click the title of the appointment you want to delete the comment.
-
On the "Appointment details" screen, click "Delete" for the comment you want to delete.
-
Click Yes in the "Delete comments" screen.
Useful Features of the Comment
This section describes useful features of the comment.
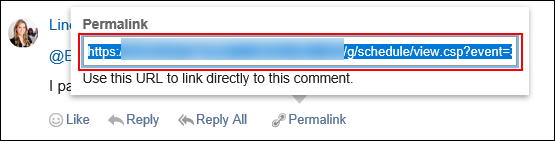
Permalink
The permalink is the URL assigned to each comment. Accessing Permalink allows you to directly access the designated comment.
This Permalink is useful when you want to create a link to refer to the specific comment in the message.
However, if the target comment is for a private appointment, you cannot access it even if you click the provided URL unless you are either an attendee of the appointment or a "Shared with" user.
-
Display the comment for the appointment to which you would like to refer.
-
Hover over the comment and click the permalink.
-
Copy the URL displayed and paste it in Garoon where you want to create a link.
Respond ("Like") Feature
Respond is the feature to express your sympathy or acknowledgement for the other user's comment and body text, without posting any comment.
This respond feature may not be available depending on the settings by the system administrator.
The label of the respond feature ("Like") can be changed only by system administrators.
For details, refer to Working with Respond Feature.
-
Display the comment in Scheduler.
-
On the comment, click a link to respond such as "Like" and "Acknowledged".
 To cancel your response, click a link such as "Not Like" and "Not Acknowledged".