Importing and Exporting Appointment Data Using CSV Files
You can use CSV files to import appointment data to Scheduler or export the appointment data added to Scheduler. You can also export statistical data.
Importing Data from a CSV File
Import the appointment data from a CSV file.
-
Create a CSV file to import data.
For information on items that can be managed in CSV files, refer to the topic about Scheduler CSV format. -
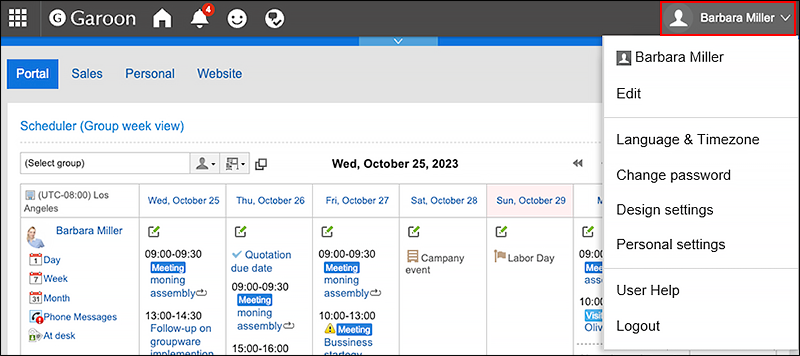
Click the "User name" in the header.
-
Click Personal Settings.
-
Click Setting of each application.
-
Click Scheduler.
-
Click the item to import schedules.
-
On the screen to import schedules from CSV files step 1/2, select the CSV file created in step 1.
-
Set the data to import, and click Next.
The setting fields are as follows:
- Character encoding:
Encodes data from a CSV file with the selected character code.
The following character encoding can be selected:- Unicode (UTF-8)
- Japanese (Shift-JIS)
- ASCII
- English (Latin1)
- Simplified Chinese (GBK/GB2312)
- Thai (TIS-620)
- Skip the first row:
If the header row contains information other than data such as an item name and a comment, select "Yes".
- Character encoding:
-
On the "Import appointment data - Step 1/2" screen, check the contents in the CSV file, and click Import.
Exporting Data to a CSV File
Export the appointment data to a CSV file.
-
Click User name in the header.
-
Click Personal Settings.
-
Click Setting of each application.
-
Click Scheduler.
-
Click the item to export schedules.
-
On the screen for exporting CSV files from Scheduler, set the data you want to export.
The setting fields are as follows:
- Period to export:
Select the period of time of appointments to export. - Character encoding:
Select the character code that you want to use for encoding.
The following character encoding can be selected:- Unicode (UTF-8)
- Japanese (Shift-JIS)
- ASCII
- English (Latin1)
- Simplified Chinese (GBK/GB2312)
- Thai (TIS-620)
- Include header row:
To export an item name to the header row of a CSV file, select "Yes".
- Period to export:
-
Confirm your settings and click Export.
-
Save the file with a function provided by your Web browser.
Exporting Statistical Data in Scheduler
Summarize the added appointments and export them to a CSV file.
In the summarized result, the total number of hours summarized by appointment type will be displayed. For details on the appointment type, refer to Setting up Appointment Types.
The followings are the use cases of using statistical data of Scheduler, which enable you to track who spent how many hours on what types of appointments.
- I want to know the total number of hours of the "Meeting" appointments this week.
- I want to know the total number of hours of the "Visit" appointments of team members.
-
Click User name in the header.
-
Click Personal Settings.
-
Click Setting of each application.
-
Click Scheduler.
-
Click the item for the Scheduler statistics.
-
On the "Appointment statistic" screen, select the organizations or users for whom you want to summarize the data, and click Add.
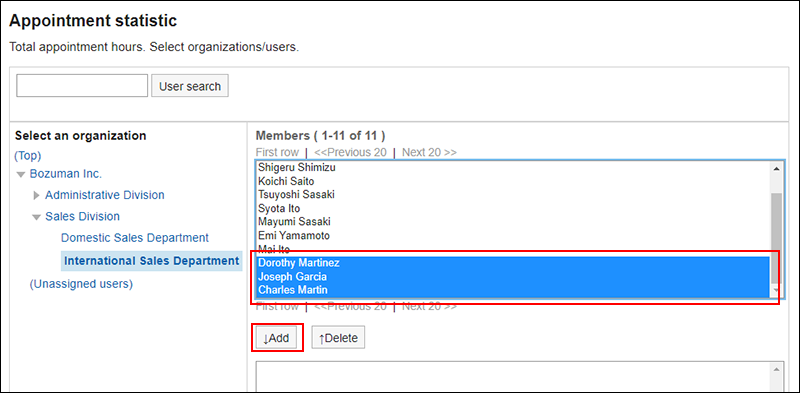 For details on how to select organizations, refer to Selecting Organizations, Categories and Folders.
 -
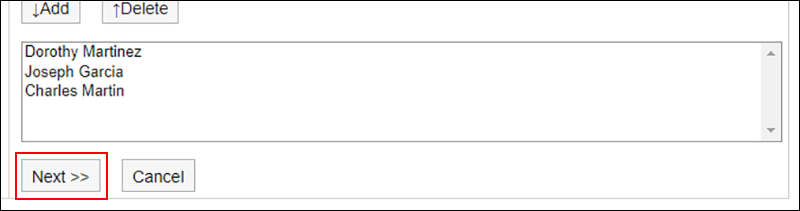
Click Next.
-
Set the required items for the data to export.
The setting fields are as follows:
- Date:
Select the period of the appointment you want to summarize. - Working hours:
Select the working hours of the appointment you want to summarize. - Character encoding:
Select the character code that you want to use for encoding.
The following character encoding can be selected:- Unicode (UTF-8)
You can select with BOM as required. - Japanese (Shift-JIS)
- ASCII
- English (Latin1)
- Simplified Chinese (GBK/GB2312)
- Thai (TIS-620)
- Unicode (UTF-8)
- Handling of weekends and holidays:
Determines whether or not to include appointments for weekends and holidays in statistical data.
- Date:
-
Confirm your settings and click Export.
-
Save the file with a function provided by your Web browser.