Working with Other Applications
You can integrate Scheduler with other applications to display the due date for to-do tasks on the "Scheduler" screen, or to associate a report that you have created in MultiReport.
Depending on your system administrator settings, icons and links for working with other applications may not be displayed.
Showing the Due Dates for To-Dos
When you set due dates for To-Dos, the uncompleted To-Dos are displayed on the "Scheduler" screen. The completed To-Dos are not displayed.
For details on To-Dos, refer to To-Do list.
a): The uncompleted To-Dos that are overdue. These items will no longer be displayed after 91 days have passed from the due date.
b): Uncompleted To-Dos with the due date of April 23rd.
Associating MultiReport Reports
The appointment attendees can create meeting minutes they attended or associate the created reports to appointments.
When you associate an appointment with a report, you can view the minutes of the meeting from the appointment details screen and check the details screen of the appointment from the report details screen.
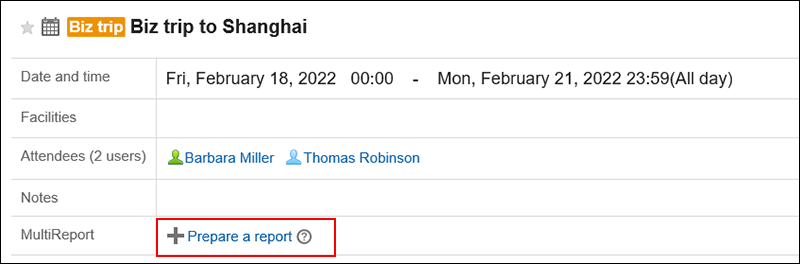
On the "Appointment details" screen, click Prepare a report to create a report and associate it with the appointment.
The steps are different for those using Garoon earlier than version 5.15.0. For details, refer to Create a Report Related to an Appointment.
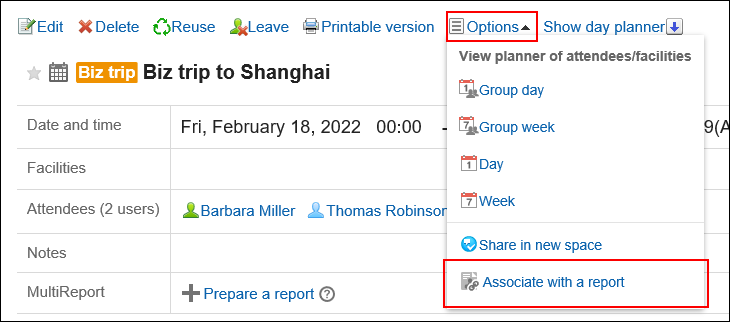
On the "Appointment details" screen, click Associate with a report from "Options" to associate the created report to an appointment.
The steps are different for those using Garoon earlier than version 5.15.0. For details, refer to Associating existing reports with appointments.
Adding Phone Messages
On the Group Day View or Group Week View page, when you click the item to add Phone Messages in the appointment of a user, you can add a phone message to the user.
For details, refer to Adding Phone Messages.
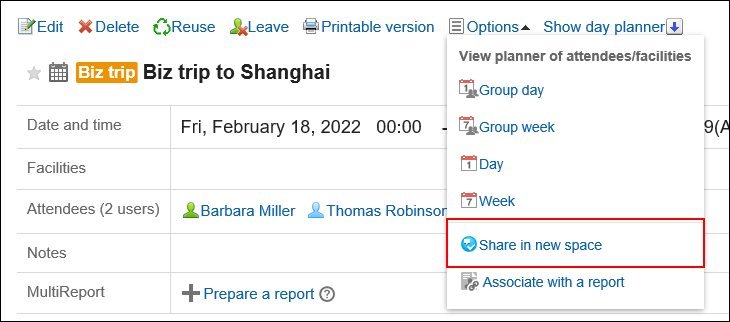
Creating New Space for Attendees of Appointments
You can easily create a space adding attendees of an appointment as the members.
On the "Appointment Details" screen, clicking "New Space" under "Options" displays the "Create Spaces" screen.
Regardless of the attendance status to the appointment, you can create a space where all the attendees of the appointment are set as members.
For details, refer to Creating Spaces.