Creating Spaces
Create a space.
-
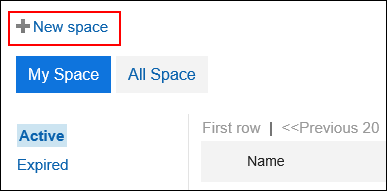
Click the app icon
 in the header.
 -
Click Space.
-
On the My Space screen, click "New Space".
-
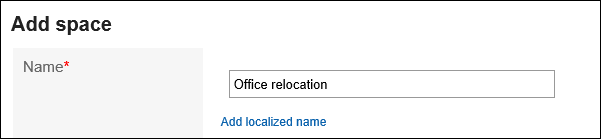
On the "Create Spaces" screen, enter a space name.
You should set the space names.
Clicking Add localized name allows you to set space names in multiple languages.
If you do not set the space name in the user preference language, the default space name is displayed.
The following languages can be set:- 日本語
- English
- 中文(简体)
- 中文(繁體)
Exported in Traditional Chinese.
-
Set the "Category" field.
You should set the category.
The default value is the "General" category. You can change the category by clicking Change.
-
In the "Icon" field, select an icon.
The icon that you set appears at the beginning of the space name in the list of spaces and notifications.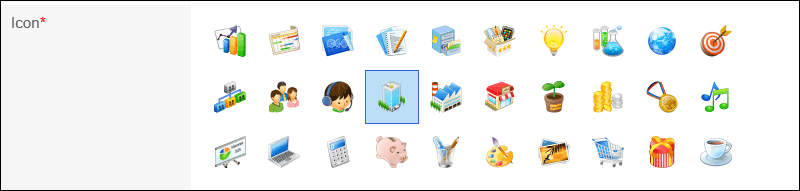
-
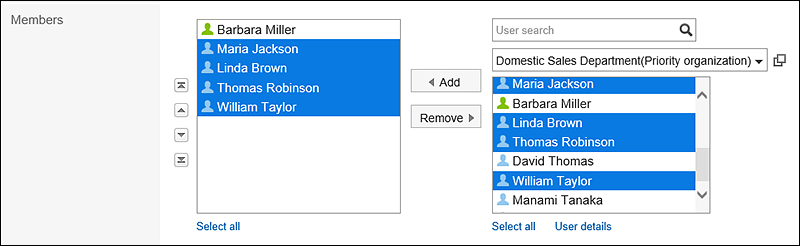
In the "Members" field, set up users, organizations, or roles to join the space.
-
In the "Administrators" field, select whether to set the space administrator.
Space administrators are users who have been granted the following actions.
- Deleting spaces
- Changing space information, such as space name and members
- Changing the memo
- Deleting all the discussions in the space If you do not set the space administrator, all members of the space will be able to perform the above actions.
To set the space administrator, select the check box to set the space administrator, and then select the administrator user, organization, or role from the members of the space.

-
Set the "Expiration date" field.
Set the expiration date of the space in one of the following ways.
- Unlimited:
The expiration date can be set indefinitely only if the system administrator has allowed it.
For details, refer to how to restrict configuring unlimited expiration date. - Set expiration date:
Set the expiration date and time.

- Unlimited:
-
Set the "Join and leave permissions" field.
To allow the following actions, select the "Allow members to join and leave the space" checkbox:
- Users who are not members to join the space
- Members to leave the space

-
Set the "Visibility" field.
The following methods can be set.
- Public:
All users who are logged in to Garoon are able to view them. - Private:
Only members of the space can view them.
The default visibility is different base on the system administrator's settings.

- Public:
-
Confirm your settings and click "Create".
Reusing and Creating Spaces
Create a new space by reusing a space that has been created.
-
Click the app icon
in the header. -
Click Space.
-
Click the space name of the space you want to reuse.
-
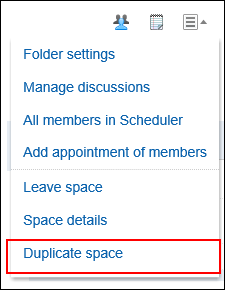
On the "Space" screen, click the item to reuse spaces in
 .
.
-
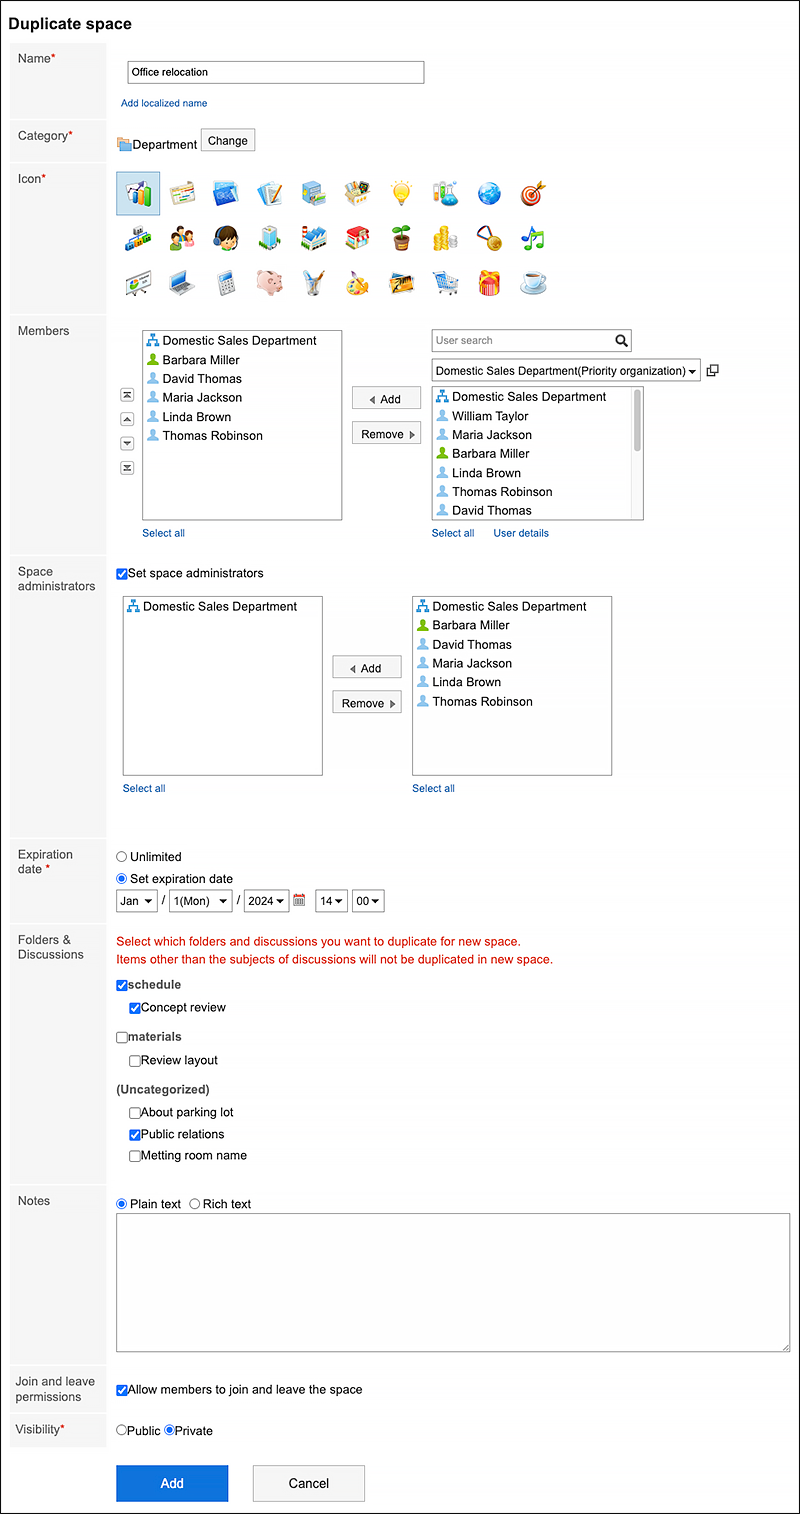
On the "Duplicate space" screen, configure the required fields.
The duplicated space inherits data of the following fields in the original space. Edit them as necessary.
- Space
- Category
- Icon
- Members
- Space administrators
- Space Expiration Date
- The title of the selected discussion:
For discussions, only their titles are duplicated. The comments exchanged are not inherited. - Notes
- Join and leave permissions for spaces
- Visibility
-
Confirm your settings and click "Create".