Sending Messages
You can send messages.
-
Click the app icon
 in the header.
 -
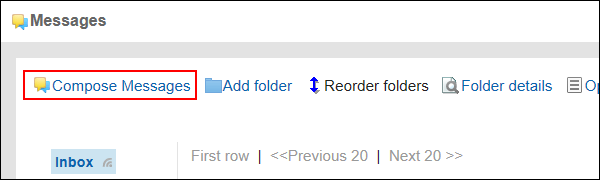
Click Messages.
-
On the "Messages" screen, click the item to send messages.
-
On the screen for creating messages, fill in the "Subject" field.
Subject is mandatory.
-
Enter the body field.
Enter the body of the message.
You can use Rich Text Formatting. For details, refer to Working with Rich Text Formatting.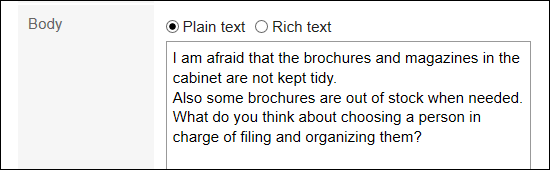
-
If necessary, attach files to the "File" field.
You can also attach files by drag and drop. For details, refer to Using Drag and drop feature.
-
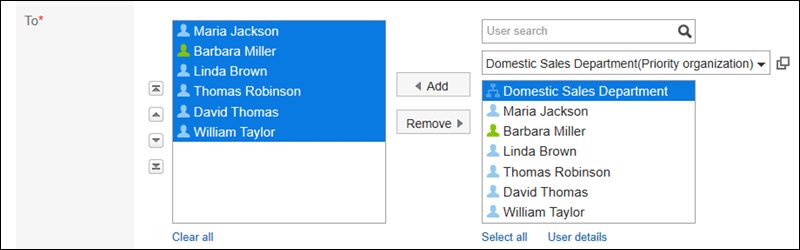
Set the recipient field.
The recipients must be set. You can use one of the following ways.
- Search users by entering keywords.
- Select organizations or My groups from the dropdown list, and select recipients or organizations in the list.
- Click
 to select users or organizations.
When you select a user and click "User details", the screen for user details list is displayed and you can check the details of the user information.
-
Set the "Acknowledgment status" field.
You cannot change the "Acknowledgement" setting after you have sent the message.
- If you select the "Request recipient's acknowledgment" checkbox:
You can check the status of your message, whether the recipient users have viewed it or not. For details, refer to Acknowledgment Status.
- If you do not select the "Request recipient's acknowledgment" checkbox:
You can check the writing status of your message, whether the recipient users have posted their comments. For details, refer to Checking the Writing Status.
- If you select the "Request recipient's acknowledgment" checkbox:
-
Set the item to allow change/delete messages.
Configure if you allow users other than the sender to edit or delete messages.
Users who are allowed to edit or delete the messages can now perform the following actions.- Edit the message body or the recipients.
- Delete the messages stored in the other recipients' folders.
Select one of the following fields:
- All To recipients:
All users designated as recipients can edit or delete messages.
Available in Garoon version 5.15.0 or later. - Only sender:
Only senders can edit or delete messages. - Select users:
Select users to allow editing or deleting messages from those you configured as recipients.
-
Confirm your settings and click Send.
To save the message as a draft, click the item to save it as draft. The messages are saved in the Drafts folder.
Reusing and Sending Messages
You can duplicate the message to create a new message. The draft message cannot be reused.
-
Click the app icon
in the header. -
Click Messages.
-
On the "Messages" screen, select a folder and click the subject of the message you want to reuse.
-
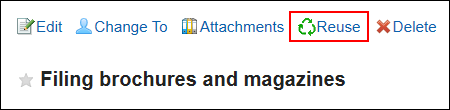
Click the item for reuse on the "Message details" screen.
-
On the screen for reusing messages, set the fields as necessary.
The following items are copied to the new message.
- Title
- Body
- File
- To
- Acknowledgment status
- Users who can edit/delete
-
Confirm your settings and click Send.
To save the message as a draft, click the item to save it as draft. The messages are saved in the Drafts folder.
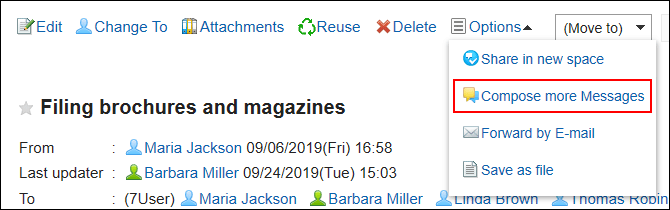
Sending New Messages to the Same Users
You can send a new message by reusing the settings of the recipients of the message and the users who are allowed to change.
The body cannot be reused.
-
Click the app icon
in the header. -
Click Messages.
-
On the "Messages" screen, select a folder and click the subject of the message you want to reuse.
-
On the "Messages details" screen, click "Compose more Messages" under "Options".
-
On the screen for creating messages, set the required items and send messages.