Signature settings
You can configure signatures.
You can set multiple signatures for each e-mail account and select a signature according to the e-mail you want to send.
The selected signature appears in the end of the body of the e-mail.
-
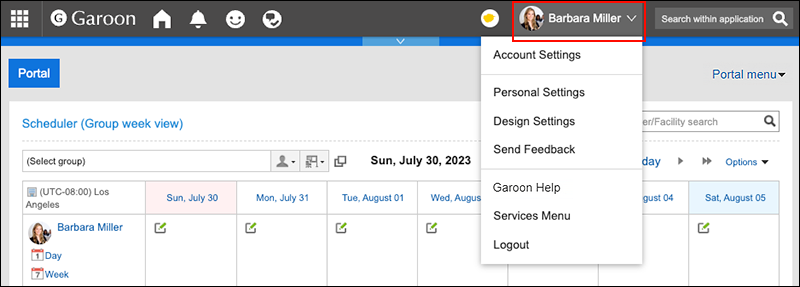
Click User name in the header.
-
Click Personal Settings.
-
Click Setting of each application.
-
Click E-mail.
-
Click "Signature settings".
-
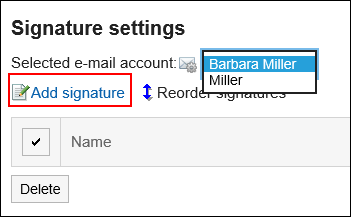
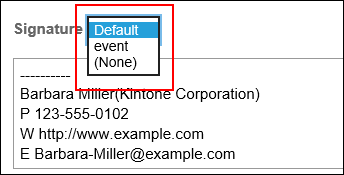
On the "Signature settings" screen, select the e-mail account for which you want to add a signature from the dropdown list, and click the item for adding signatures.
-
On the adding signature screen, set the required items.
- Name:
The name of the signature must be set. - Signature position:
Select whether or not to add the signature before the quoted text in reply and forward e-mails. - Contents:
Fill in the details of the signature.
- Name:
-
Confirm your settings and click Add.
Changing Signatures
You can change the signatures.
-
Click User name in the header.
-
Click Personal Settings.
-
Click Setting of each application.
-
Click E-mail.
-
Click "Signature settings".
-
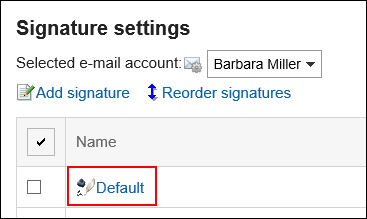
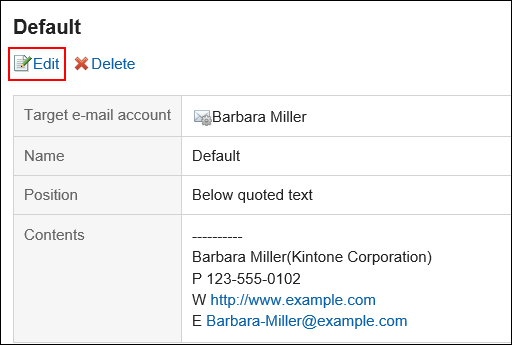
On the "Signature settings" screen, select an e-mail account, and then click the name of the signature you want to change.
-
On the signature details screen, click Edit.
-
On the screen for changing signatures, set the required items and click Edit.
Reordering Signatures
You can change the order of signatures.
The display order that you set is reflected to the order in the dropdown list on "Compose E-mail" screen.
-
Click User name in the header.
-
Click Personal Settings.
-
Click Setting of each application.
-
Click E-mail.
-
Click "Signature settings".
-
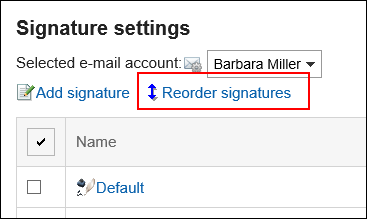
On the "Signature settings" screen, click "Reordering Signatures".
-
Change the order of signatures on the screen for reordering them.
-
Confirm your settings and click Save.
Removing Signatures
You can delete signatures.
Removing Signatures One by One
You can delete one of the signatures.
-
Click User name in the header.
-
Click Personal Settings.
-
Click Setting of each application.
-
Click E-mail.
-
Click "Signature settings".
-
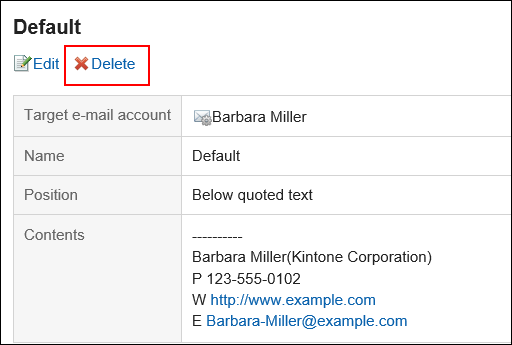
On the "Signature settings" screen, click the name of the signature you want to delete.
-
On the details screen for signatures, click Delete.
-
Click Yes in the confirmation screen.
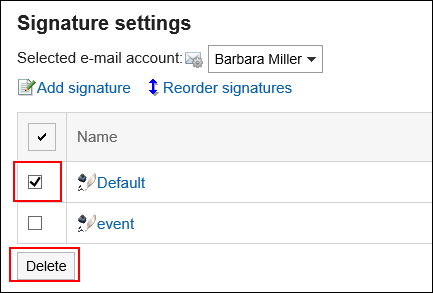
Removing Multiple Signatures in Bulk
You can select signatures you want to delete, and delete them all together.
-
Click User name in the header.
-
Click Personal Settings.
-
Click Setting of each application.
-
Click E-mail.
-
Click "Signature settings".
-
On the "Signature Settings" screen, select the checkboxes for the signatures you want to delete, and then click Delete.
-
Click Yes on the delete all signatures screen.