Receive e-mails
This section describes how to receive e-mails.
Depending on the settings configured by the system administrator, you may automatically receive e-mails on a regular basis.
For details, refer to Setting to Receive E-Mails Automatically.
If you chose not to receive e-mails automatically, or if you want to immediately check the latest e-mails since the last time you received them, you need to manually receive the e-mails.
If you receive an error e-mail from the e-mail server after sending an e-mail, see the article "I received an error e-mail after sending an e-mail. What shall I do? .
-
Click the app icon
in the header.
-
Click E-mail.
-
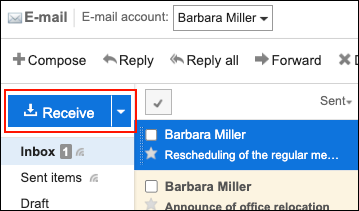
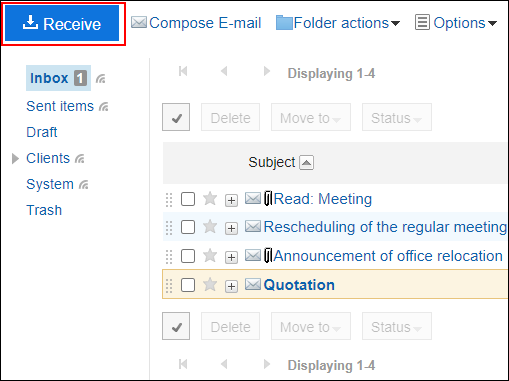
Click "Receive" in the "E-mail" screen.
If you have more than one account, select the e-mail account you want to use from the dropdown list.
To receive e-mails for all accounts in bulk, click the down arrow in the right side of "Receive" and click "Receive All". Depending on your system administrator settings, you may not be able to receive e-mails in bulk.- When preview is shown
- When preview is hidden
- When preview is shown
-
Select the e-mail you want to view and confirm the details.
When two or more recipients are specified, the "To:" field shows the following icon and link.
- Show All recipients:
All recipients specified in "To:" and "Cc:" are displayed. - Hide Recipients:
Only the first recipient specified in the "To:" field is displayed.
When no recipient is specified in the "To:" or "Cc:" field, the "To:" field and the "Cc:" fields are not displayed.
In a received E-mail, the "Bcc:" field is not displayed.
- When preview is shown
Attachments are displayed above and below the body of the e-mail.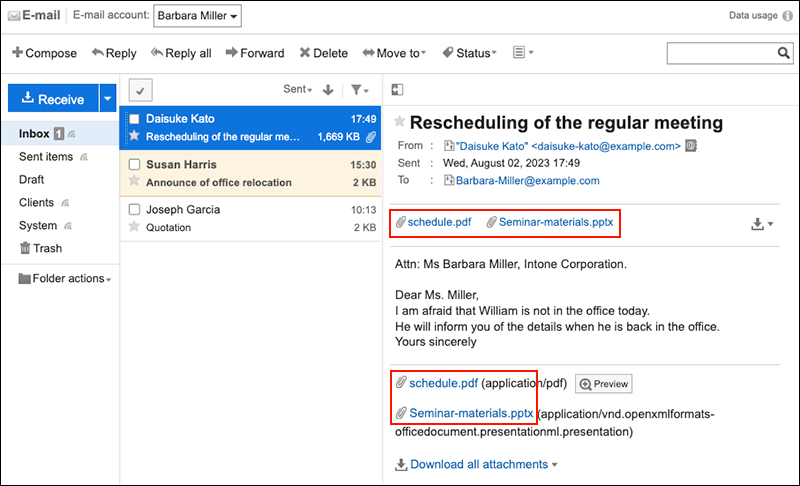
- When preview is hidden
Attachments are displayed only below the body of the e-mail.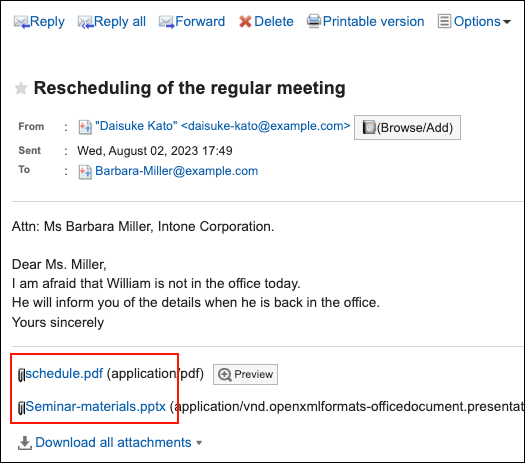
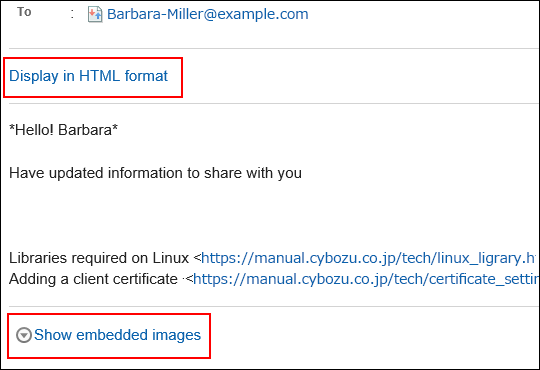
When you click "Display in HTML format", HTML e-mail that is displayed as plain text is displayed in HTML format. Appears when the system administrator has selected "Text only" for the "Default view of HTML e-mail" setting.
If an image is embedded in the body of an e-mail, clicking "Show embedded images" allows you to view the embedded images.
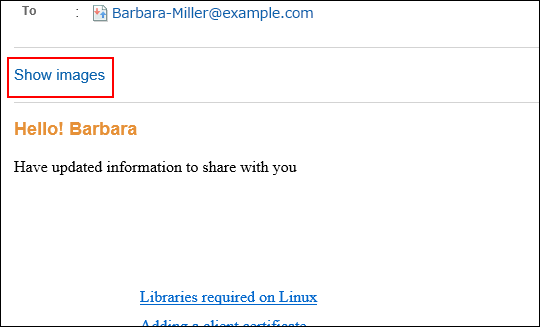
When you click "Show Images", the linked images of the HTML e-mail are displayed. This field is displayed when the system administrator allows users to view images in an HTML e-mail.
When You Receive External Notifications
If your system administrator has configured the external notifications, notification e-mails sent from systems other than Garoon are sent.
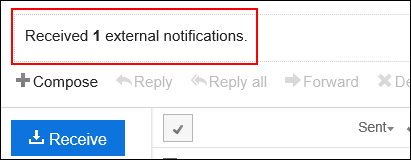
A message appears on the "E-mail" screen indicating that you have received an external notification.
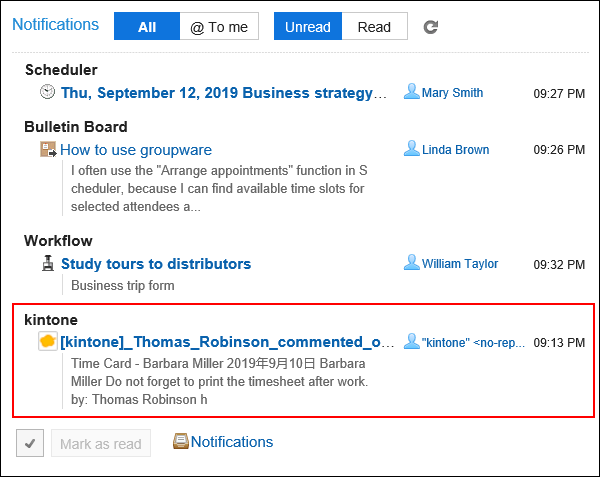
You can check the details of the incoming external notifications from the "Notifications" portlet.
When You Receive E-Mails Requesting Read Receipts
By using the e-mails requesting read receipts, senders can confirm whether recipients view the e-mails or not.
When you receive e-mail requesting a read receipt, the message below may be displayed above the e-mail sender column.

If you click "Reply", a read receipt is sent to notify the sender of the e-mail that you have viewed the e-mail.
Once you click either "Reply" or "Dismiss", the message is not displayed again.
Split E-Mails
Garoon does not support split e-mails.
In the e-mail body, you see a message saying that the received e-mail was split for sending.

If this message is displayed, you can take either of the following approaches.
- Display the e-mail source to confirm its contents.
For details, refer to View e-mail source. - Confirm the e-mail contents by using the other e-mail programs which support split e-mails.
When Incoming E-Mail Size Exceeds the Maximum Limit
If your system administrator configures the incoming e-mail maximum size, you cannot receive e-mails which exceed the limit.
In the "E-mail" screen, you see a message saying that the e-mail could not be received.

If this message is displayed, you can take either of the following approaches.
- Receive the e-mail which could not be received by using the other e-mail programs.
- Delete e-mails in queue from the e-mail server.
- Click the app icon
in the header.
- Click E-mail.
- Click "Receive" in the "E-mail" screen.
- Click E-mails in queue in the displayed message.

- In the "E-mails in queue" screen, select the checkboxes of e-mails which you want to delete from the e-mail server.
- Click "Delete".

- Click the app icon
When Total E-Mail Size Exceeds the Maximum Limit
You cannot send/receive e-mails when your total e-mail size saved in Garoon exceeds the maximum limit which your system administrator has configured.
In the "E-mail" screen, you see a message saying that the e-mail could not be sent/received.

When this message is displayed, completely delete unnecessary e-mails from Garoon to reduce the total e-mail size and receive e-mails again.
For details, refer to Deleting E-mails.
When E-Mails Cannot Be Received at a Time
If a large amount of e-mails has been delivered to the e-mail server, receiving all e-mails may not be completed at a time.
In the "E-mail" screen, you see a message saying that receiving all e-mails is not completed.

When this message is displayed, click Receive in the "E-mail" screen and receive e-mails again.