My Calendar Settings
My Calendar is a feature that allows users to add their own anniversaries and notes as events.
You can add personal appointments, such as birthdays and family trips, and display them in Scheduler, the "Scheduler" portlet, and the "Calendars" portlet placed in My Portal.
Only users who have registered the events can view them.
Registering Events
Add anniversaries and user notes as events to My calendar.
-
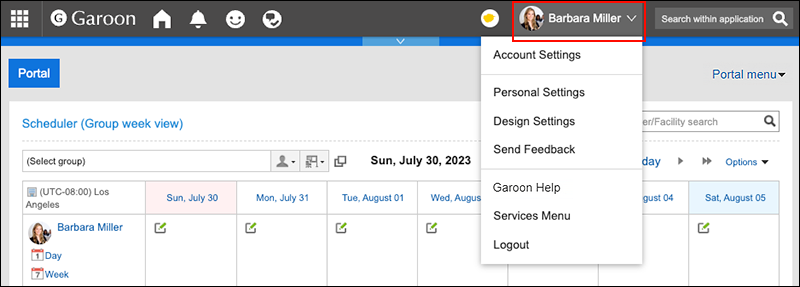
Click User name in the header.
-
Click Personal Settings.
-
On the "Personal settings (common)" screen, click My calendar settings under "Calendar".
-
On the "My calendar settings" screen, click Add event.
-
On the "Add an Event" screen, set the date of the event.
-
In the "Event Type" field, select an event type.
Calendar display varies depending on the type of event. The following types of events can be selected.
- Anniversary:
Select to add anniversaries. Anniversary icon and event details will be displayed on the specified date. The background color is white.
 - Memo:
Event details are displayed on the specified date. The background color does not change.
 \a): Anniversariesb): Memo
 - Anniversary:
-
Enter "Event Details".
This event details must be set.
-
Confirm your settings and click Add.
Changing Events
Change the date and the contents of the events added to the My calendar.
-
Click User name in the header.
-
Click Personal Settings.
-
On the "Personal settings (common)" screen, click My calendar settings under "Calendar".
-
On the "My Calendar Settings" screen, click the date of the event you want to change.
-
On the "Event details" screen, click Edit.
-
On the screen to revise events, you can change the fields as necessary.
-
Confirm your settings and click Save.
Deleting Events
Delete an event added to the My calendar.
Deleting Events One by One
You can delete events one by one.
-
Click User name in the header.
-
Click Personal Settings.
-
On the "Personal settings (common)" screen, click My calendar settings under "Calendar".
-
On the "My Calendar Settings" screen, click the date of the event you want to delete.
-
On the "Event details" screen, click Delete.
-
Click Yes on the screen to delete events.
Deleting Multiple Events in Bulk
You can select multiple events and delete them all together.
-
Click User name in the header.
-
Click Personal Settings.
-
On the "Personal settings (common)" screen, click My calendar settings under "Calendar".
-
On the "My calendar settings" screen, select the checkboxes of the events you want to delete, and then click Delete.
-
Click Yes on the screen to delete events in bulk.
Deleting All Events
You can delete all events in a calendar.
-
Click User name in the header.
-
Click Personal Settings.
-
On the "Personal settings (common)" screen, click My calendar settings under "Calendar".
-
On the "My calendar settings" screen, click Delete all events.
-
Click Yes on the screen to delete all events.