My group settings
You can set frequently selected users and facilities as a My Group.
A My Group you configure is available only to you. Cannot be shared with other users.
You can use My group in the following ways:
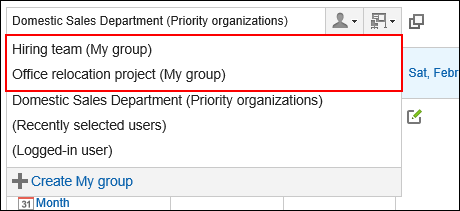
- Include projects that span across multiple organizations or users who work together frequently to My group, in order to quickly and easily select the target users.
- My group can be used when selecting users whose appointments you want to view in Scheduler, or when setting up recipients for messages.
- Configure My group you created as a default group to be displayed when you open Scheduler, enabling you to quickly view the appointments of the members you frequently check.
For details on how to configure it, refer to Changing Default Group.
Adding My Groups
Add My Group.
-
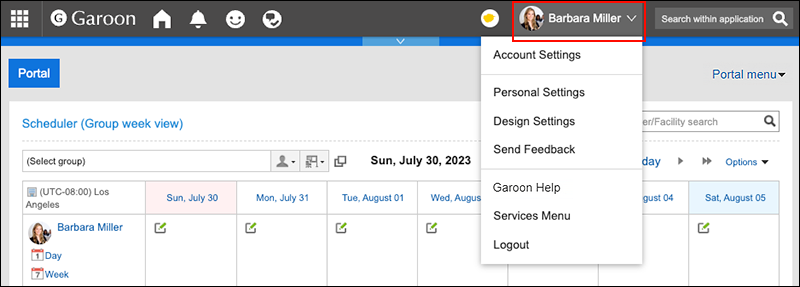
Click the "User name" in the header.
-
Click Personal Settings.
-
On the "Personal settings (common)" screen, click My group settings under "User".
-
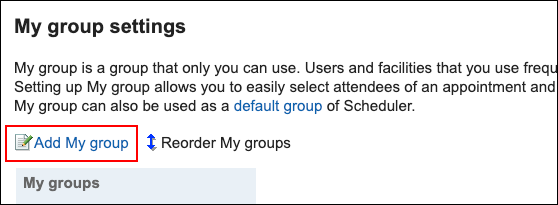
On the "My group settings" screen, click Add My group.
-
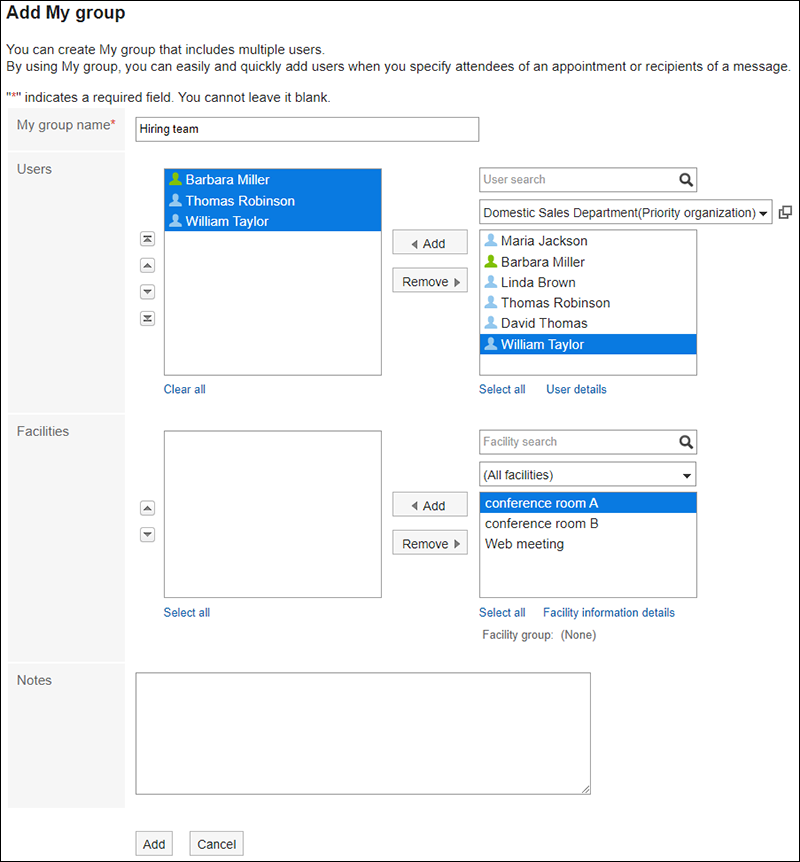
On the "Add My group" screen, configure the settings as necessary.
The setting fields are as follows:
- My Group name:
The name of the My Group. Always set the name of the My Group. - Members:
Set up users who belong to the My Group.
When you select a user and click "User details", the screen for user details list is displayed and you can check the details of the user information.
You can reorder the members in the lists, if necessary. - Facilities:
Set up facilities that belong to the My Group.
When you select a facility and click the item for facility information details, the screen for facility details list is displayed and you can check the details of the facility information.
You can reorder the facilities in the lists, if necessary. - Memo:
Enter notes as necessary.
The notes are displayed on the "My group settings" screen when you select My group.
- My Group name:
-
Confirm your settings and click Add.
Changing My Groups
Change existing settings for My group.
You can make the following changes.
- Changing My group name
- Adding, deleting, or reordering users and facilities
- Changing the memo
-
Click the "User name" in the header.
-
Click Personal Settings.
-
On the "Personal settings (common)" screen, click My group settings under "User".
-
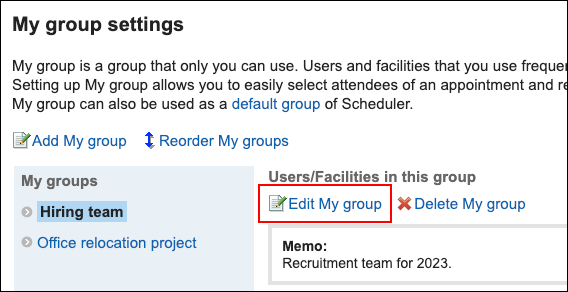
On the "My group Settings" screen, select the My group you want to edit, and then click Edit My group.
-
On the screen to edit My Groups, configure the settings as necessary.
-
Confirm your settings and click Save.
Deleting All Users and Facilities Belonging to My Group
Remove the selected members and facilities from My Groups.
The users or facilities themselves will not be deleted.
-
Click the "User name" in the header.
-
Click Personal Settings.
-
On the "Personal settings (common)" screen, click My group settings under "User".
-
On the "My group settings" screen, select the My group for which you want to change the settings.
-
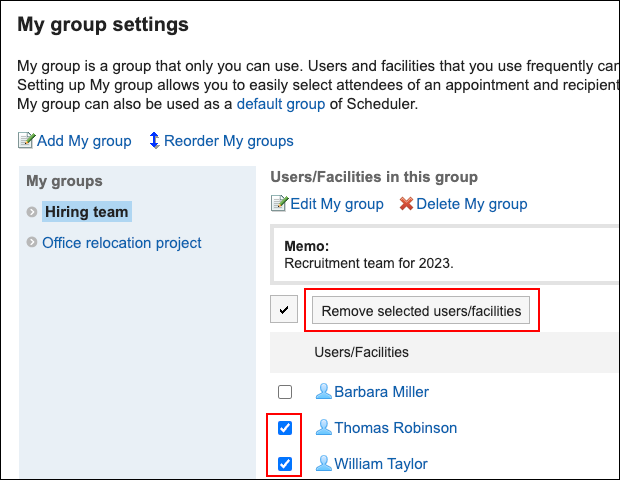
Select the checkboxes of the users and facilities you want to remove from the My group, and then click Remove selected users/facilities.
-
Click Yes on the "Remove users/facilities in the group" screen.
Reordering My Groups
Change the order in which the My groups are displayed.
-
Click the "User name" in the header.
-
Click Personal Settings.
-
On the "Personal settings (common)" screen, click My group settings under "User".
-
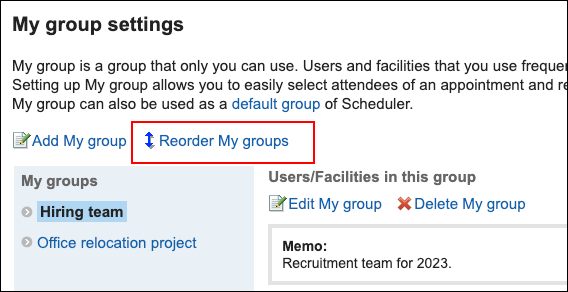
On the "My group settings" screen, click Reorder My groups.
-
On the screen to reorder My Groups, reorder My Groups.
-
Confirm your settings and click Save.
Deleting My Groups
Delete My Group.
-
Click the "User name" in the header.
-
Click Personal Settings.
-
On the "Personal settings (common)" screen, click My group settings under "User".
-
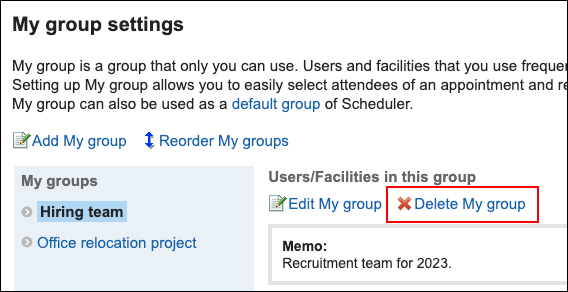
On the "My group settings" screen, select the My group you want to delete, and then click Delete My group.
-
Click Yes on the delete My groups screen.