Printing Appointments
This section describes how to print appointments.
You cannot print the comments for an appointment.
Printing an Individual Appointment
Print an individual appointment.
-
Click the app icon
 in the header.
 -
Click Scheduler.
-
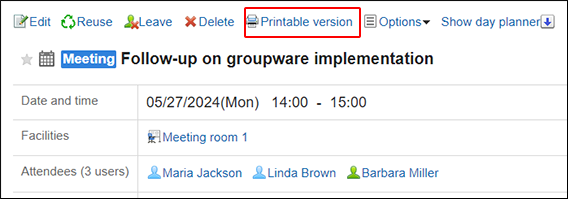
Click the title of the appointment you want to print.
-
Click "Printable Version" on the "Appointment details" screen.
-
On the print settings screen, set the required items.
- Character Size:
Select the text size you want to print. - Locale:
Set the format for displaying date and time.
Select either of the locale for the user or the locale for printing.
The locale for printing is set by your system administrator.
- Character Size:
-
Click "Print" and print the schedule using the print feature of the Web browser.
Printing Appointments for One Week
Print appointments for one week.
-
Click the app icon
in the header. -
Click Scheduler.
-
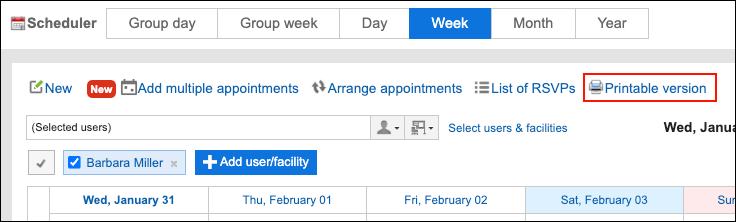
Click Week in the "Scheduler" screen.
-
On the week view screen, click "Printable Version".
-
On the print settings screen, set the required items.
- Width for week view:
Specify the width for which you want to print the week view screen. Change the value and click Save. - Character Size:
Select the text size you want to print. - Title Display:
Select whether to print all titles, print only the appointment type, or print up to the specified number of characters. - Appointment time:
You can set whether to print only the start time or both the start time and end time. - Display settings:
Configure whether to print items such as appointment icons and holidays.
- Width for week view:
-
Click "Print" and print the schedule using the print feature of the Web browser.
Printing Appointments for One Month
Print appointments for one month.
-
Click the app icon
in the header. -
Click Scheduler.
-
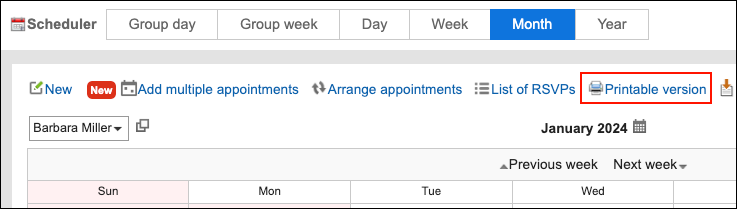
On the "Scheduler" screen, click Month.
-
On the month view screen, click "Printable Version".
-
On the print settings screen, set the required items.
- Width for month view:
Specify the width for which you want to print the month view screen. Change the value and click Save. - Character Size:
Select the text size you want to print. - Title Display:
Select whether to print all titles, print only the appointment type, or print up to the specified number of characters. - Appointment time:
Select to print only the start time or print both the start and end times of the appointment. - Display settings:
Configure whether to print items such as appointment icons and holidays. - Locale:
Set the format for displaying date and time.
Select either of the locale for the user or the locale for printing.
The locale for printing is set by your system administrator.
- Width for month view:
-
Click "Print" and print the schedule using the print feature of the Web browser.