Setting up Appointments Display
Set the time period that is displayed on the "Scheduler" screen.
Steps:
-
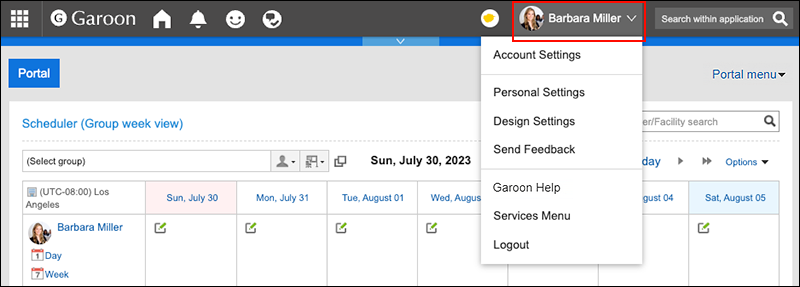
Click User name in the header.
-
Click Personal Settings.
-
Click Setting of each application.
-
Click Scheduler.
-
Click "Display settings".
-
On the "Display settings" screen, set the time period field.
Set the start and end times of the time period to be displayed on the following screens. The start and end times cannot be the same.
- Group Day view
- Day view
- Week view
-
Set the start day of week field.
To set the start date to be on Mondays, select the checkbox next to Monday. The setting is applied to "Month view". -
Set the end time field.
To display the end time, select the checkbox to show the end time of the appointment in the group week view and the month view. -
Confirm your settings and click Save.