Deleted appointments
You can delete an appointment.
Depending on the type of appointment and the number of attendees, the items you select when you delete are different.
When an appointment is deleted, the added comments and attachments are also deleted.
-
Click the app icon
 in the header.
 -
Click Scheduler.
-
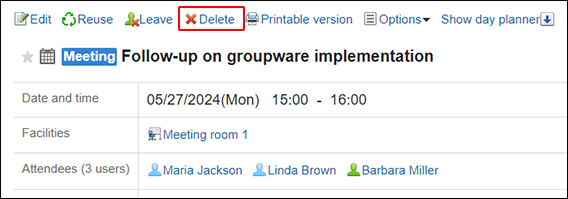
On the "Scheduler" screen, click the title of the appointment you want to delete.
-
On the appointment details screen, click Delete.
-
On the "Delete" screen, select one of the following items depending on the type of appointment.
- Appointment with multiple attendees:
Select whether you want to delete the appointment only from your schedule or from the schedule of all the attendees. - Repeating appointments:
Select the range of appointments you want to delete from the following:- This appointment only (YYYY/MM/DD (Day of the week))
- Appointments after YYYY/MM/DD (Day of the week)
- All appointments
- Repeating appointments involving multiple attendees:
- Attendees:
Select whether you want to delete the appointment only from your schedule or from the schedule of all the attendees. - Range:
Select the period of appointments you want to delete from the following:- This appointment only (YYYY/MM/DD (Day of the week))
- Appointments after YYYY/MM/DD (Day of the week)
- All appointments
- Attendees:
- Tentative appointments:
Select the candidate date you want to delete.
- Appointment with multiple attendees:
-
Click Yes.
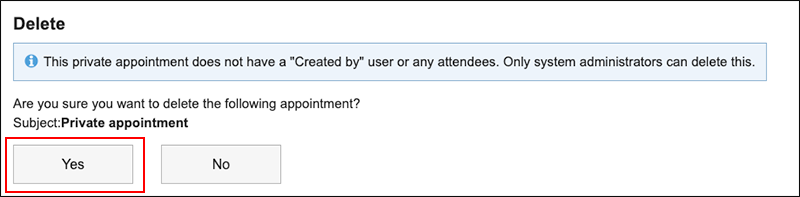
Deleting Private Appointments
System administrators can delete appointments when the following conditions are met.
- A facility is set for a private appointment
- All creators, attendees, and Shared with users for private appointments are deleted or disallowed to use Scheduler
Deleting appointments frees up the reserved facilities. Users then can select these facilities when they try to add new appointments.
System administrators must ask users which facilities they want to free before deleting private appointments.
-
Click the app icon
in the header. -
Click Scheduler.
-
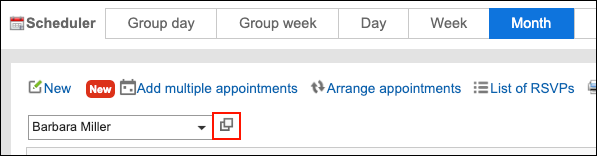
On the "Scheduler" screen, select "Month".
-
On the "Month" screen, click
 icon for selecting users/facilities.
-
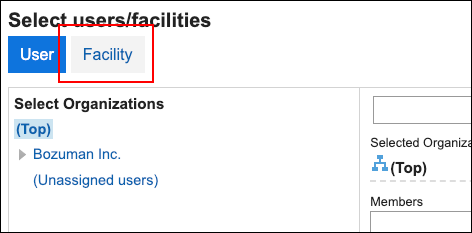
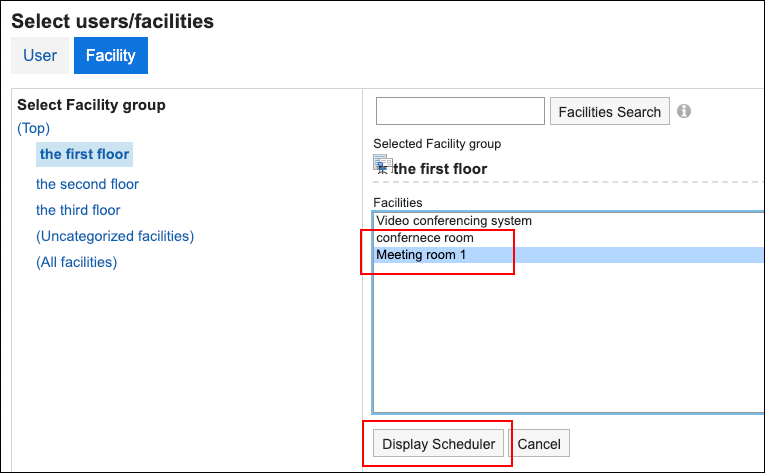
On the "Select users/facilities" screen, click Facility.
-
Select the facility to free and click Display Scheduler.
-
Click the appointment with "Deletable" displayed.
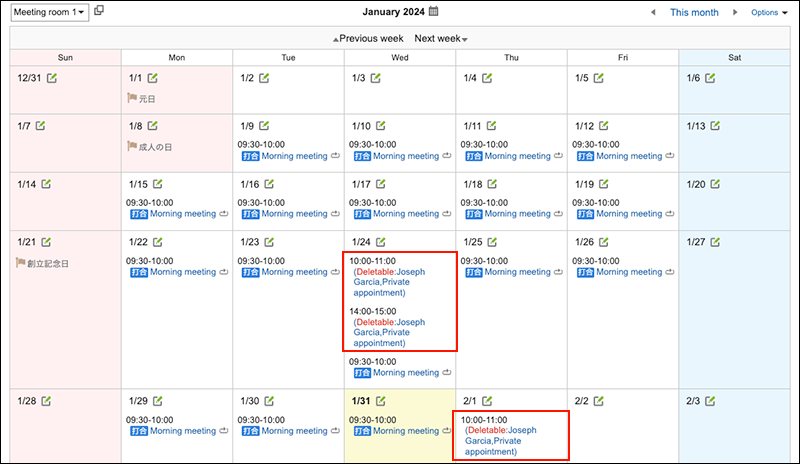
-
Click Yes on "Delete" screen.