Configuring HTML Portlets
You can use HTML to create your own portlets.
The user-created portlet is called My Portlet.
My Portlet is available only to users who have created it.
Notes on HTML Tags
To ensure that the HTML portlet works correctly, be noted the following when you write tags:
HTML tags are written in lowercase letters.
You should write start tags and end tags in pairs. If you place a portlet that does not have proper HTML tag pairs in a portal, it can cause problems such as a portal editing page incorrectly appears or a portal that can not be moved.
You also should note that not to cross nested tag pairs when you write HTML tags.
Example:
You do not need to describe html, head, or body tags in HTML portlets.
When you write scripts in JavaScript, read Secure Cording Guidelines carefully.
Avoid Using Cross-Site Scripting and CSS Injection
Adding HTML Portlets
Create a portlet in HTML and add it as a My Portlet.
-
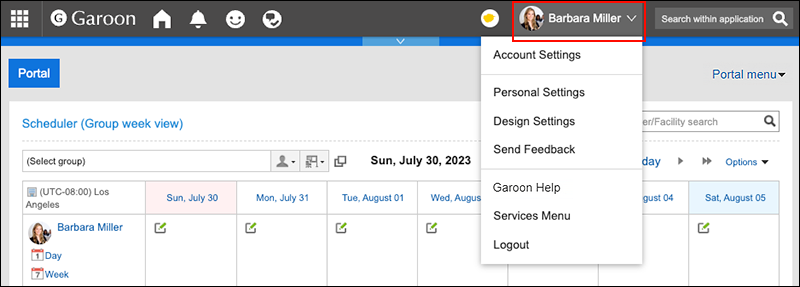
Click User name in the header.
-
Click Personal Settings.
-
Click Setting of each application.
-
Click Portal.
-
Click HTML portlet.
-
On "HTML portlet" screen, click New.
-
On the screen to add HTML portlets, enter the portlet name.
-
Set the "Groups" field.
Select the portlet group to include the portlet.
By associating with Portlet groups, you can quickly select the target portlet when you create a portal.
For details, refer to Setting up My Portlet Groups.
-
Set the contents of the portlet field.
Use HTML tags and formatting to write the contents of the portlet.
You can customize the HTML portlets using the following functions:
- Keywords description:
You can show information of users who use portlets by creating Usable Keywords.
- Keywords description:
-
Confirm your settings and click Add.
Available Keywords
By using keywords, you can display user information of users who use portlets in HTML portlets.
The keyword replaces the user information of users who use the portlet.
Usable Keywords are as follows:
| Keyword | Description |
|---|---|
| %Name% | The user name of the user visiting the portlet is displayed. |
| %ID% | The user ID of the user visiting the portlet is displayed. |
| %Account% | The login name of the user visiting the portlet is displayed. |
| %Mail% | The E-mail address that has been configured as the e-mail address of the user visiting the portlet is displayed. This does not appear if the e-mail a dress is not registered. |
| %Tel% | The contact details of the user visiting the portlet is displayed. If no contact detail has not been added, nothing will be displayed. |
| %URL% | The URL added to the user information of the user visiting the portlet is displayed. If no URL has been added, nothing will be displayed. |
| %grn.common.login.login.extension.Code of custom item in user profile% | This is available when the custom item is added to the user profile. Displays information entered in the custom item field in the user profile of the logged-in user. |
Changing HTML Portlets
Change HTML portlets.
-
Click User name in the header.
-
Click Personal Settings.
-
Click Setting of each application.
-
Click Portal.
-
Click HTML portlet.
-
On "HTML portlet" screen, click the portlet name of the HTML portlet to change.
-
On the screen for HTML portlet details, click Save.
-
On the screen to edit HTML portlets, change the settings as necessary.
-
Confirm your settings and click Save.
Checking the Appearance of HTML Portlets
Check the appearance of the HTML portlet.
-
Click User name in the header.
-
Click Personal Settings.
-
Click Setting of each application.
-
Click Portal.
-
Click HTML portlet.
-
On "HTML portlet" screen, click the portlet name of the HTML portlet to preview.
-
On the screen for HTML portlet details, click Preview.
Deleting HTML Portlets
Delete HTML portlets.
If you delete the HTML portlets that is placed in the HTML portal, the deployment is cleared.
Deleting HTML Portlets One by One
Delete each HTML portlet.
-
Click User name in the header.
-
Click Personal Settings.
-
Click Setting of each application.
-
Click Portal.
-
Click HTML portlet.
-
On "HTML portlet" screen, click the portlet name of the HTML portlet to delete.
-
On the screen for HTML portlet details, click Delete.
-
Click Yes on the deleting HTML portlet screen.
Deleting Multiple HTML Portlets in Bulk
Delete multiple HTML portlets at once.
-
Click User name in the header.
-
Click Personal Settings.
-
Click Setting of each application.
-
Click Portal.
-
Click HTML portlet.
-
On the "HTML portlet" screen, select the checkboxes of the HTML portlets to delete, and then click Delete.
-
Click Yes on the deleting all HTML portlets screen.