Placing Portlets in My Portal
Place portlets in My Portals.
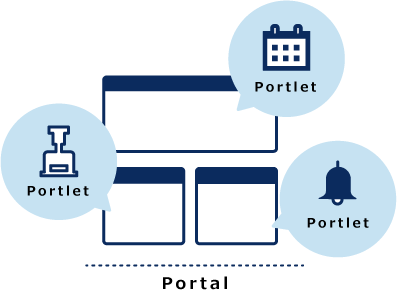
The portlet allows you to place Garoon applications as small content in the top page (portal).
Different kinds of portlets for Garoon applications (for Scheduler, Bulletin Board, and more) are provided. System administrators may also have created their own portlets.
For details of portlets, refer to Portlet Types and Settings.
Adding Portlets to My Portal
Add portlets to My Portals.
You can do so by dragging and dropping portlets.
For details on portlets that you can place on the portals, refer to Portlet Types and Settings.
-
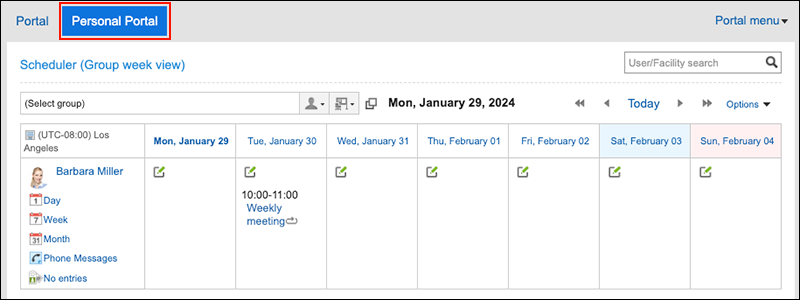
Click My Portal to add portlet.
-
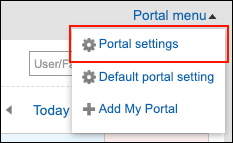
Click Portal settings from Portal menu.
-
On the "My Portal settings" screen, select the portlet and drag it to the desired destination.
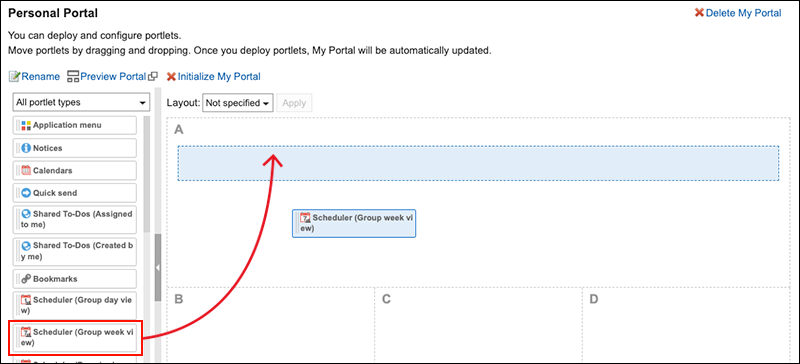 To quickly find the portlet you want to use, go to the left side of the screen, and select a filter from the dropdown list of the filters, grouped by apps and portlet groups, to narrow down the portlets to be displayed.
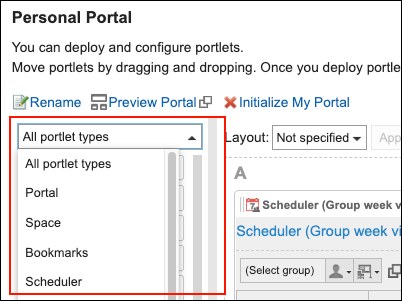
Moving Portlets in My Portal
Move portlets to another column.
-
Click My Portal that contains portlet to move.
-
Click Portal settings from Portal menu.
-
On the"My Portal settings" screen, select the portlet to move and drag it to the destination.
Deleting Portlets Placed in My Portals
Delete the portlets placed in My Portals.
-
Click My Portal that contains portlet to delete.
-
Click Portal settings from Portal menu.
-
On the "My Portal settings" screen, click Delete on the gear icon
 for the portlet to delete.
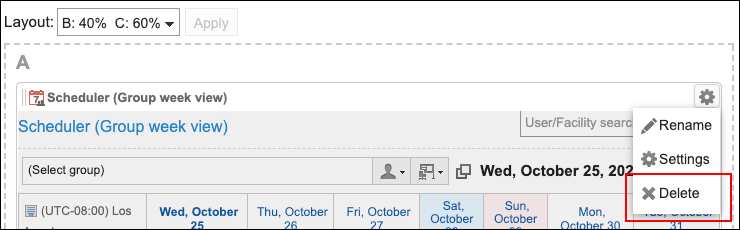
-
Click Yes on "Delete" screen.
Changing My Portal Layouts
Change the My Portal layout.
-
Click My Portal whose layout you want to change.
-
Click Portal settings from Portal menu.
-
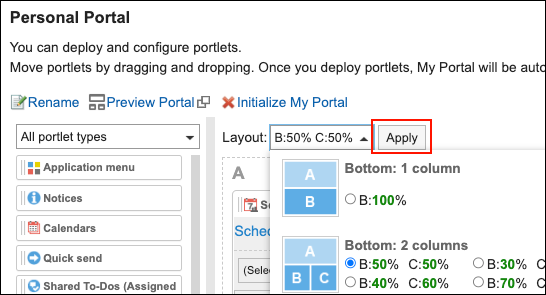
On the "My Portal settings" screen, select a layout from the "Layout" dropdown list.
Select the column numbers and the ratio of the widths to place in lower half. You cannot set the column numbers and the ratio of the widths in the upper half.
When "None" is selected, the ratio of columns is automatically set to fit the placed portlet.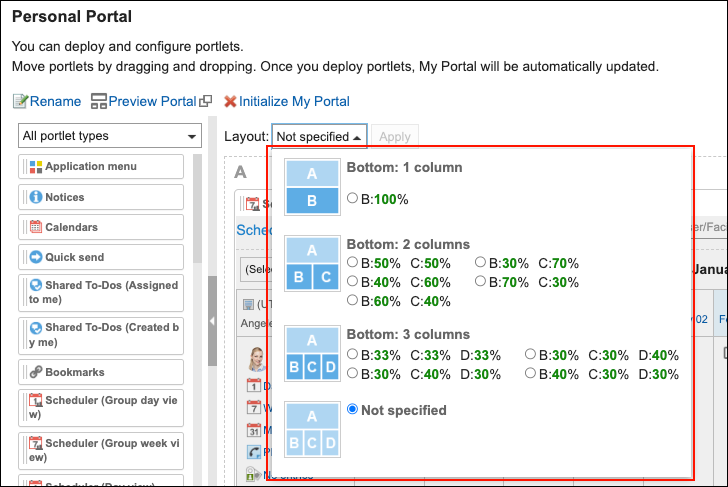 If the lower "C" or "D" already has portlets, you cannot select the bottom: 1 column layout.
 If you have a portlet placed in the lower half, you cannot select a layout with fewer columns than the number of columns that the portlet has.
 For details on each item, refer to "My Portal Settings" Screen.
 -
Click Apply.
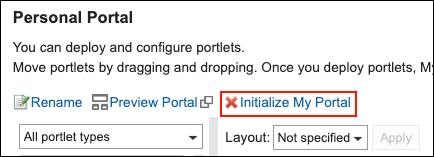
Initializing My Portal
When you initialize My Portal, all portlets are unaligned.
However, depending on your system administrator settings, initializing the My Portal may leave some portlets.
-
Click My Portal to initialize.
-
Click Portal settings from Portal menu.
-
On the "My Portal settings" screen, click Initialize My Portal.
-
Click Yes on the initializing My Portal screen.