Main Operations in Mobile View
This section describes how to work with the key features available on the mobile view.
Adding Appointments
Add an appointment for the user, organization, or facility.
Depending on your system administrator's settings, you may not be able to add appointments for organizations.
-
Tap the
 > Scheduler.
 -
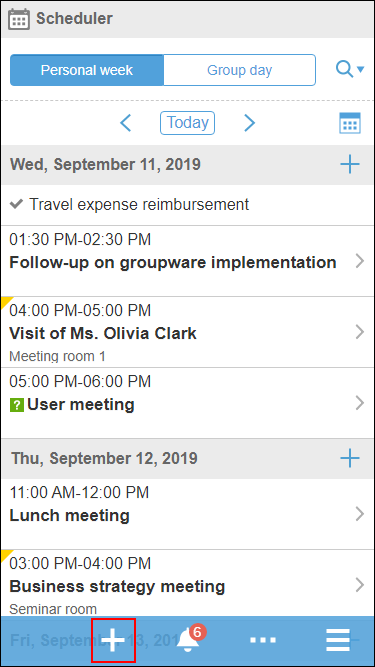
On the personal week screen, tap
 .
.
-
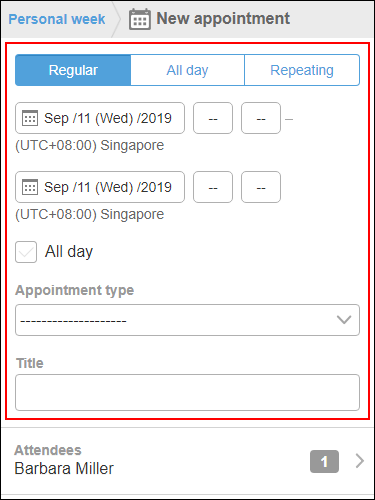
On the "New appointment" screen, select the appointment type and then enter the date/time and the subject.
-
Tap "Attendees".
-
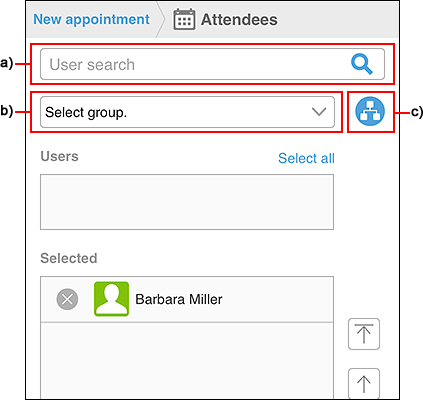
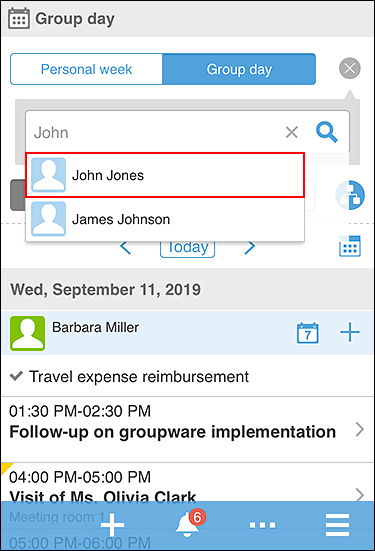
On the "Attendees" screen, add users to set as attendees to the screen showing the candidates.
 a): Enter keywords in the search box, then tap
 to search users. When you type characters in the search box, a list of suggested attendees is displayed.b): From the dropdown list, select the group to which the target user or organization belongs.c): Tap the
 , select the organization of the target user, and then tap "Apply".
 -
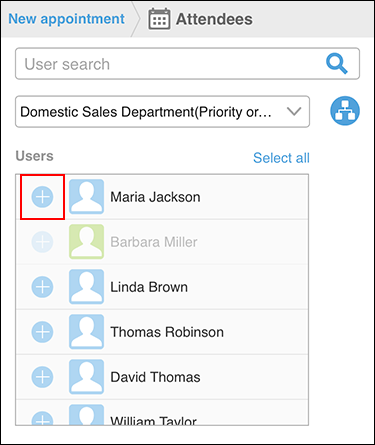
Tap the
 for the users and organizations you want to set as attendees of an appointment, among users who are displayed in the candidate field.
-
In the field to show selected attendees, confirm that all the desired users are listed, and then tap "Apply".
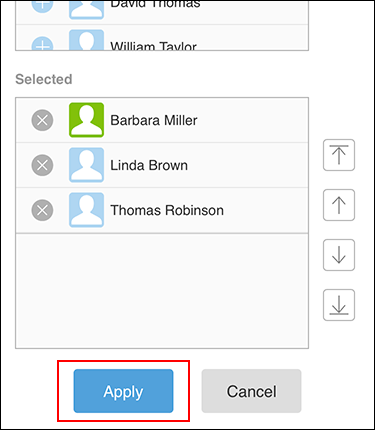 When you tap
 for users, you can cancel the selection.
To change the display order of users, tap the name of the user, and then tap the arrow to the right of the "Selected" field. -
On the "New appointment" screen, tap "Facilities".
-
On the "Facilities" screen, use one of the following methods to display the facilities to the candidate screen.
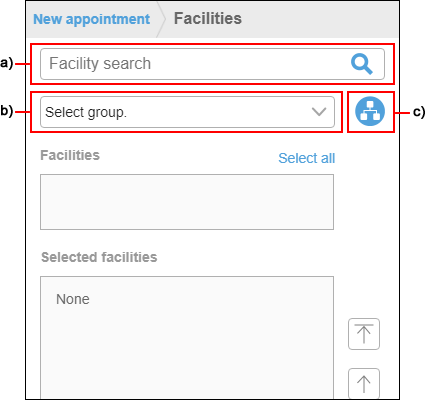 a): Enter keywords in the search box, then tap to search facilities. When you enter characters in the search box, a list of suggested facilities is displayed.b): From the dropdown list, select the facility group where the target facility belongs.c): Tap the, select the group of the target facility, and then tap "Apply".
 -
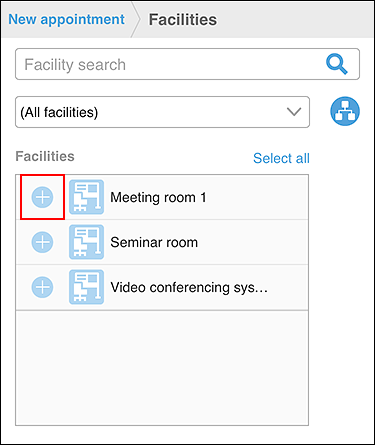
Among the facilities in the candidates, tap
for the target facility.
-
In the field to show the selected facilities, confirm that all the facilities you want to use are displayed, and then tap "Apply".
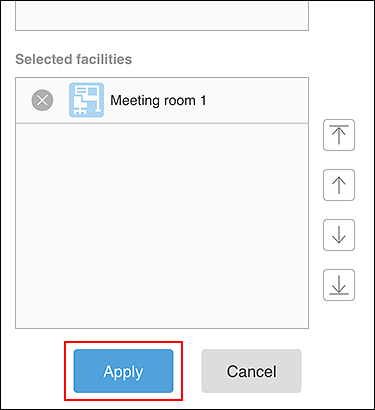 When you tap for facilities, you can cancel the selection.
If you want to change the order of facilities, tap the facility name, and then tap the arrow to the right of the selected facilities field. -
On the "New appointment" screen, set the required items such as notes and attachments, and then tap "Add".
Checking Availability and Adding Appointments
You can check the appointments of other users and facilities and add an appointment with the availability of users and facilities.
-
Tap the
> Scheduler. -
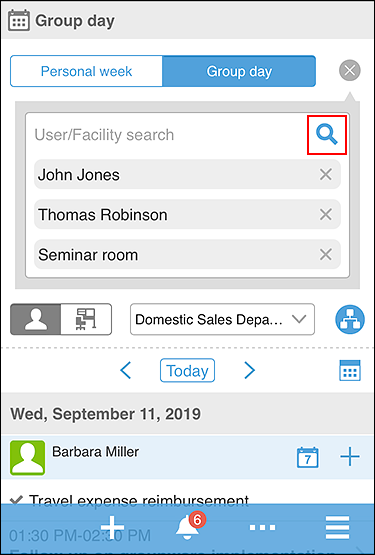
On the group day screen, search for users and facilities by tapping
 and entering keywords in the search box.
 The OR search can be performed for multiple users and facilities using multiple keywords by separating each keyword with a space.
 -
Tap the target user or facility from the search results.
 The selected users and facilities are displayed below the search box.
You can search for other users and facilities by entering keywords in the search box. -
After you have selected all the users and facilities for which you want to view appointments, tap
.
 Today's appointments for the selected users and facilities are displayed.
 -
Tap the
 and select the date of the appointment you want to display.

-
Confirm the availability of users and facilities, and then tap
 > the item to add all and create an appointment.
"New appointment" screen appears. The attendees and facilities of the appointment are populated with the users and facilities that you have selected in step 3.
> the item to add all and create an appointment.
"New appointment" screen appears. The attendees and facilities of the appointment are populated with the users and facilities that you have selected in step 3. -
Set the date and time of the appointment according to the availability that you checked in step 6, set the required items such as titles and notes, and then tap "Add".
Marking All Read E-mails to Unread
Select e-mails that have been read and revert them all to unread status.
-
Tap the
> "E-Mail". -
Select a folder.
-
Select the checkbox for the e-mail, and then tap "Mark as unread".
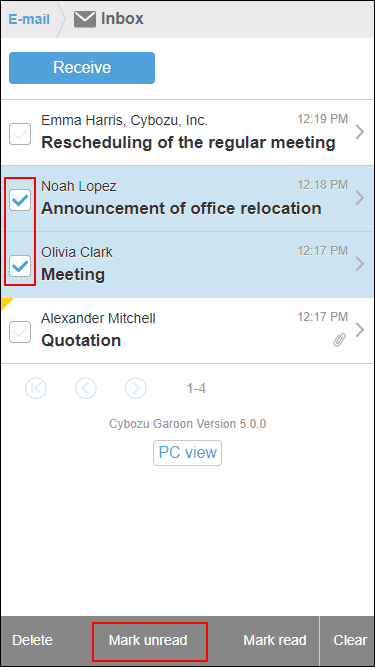 When you tap "Remove", checkboxes are cleared.
Approving Workflow Requests
In workflow, you approve a request that you have been set as an approver.
-
Tap the
> "Workflow". -
On the "Notifications" screen, tap the target request.
-
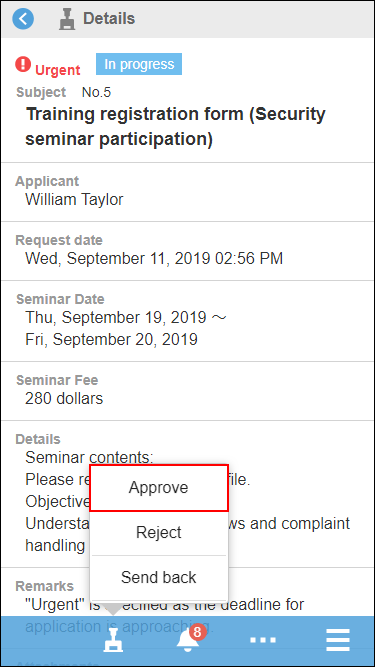
Confirm the request details and tap
 > "Approve".
-
Enter a comment if necessary, then tap "Approve".
Marking Unread Notifications as Read
In the notifications list, mark the unread notifications as read.
-
Tap the
> "Notifications". -
On the "Notifications" screen, view the unread notifications list.
-
Tap "Read" of the notifications you want to mark as read.

Checking Read Notifications
In the notifications list, check the contents of read notifications.
-
Tap the
> "Notifications". -
On the "Notifications" screen, tap "Read".
The read notifications are shown in descending order of the read date/time, by 20 items per page.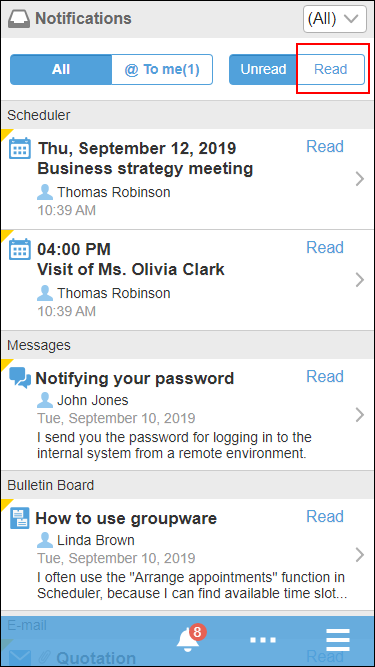
-
Tap the target notification and confirm the details screen.
Attaching Files
This section describes how to attach files.
-
In the screen to attach files, tap the file attachment icon
 .
Example of screen to attach files in the Message comment:
.
Example of screen to attach files in the Message comment: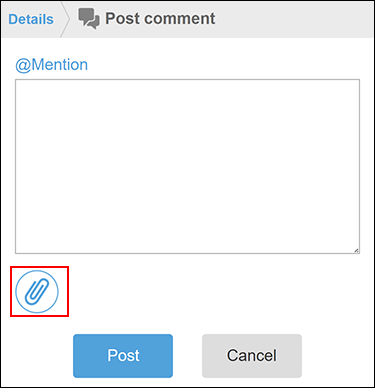
-
Select files to attach according to the instruction on the screen.
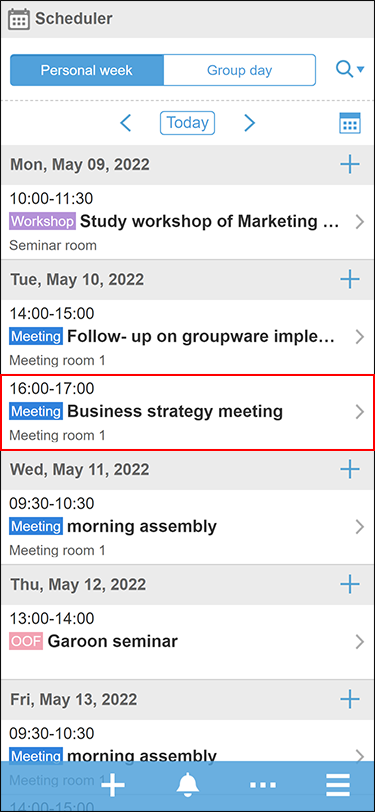
Posting a Comment
You can post comments to the topics. This section describes how to post a comment to an appointment in "Scheduler".
-
Tap the
> Scheduler. -
Tap an appointment to which you want to post a comment.
-
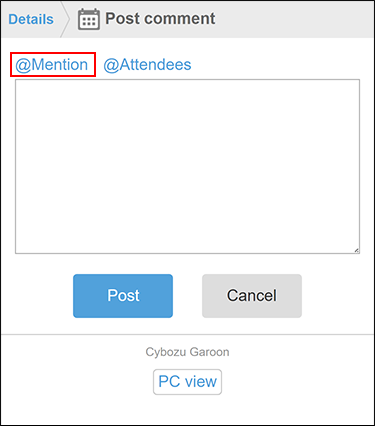
Tap Enter your comment here.

-
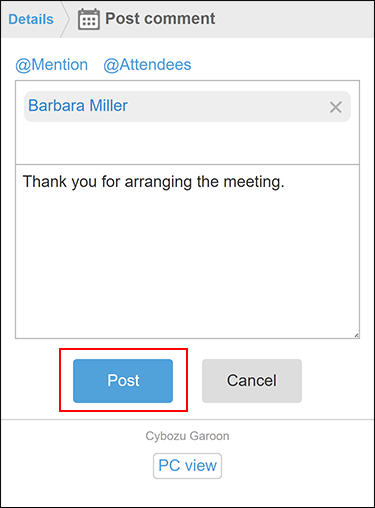
Tap @Mention to post a comment for specific recipients.
-
Enter the user name in the recipient field and specify the recipients.
In the recipient, you can specify users, departments, and roles.
When the system administrator allows users to configure the role, you can specify roles as recipients.
Also, when you type part of a recipient's information, the suggestions on recipients are displayed.
-
Enter a comment and tap Post.
Copying Permalinks of Comments
The permalink is the URL assigned to each comment. Accessing Permalink allows you to directly access the designated comment.
This Permalink is useful when you want to create a link to refer to the specific comment in the message.
You can use permalinks in the following applications.
- Space
- Scheduler
- Messages
- Bulletin Board
This section describes how to copy a permalink of a comment in "Scheduler".
-
Display a comment to which you would like to refer.
-
Tap a
 icon of the comment.
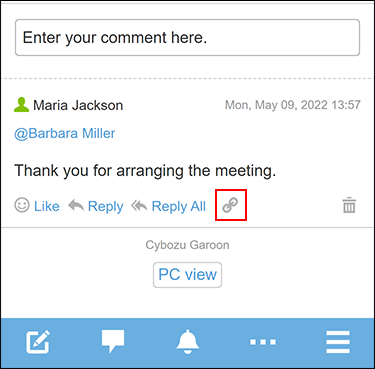 A banner saying "The link has been copied." is displayed.
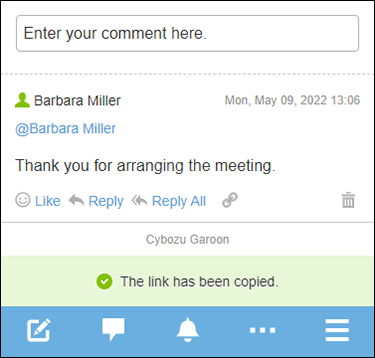
-
Paste the copied URL at the desired location.