Changing Facility Reservation Settings
Change settings related to facility groups and facility reservations.
You can apply the settings from parent facility groups or set the period in which the users can reserve.
-
Click the Administration menu icon (gear icon) in the header.
-
Click System settings.
-
Select "Application settings" tab.
-
Click Scheduler.
-
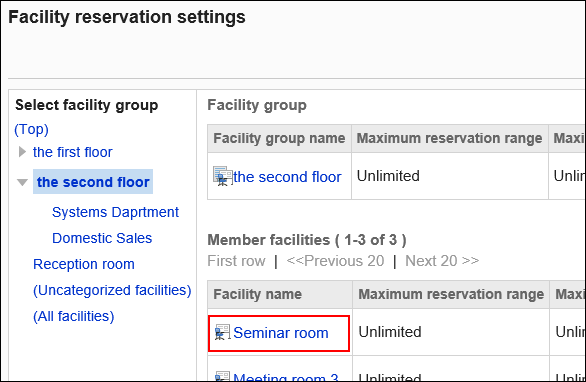
Click "Facility reservation settings".
-
On "Facility reservation settings" screen, select a facility group, and then click the facility group name or facility name to change its settings.
-
In the "Inherit settings" field on the screen for changing facility group settings, select whether to inherit the settings of the parent facility group.
- If you select not to inherit parent facility group settings:
Clear the checkbox for propagating parent facility group contents and proceed to step 8.
- If you select to inherit parent facility group settings:
Select the checkbox for propagating parent facility group contents and proceed to step 14.
If you select the checkbox for propagating parent facility group contents, users cannot change other settings for facility reservation.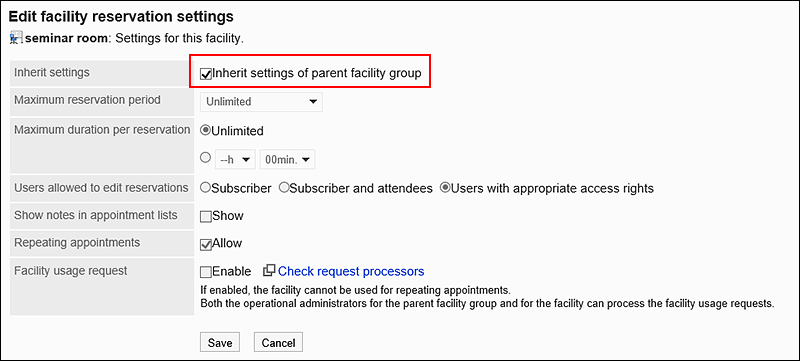
- If you select not to inherit parent facility group settings:
-
In the field to set "Maximum reservation period", you can set the period for facility reservation in months.
The following period can be set:
- Unlimited
- Set maximum period
Enter the upper limit in single-byte numbers.
You can set it in months.

-
In the field to set "Maximum duration per reservation" for reservation settings, set the maximum amount of time that can be reserved per reservation.
The following period can be set:
- Unlimited:
To allow more than 24 hours for a reservation, select "Unlimited". - Specify the time:
From the dropdown list, select from 30 minutes to 23 hours in 30 minutes.

- Unlimited:
-
In the field to select users who can change reservations, select a user who can change facility reservations.
The following users can be selected:
- Subscriber
- Subscriber and attendees
- Users with appropriate access rights

-
In the field to "Show notes in appointment lists", select whether to show notes for the facility.
 If you select "Show" checkbox, the notes set for the facility is shown on the facility list screen.
-
In the field for "Repeating appointments", you can set whether to allow repeating facility appointments.
Selecting "Allow" checkbox allows users to add repeating appointments to the facility.
The facility set for repeating appointments will remain available to be reserved until the end of the period even if the "Allow" checkbox is cleared later.
-
In the "Facility usage requests" field, select whether the approval of the operational administrators of the facility is required when users use the facility.
If you select "Enable" checkbox, users must be approved when they use the facility. In "Facility usage request" field, you can check the operational administrative privileges of the selected facility groups or the facility group the facility belongs, and the parent facility group by clicking "Check request processors".
 You can set operational administrative privileges for a facility group by clicking Check request processors and clicking Operational administrators on "Check request processors" dialog box.
-
Confirm your settings and click Save.
Updating All Facility Reservation Settings
All facilities and facility groups can be set in bulk.
-
Click the administration menu icon (gear icon) in the header.
-
Click System settings.
-
Select "Application settings" tab.
-
Click Scheduler.
-
Click "Facility reservation settings".
-
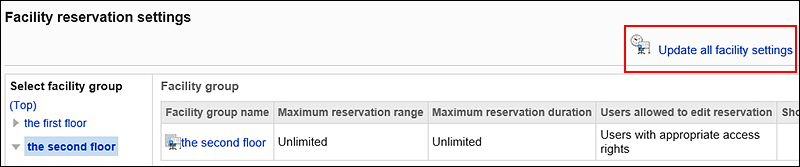
On "Facility reservation settings" screen, click "Update all facility settings".
-
On "Update all facility settings" screen, you can change the required items.
-
Confirm your settings and click Save.
The settings will be applied to all facility groups and facilities.