Facility settings
This section describes the settings for using facilities on schedulers.
Adding Facilities
Add facilities. You can specify facility groups where the facility belongs.
A facility can belong to only one facility group.
-
Click the administration menu icon (gear icon) in the header.
-
Click System settings.
-
Select "Application settings" tab.
-
Click Scheduler.
-
Click Facilities/Facility groups.
-
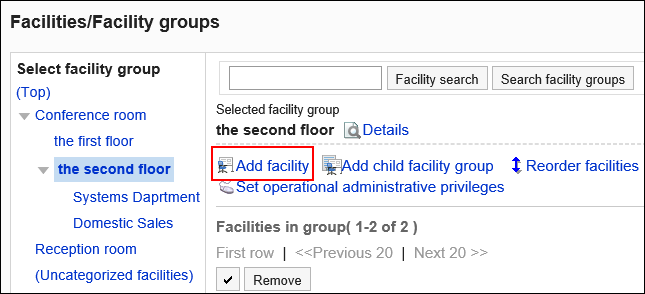
On the "Facilities/Facility groups" screen, select a facility group, and then click Add facility.
-
On the screen to add facilities, enter the name of the facility.
You should set the facility name.
Clicking Add localized name allows you to set facility names in multiple languages.
If you do not set the facility name in the user preference language, the default facility name is displayed.
The following languages can be set:- 日本語
- English
- 中文(简体)
- 中文(繁體)
Displayed in Traditional Chinese.
-
Enter the facility code field.
You should set a facility code for a facility.
This is a unique code for identifying a facility.
-
Set the Notes field as necessary.
Enter a description of the facility. The contents specified in the "Notes" field will be displayed on the "Facility details" screen of the users.
You can use HTML tags to describe notes in the Notes field. However, you cannot use "script" tags.
When you add new lines, use "br" tags.
You do not need to use "html", "head", or "body" tags.
-
If you add Web conference rooms, set the V-CUBE Meeting Support field and the maximum number of users allowed item.
For details on V-CUBE Meetings, refer to Settings up V-CUBE Meetings. -
Confirm your settings and click Add.
Changing Facilities
Change facility settings.
To change the parent facility group field, refer to Changing Facility Groups to Belong.
-
Click the administration menu icon (gear icon) in the header.
-
Click System settings.
-
Select "Application settings" tab.
-
Click Scheduler.
-
Click Facilities/Facility groups.
-
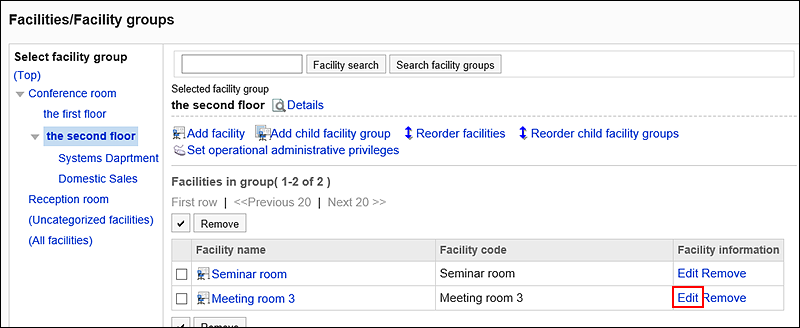
On the "Facilities/Facility groups" screen, select a facility group, and then click Edit to change the facility.
-
On the screen for changing facility information, you can change the settings as necessary.
-
Confirm your settings and click Save.
Changing Facility Groups Where the Facility Belongs
Change a facility group where the facility belongs.
-
Click the administration menu icon (gear icon) in the header.
-
Click System settings.
-
Select "Application settings" tab.
-
Click Scheduler.
-
Click Facilities/Facility groups.
-
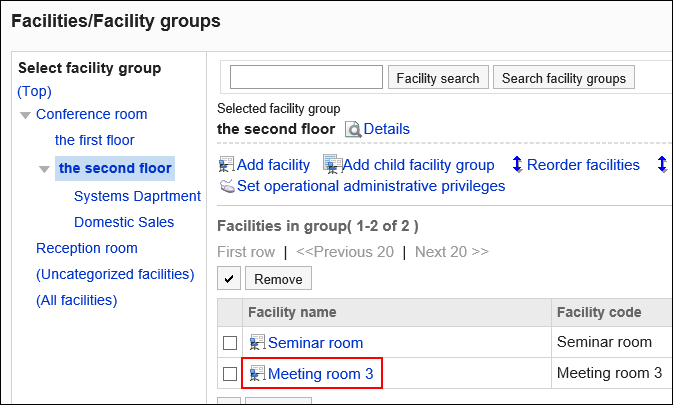
On the screen for facilities or facility groups, select a facility group and click the facility name of the facility to change its facility group to belong to.
-
On the facility details screen, click the item to change the facility group.
-
On the screen for changing a facility group to belong, select a facility group to move to on the parent facility group item.
You can search for facility groups to move facilities into by entering keywords and clicking to search facility groups.
Clicking a facility group name moves to the facility group you clicked.
-
Confirm your settings and click Save.
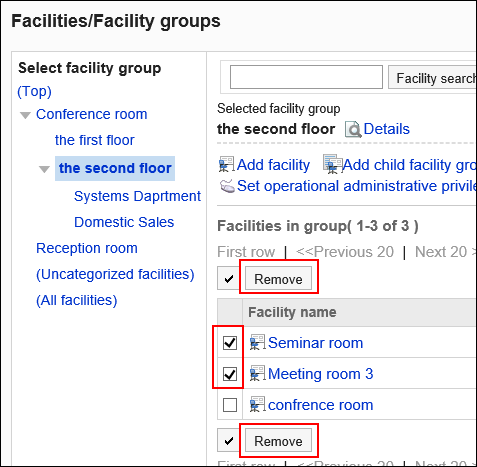
Removing Selected Facilities from Facility Groups
Remove facilities from the facility group to which they belong.
The facilities removed from the group are moved to the list for facilities not belonging to any facility groups.
-
Click the administration menu icon (gear icon) in the header.
-
Click System settings.
-
Select "Application settings" tab.
-
Click Scheduler.
-
Click Facilities/Facility groups.
-
On the screen for facilities or facility groups, select a facility group.
-
Select the checkbox for the facilities to remove from the group, and click to remove from the facility group.
-
Click Yes on the delete all facilities screen.
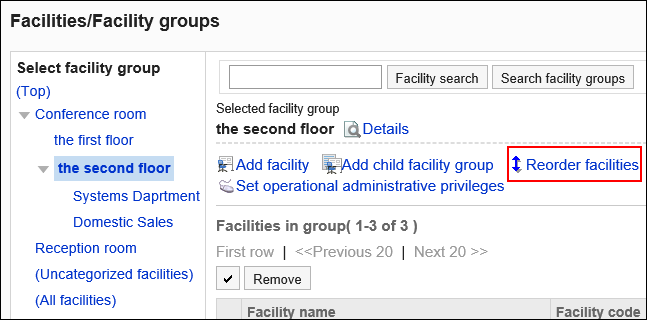
Reordering Facilities
Reorder facilities in a facility group.
-
Click the administration menu icon (gear icon) in the header.
-
Click System settings.
-
Select "Application settings" tab.
-
Click Scheduler.
-
Click Facilities/Facility groups.
-
On the "Facilities/Facility groups" screen, select a facility group, and then click Reorder facilities.
-
Change the order of facilities on the reorder facilities screen.
-
Confirm your settings and click Save.
Removing Facilities One by One
Remove registered facilities one by one. The facility reservation is canceled from the appointment that has the reservation for the deleted facility.
-
Click the administration menu icon (gear icon) in the header.
-
Click System settings.
-
Select "Application settings" tab.
-
Click Scheduler.
-
Click Facilities/Facility groups.
-
On the "Facilities/Facility groups" screen, select a facility group, and then click Remove to remove the facility.
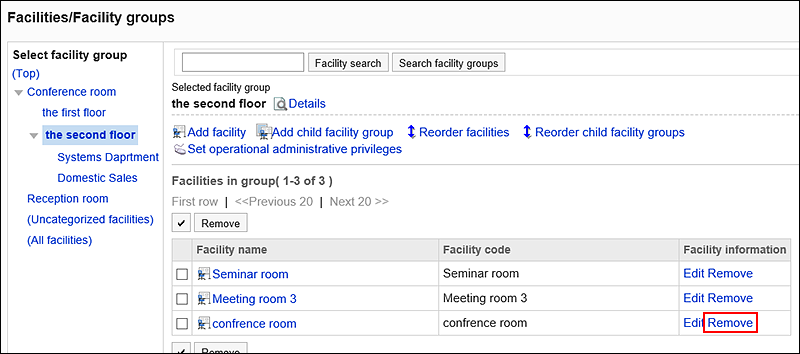
-
Click Yes on the page to remove facilities.
Deleting Facilities in Bulk
Delete the registered facilities in bulk. The facility reservation is canceled from the appointment that has the reservation for the deleted facility.
Only operational administrators of the facility group can delete the facilities in bulk.
-
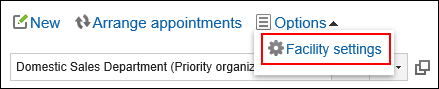
On the "Scheduler" screen, click Facility settings under Options.
-
On the "Facility settings" screen, select a facility group.
-
Select the checkboxes of the facilities you want to remove, and then click Delete.
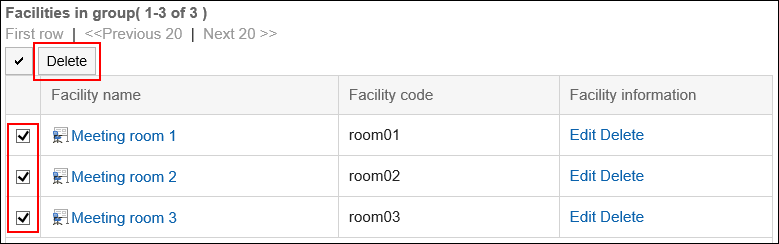
-
Click Yes on the "Delete facilities" screen.