Introduction Flow
This section describes the system administrator settings and tasks that are performed immediately after you have installed Garoon.
-
For your environment, access one of the following URLs:
- For Windows environment
http://(IP address or host name of the server)/scripts/cbgrn/rm. exe - For Linux:
http://(IP address or host name of the server)/cgi-bin/cbgrn/grn.cgi
- For Windows environment
-
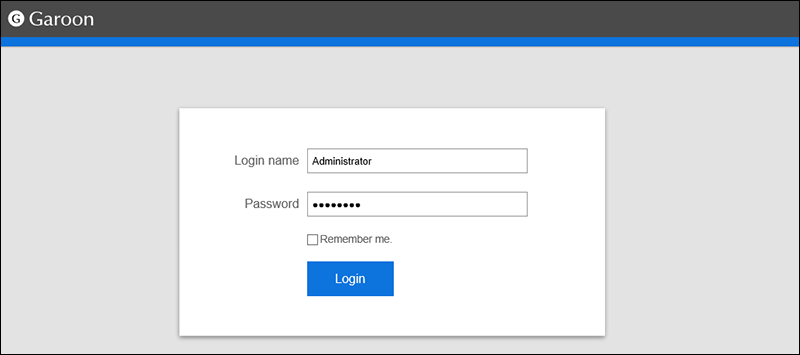
Enter the administrator login name and password, and log in.
The login name and password are as follows- Login Name: Administrator
- Password: password configured during installation
-
Click the Administration menu icon (gear icon) in the header.
-
Click System settings.
Setting up organizations allows users to set up permissions and update notifications for each organization, which is useful for managing information.
For details, refer to Adding organizations.
For details, refer to Adding users.
For details, refer to How to make users belong to organizations.
A role represents the position or function that is assigned to a specific group of users.
As with organizations, you can set permissions and update notifications for each role.
Example:
- Manager Role
- Role of new product development team
Add roles and let users have them.
For details, refer to role settings.
Set users other than administrator to system administrators who are managing the entire system in Garoon.
For details, refer to how to set up a system administrator.
Depending on the items and scopes you want to manage, you can also set the following administrators
- Screens for basic system administrators
- Screens for application administrators
- Operational administrators
For details, refer to Administrator settings.
For details, see the password restrictions.
Applications that are not allowed to use are not displayed on the user screen.
For details, refer to the "Limiting Application Users" section.
If you set up the following applications, you can start the operation smoothly.
 Portal:
Create a portal for users to use for each application.
For details, refer to Flow for Creating Portals. Scheduler:
Set up the conference room and facilities required to add an appointment.
For details, refer to Scheduler in system administration. E-mail:
Set up the mail server and user account to be able to receive e-mails in Garoon.
For details, refer to Setting up mail servers and configuring user accounts. Workflow:
Create an input form for the workflow so that users can submit the request data.
For details, refer to Workflow settings flow. MultiReport:
Create a report entry form so that users can create a report.
For details, refer to MultiReport in the system administration.
If you are running a trial, Step 11 is not required. Proceed to step 12.
The following information is contacted by the user
- Login URL:
Please contact users to add the login URL to bookmarks and favorites in the Web browser so that the next time you can log in easily. - Login name
- password