Installing on Windows
This section describes how to install Garoon on Windows.
For example, the steps below are based on the following operation environment:
- OS: Windows Server 2022
- Web server service: IIS 10.0
- CGI directory of the Web server: C:\inetpub\scripts
- Document root directory of the Web server: C:\inetpub\wwwroot
- MySQL: Using MySQL bundled in the Garoon installer
-
Log in to the server machine that you want to install Garoon on as a user who has local Administrator rights.
-
Place the installer in any folder, such as C:\Temp.
-
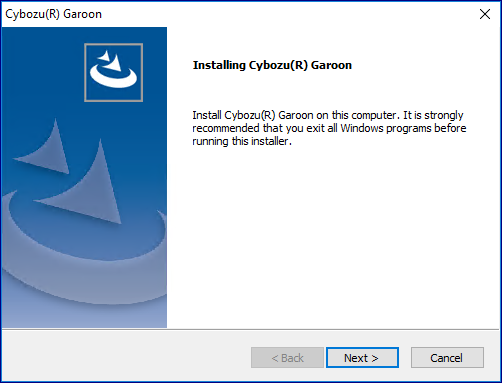
Start the installer and click Next.
-
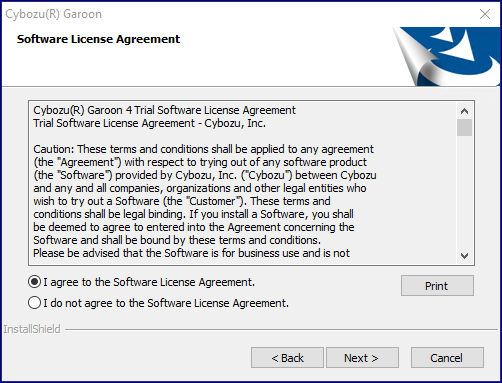
Read the Software License Agreement carefully. If you agree with it, select "I agree to the Software License Agreement" and click Next.
-
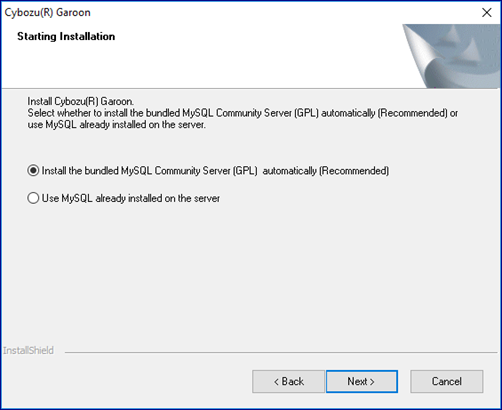
Select "Install the bundled MySQL Community Server (GPL) automatically (Recommended)" and click Next.
-
Confirm the Cybozu application directory and click Next.
If you want to change the Cybozu application directory, click "Browse" and select another directory.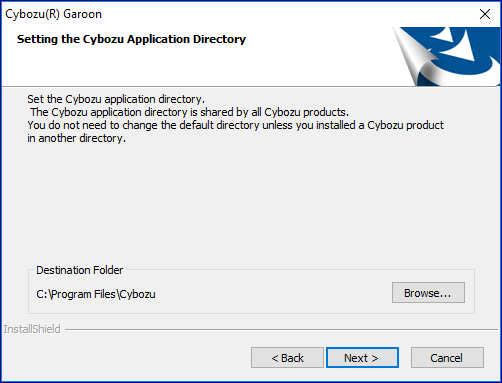
-
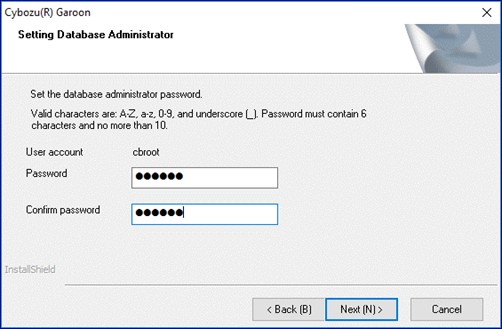
Enter the database administrator password and click Next.
-
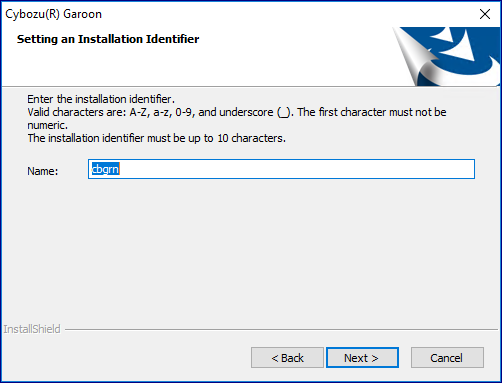
Enter an installation identifier and click Next.
- The initial setting is "cbgrn". If you want to change the setting, type any installation identifier and press the Enter key.
- If IIS is not running on port 80, you will get a "Failed to detect a web server" error message and the installer stops.
-
Confirm the CGI directory of the Web server and click Next.
If you want to change the CGI directory, click "Browse" and select another directory.
-
Confirm the document root directory of the Web server and click Next.
If you want to change the document root directory, click "Browse" and select another directory.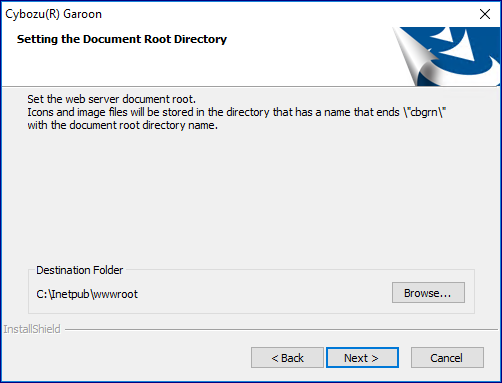
-
Verify the displayed settings and click "Install".
The installation starts.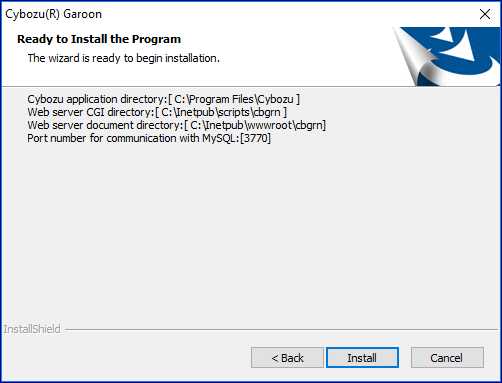
-
Click "Finish" on the "InstallShield Wizard Complete" screen.
The installer exits.
-
When the Command Prompt window appears, follow the instruction on the screen to initialize Garoon.
 During the initialization, you configure passwords for Garoon administrators and database users.
For details on the password requirements and the operation steps, refer to the step 4 and later in Initializing Garoon on Windows. -
After you complete the initialization of Garoon successfully, change the IIS settings.
For details, refer to Changing IIS Settings.
Initializing Garoon on Windows
This section describes how to initialize Garoon.
To initialize Garoon, use Command Prompt and run initialize.bat.
-
Stop the scheduling service.
On Windows, select "Administrative Tools" > "Services" to stop the following service:
Cybozu_Scheduling_Service_cbgrn
Replace "cbgrn" with your installation identifier. -
Go to the initialize directory.
Execute the following command:
cd (CGI directory)\\(installation identifier)\\initializeExample:
cd C:\\inetpub\\scripts\\cbgrn\\initialize -
Type the following command and press the Enter key:
For example, you can use the following command when you installed MySQL bundled in the Garoon installer:
initialize.bat ja "C:\\Program Files\\Cybozu\\mysql-5.0" cybozuAbout initialize.batSyntax:
initialize.bat [language] [path to the MySQL directory] [database administrator password]Parameters:
language Specify one of the following:
ja: Japanese. The time zone is "Asia/Tokyo".
en: English. The time zone is "Europe/London".
zh: Chinese. The time zone is "Asia/Shanghai".path to the MySQL directory If you installed MySQL bundled in the Garoon installer, the directory path is as follows:
C:\Program Files\Cybozu\mysql-5.0
If MySQL was already installed on the server, specify the MySQL installation directory. -
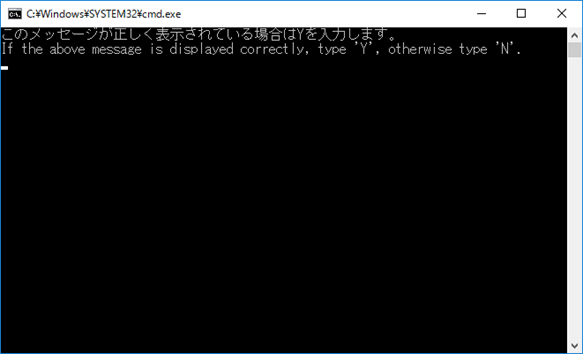
Check the displayed information, type 'Y' or 'N', and press the Enter key.
When you type 'Y', messages for step 5 and beyond will be shown in Japanese. When you type 'N', messages for step 5 and beyond will be shown in English. The following procedure assumes that you type 'Y':
If the above message is displayed correctly, type 'Y', otherwise type 'N'. If the above message is displayed correctly, type 'Y', otherwise type 'N'. -
Type the database user password and press the Enter key.
Initializing Garoon.

Set a password for the database user.
Valid characters are: a-z, A-Z, 0-9, and underscore (_).
Passwords must be 6 to 10 characters.
-
Type the Administrator password and press the Enter key.
Set a password for "Administrator".- Passwords must be 6 to 10 characters long.
- Passwords can contain the following characters.
- a-z
- A-Z
- 0-9
- _
- The following characters are not acceptable: less than sign (<), greater than sign (>), vertical bar (|), and ampersand (&). In some environments, other symbols are also unacceptable.
- If you want to use symbols in your password, initialize Garoon and then use "System Administration" to change the password. For instructions on how to change passwords, refer to the Editing User Profile.
-
Select which data sets you want to install, and press the Enter key.
You can select which data sets to install only if you typed 'Y' in step 4 and the display language is Japanese. This message does not appear if you typed 'N' in step 4.
Select the data that you want to install on Garoon. Select "Nothing" to install no data.
1: Standard data
   Installs standard data, including Japanese holidays and request forms.
2: Nothing
[1|2]:
In the standard data, holidays, samples of workflow request form, and other information are registered. It is recommended that you install standard data if you plan to create users from scratch in Garoon.
You can also install standard data at a later time. For details, see the "Garoon Initializing Commands" section. -
Check the displayed information, type "yes", and press the Enter key.
The initialization will start.
Summary of initialize configuration

database administrator password: "cybozu"
database connection user password: "cybozu"
"Administrator" password: "cybozu"
Data to be installed: [Your selection in step 7]

Are you sure you want to initialize Garoon with the above settings? Are you sure?
[yes or no]
To cancel the initialization, type "no" and press the Enter key.
Initialization is aborted.
To initialize again, execute the following command:

CD "C:\inetpub\scripts\cbgrn\initialize\"
initialize.bat ja "C:\Program Files\Cybozu\mysql-5.0" [CBROOT_PASSWORD]
-
Confirm that the initialization is completed successfully.
The installation has completed successfully.

Start a web browser and access the URL below:
http://(FQDN or IP address of the server)/(virtual path to the CGI directory)/cbgrn/grn.exe

Example) http://webserver.cybozu.co.jp/scripts/cbgrn/grn.exe
Example) http://10.10.203.55/scripts/cbgrn/grn.exe
-
Start the scheduling service.
On Windows, select "Administrative Tools" > "Services" to start the following service:
Cybozu_Scheduling_Service_cbgrn
Replace "cbgrn" with your installation identifier.
Changing IIS Settings
This section describes how to change the IIS settings.
You can change the following:
- Add MIME types
- Enable directory browsing
- Edit handler mappings
-
Start Server Manager.
-
Start IIS Manager.
Click "Tools" and select "Internet Information Services (IIS) Manager". -
In the "Connections" section, click "(computer name)".
-
In the Features View, double-click "MIME Types".
-
On the "MIME Types" screen, add MIME types for "no extension" and ".md".
- "no extension"
- Click Add in the "Actions" section.
- In the "Add MIME Type" screen, configure the file name extension and MIME type.
- File name extension: Enter ".".
- MIME type: Enter "text/plain".
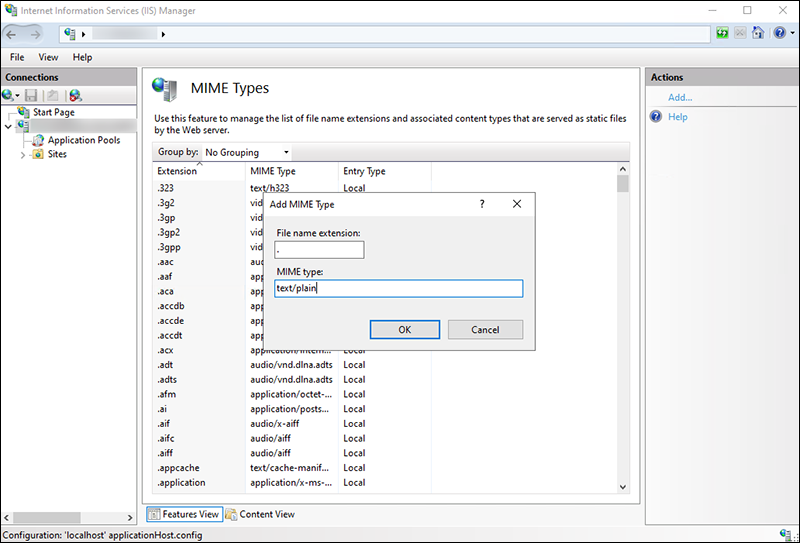
- Confirm your settings and click OK.
- ".md"
- Click Add in the "Actions" section.
- On the "Add MIME Type" screen, configure the file name extension and MIME type.
- File name extension: Enter ".md".
- MIME type: Enter "text/plain".
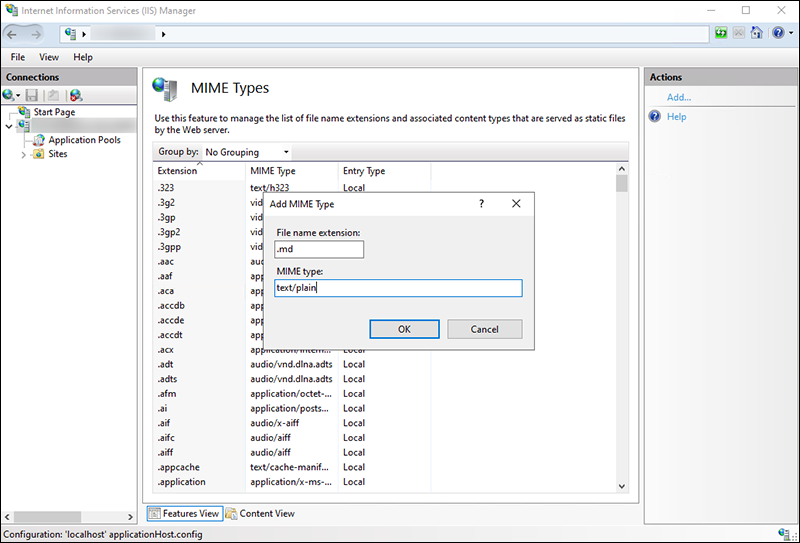
- Confirm your settings and click OK.
-
In the "Connections" section, click "(computer name)".
-
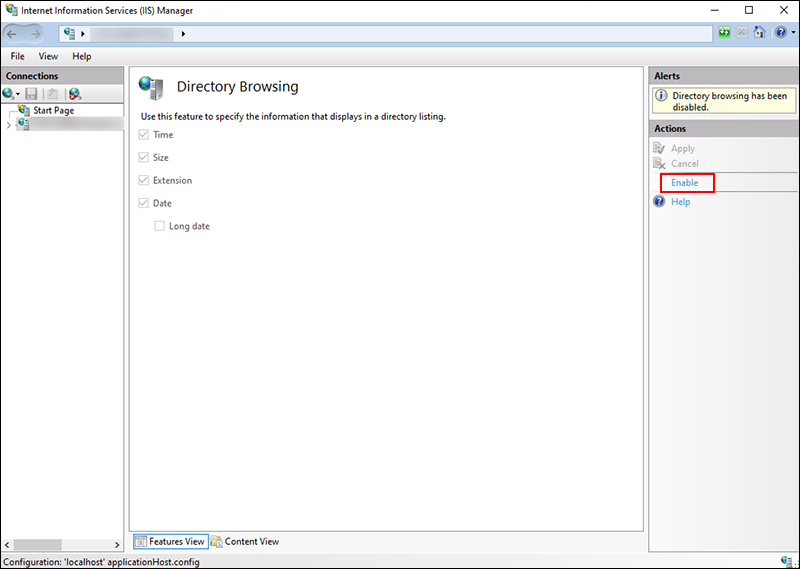
In the Features View, double-click "Directory Browsing".
-
In the "Actions" section for Directory Browsing, click "Enable".
-
In the "Connections" section, click "(computer name)" and then "Sites".
-
Click "Default Web Site" and select "scripts".
If "scripts" does not appear under "Default Web Site", check the virtual directory settings.
The CGI directory of the Web server, which was specified during Garoon installation, must be configured as a virtual directory.
For details, refer to How to Create a Virtual Directory.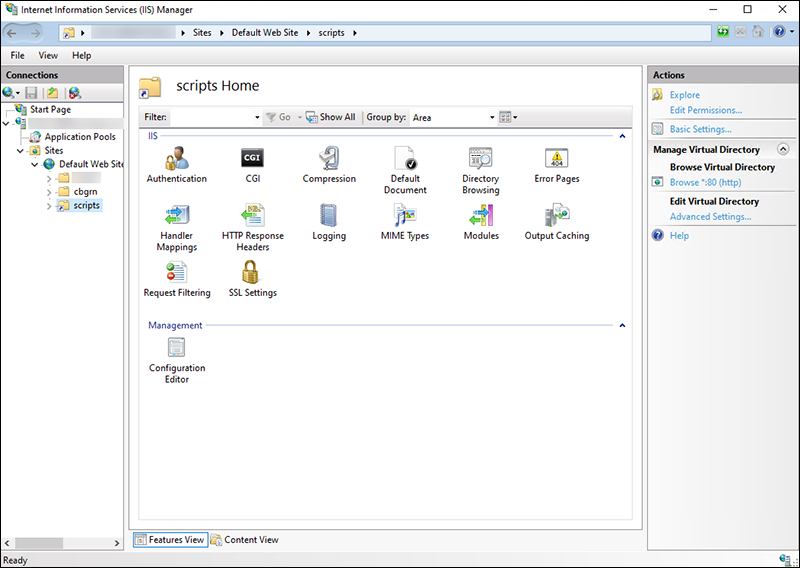
-
On the "Features View", double-click "Handler Mappings" in "scripts".
-
Right-click "CGI-exe" and click "Edit".
When other exe files in the same virtual directory also use "scripts", you must set a handler mapping for each exe file.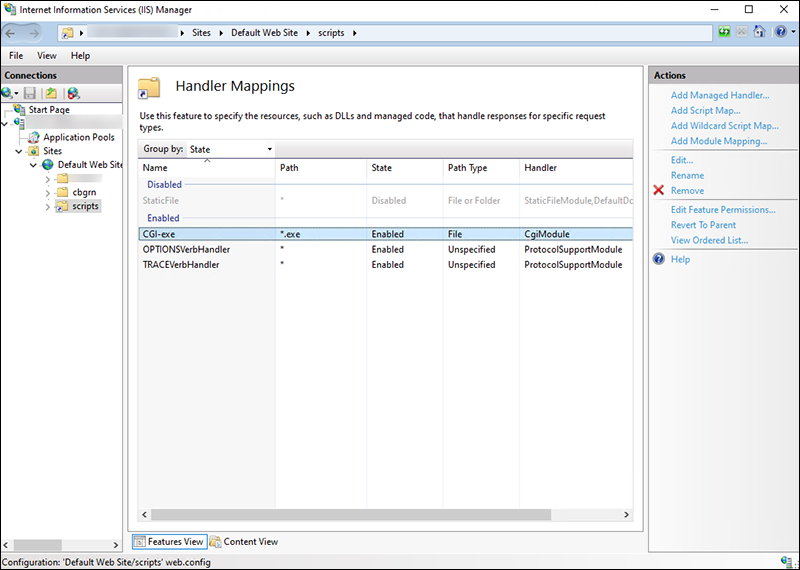
-
On the "Edit Module Mapping" dialog box, in the "Executable" field, enter the path and name of the file "grn.exe", and then click OK.
Example: C:\inetpub\scripts\cbgrn\grn.exe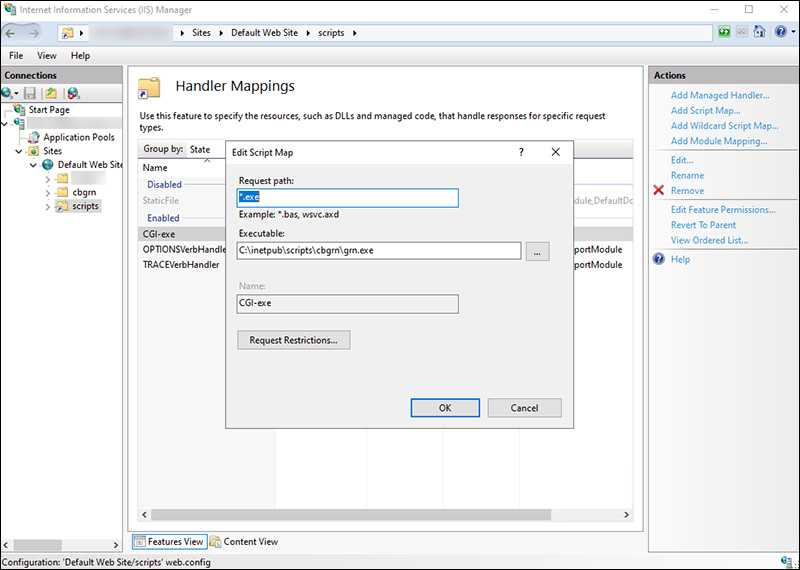
-
If you are asked "Do you want to allow this ISAPI extension?", click Yes (Y).
When the ISAPI extension is allowed, the Garoon program runs on the IIS process.
If the state of "CGI-exe" is "Disabled", right-click "CGI-exe" to select "Edit Feature Permissions". Check the permissions, and if "Execute" is not selected, select Execute and click OK to apply your change. -
Access the Garoon URL to check that the login screen appears.
-
Configure Garoon's initial settings.
For details, refer to Post-Installation Tasks.