Changing Request Forms
Change notes for administrators and basic information in request forms.
Changing Notes for Administrators
You can add work histories and notes in notes for administrators.
The notes for administrators are displayed only on system administration screens. They are not shown on user screens.
-
Click the administration menu icon (gear icon) in the header.
-
Click System settings.
-
Select "Application settings" tab.
-
Click Workflow.
-
Click Request forms.
-
On the "Request Form" list screen, select a category, and then click the request form name of the request form to change the notes for administrators.
-
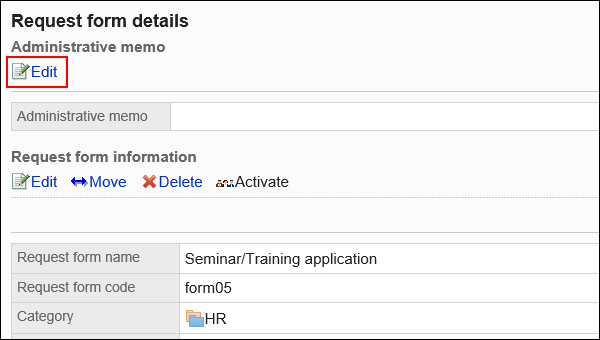
On the screen for request form details, click Edit in the section for administrator notes.
-
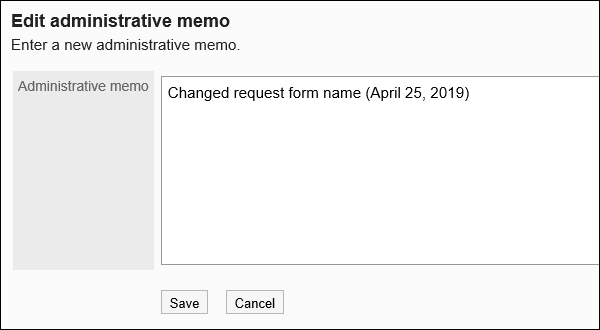
On the screen to change notes for administrators, enter your work history and notes.
-
Confirm your settings and click Save.
Changing Request Form Information
Change basic information in request forms.
Changes to the request form information are applied to the following request data: They are not applied to request data in progress and withdrawn request data.
- Newly created request data
- Request data created by reusing existing request data
- Request data created from drafts
We recommend that you disable the request forms to prevent users from using them while working with them.
-
Click the administration menu icon (gear icon) in the header.
-
Click System settings.
-
Select "Application settings" tab.
-
Click Workflow.
-
Click Request forms.
-
On the "Request Form" list screen, select a category, and then click the request form name of the request form to change basic information.
-
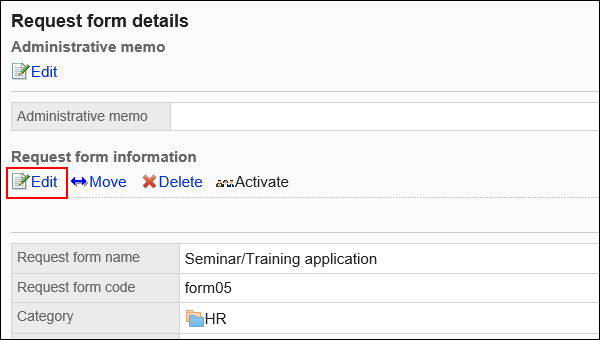
On the screen for request form details, click Save in the request form information.
-
On the screen to change request forms, set the required items.
For details, refer to Setting Items for Request Forms. -
Confirm your settings and click Save.
Changing Request Form Icons
Set the icon appears on the user screens and the "Request form" list screen.
You can also use images specifying their URL.
By default, a standard icon![]() is set.
is set.
-
Click the administration menu icon (gear icon) in the header.
-
Click System settings.
-
Select "Application settings" tab.
-
Click Workflow.
-
Click Request forms.
-
On the "Request forms" screen, select a category, and then click the request form name of the request form to change icons.
-
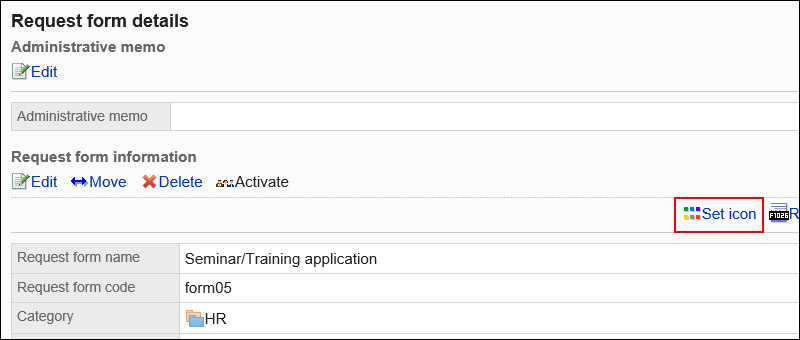
On the screen for request form details, click Set icon in the "Request form information" section.
-
On "Icon" screen, select an icon to use.
To set an image on the Web, select "URL" and enter the URL of the image.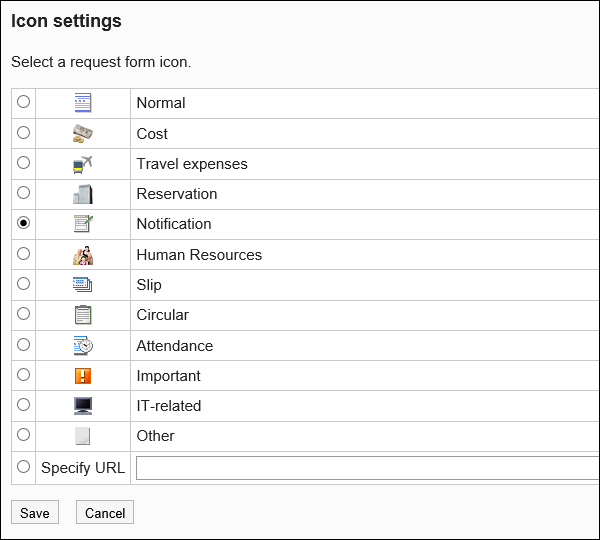
-
Confirm your settings and click Save.