Setting Categories
Set categories.
Adding Categories
Add categories.
-
Click the administration menu icon (gear icon) in the header.
-
Click System settings.
-
Select "Application settings" tab.
-
Click Bulletin Board.
-
Click "Setting categories".
-
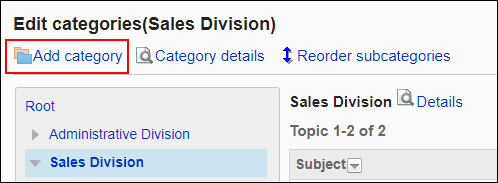
On the "Setting categories" screen, select a category and click "Add Categories".
-
On the "Add Categories" screen, enter the "Subject" field.
You should set the default subject.
Clicking Add localized name allows you to set subjects in multiple languages.
If you do not set the subject in the user preference language, the default subject is displayed.
The following languages can be set:- 日本語
- English
- 中文(简体)
- 中文(繁體)
Displayed in Traditional Chinese.

-
Set the Category Code field.
You should set the category code.
This is a unique code for identifying categories.
-
Set the Notes field as needed.
Enter a description of the category. When you set this field, notes are displayed on the category screen.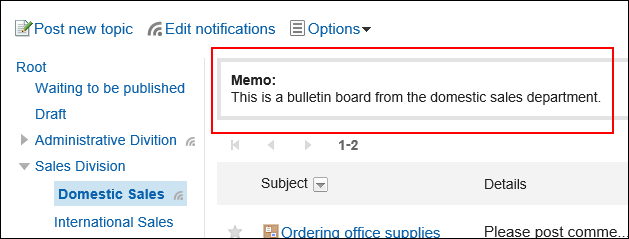
-
In the "Access permissions" field and the "Notifications" field, select whether to apply the settings of a parent category, or other categories included in the same parent category.
The default values have the values of its parent category or the parent's subcategory settings.
- If you do not apply the parent category or the parent's subcategory settings to the category:
Clear the checkboxes for applying permissions of parent category or parent's subcategory and applying notification settings of parent category or parent's subcategory.
- If you apply the parent category or the parent's subcategory settings to the category:
Select the checkboxes for applying permissions of parent category or parent's subcategory and applying notification settings of parent category or parent's subcategory.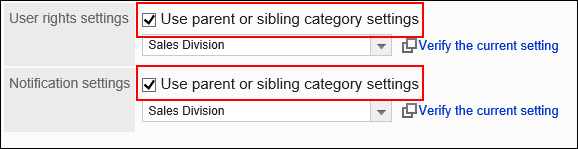 Select the category to apply the settings from the dropdown lists of user rights or notification settings.

- If you do not apply the parent category or the parent's subcategory settings to the category:
-
Confirm your settings and click Add.
Changing Categories
Change the settings for categories.
-
Click the administration menu icon (gear icon) in the header.
-
Click System settings.
-
Select "Application settings" tab.
-
Click Bulletin Board.
-
Click "Setting categories".
-
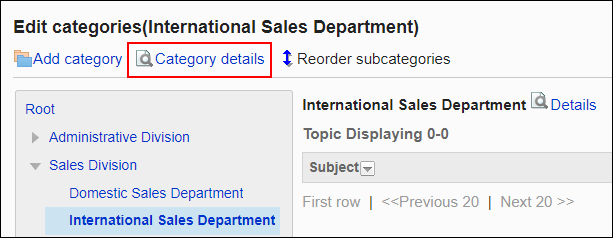
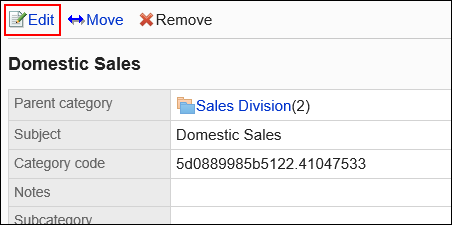
On "Setting categories" screen, select a category and click Details.
-
On the screen for category details, click Save.
-
On the screen to change categories, you can change the settings as necessary.
-
Confirm your settings and click Save.
Moving Categories
Move the subcategory to another category.
The "root" category cannot be moved.
-
Click the administration menu icon (gear icon) in the header.
-
Click System settings.
-
Select "Application settings" tab.
-
Click Bulletin Board.
-
Click "Setting categories".
-
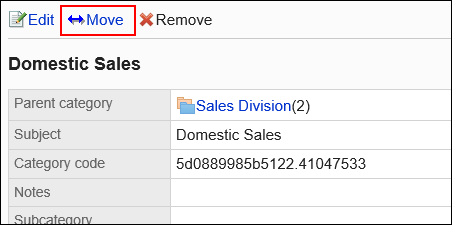
On "Setting categories" screen, select a category and click Details.
-
On the screen for category details, click "Move".
-
On the screen to move categories, select the category to move to parent category.
You can search for categories to move categories into by entering keywords and clicking "Category search".
Clicking "Move up" moves the category up one level.
Clicking on a category name moves you to the subcategory of the category you clicked. Numbers represent the number of subcategories.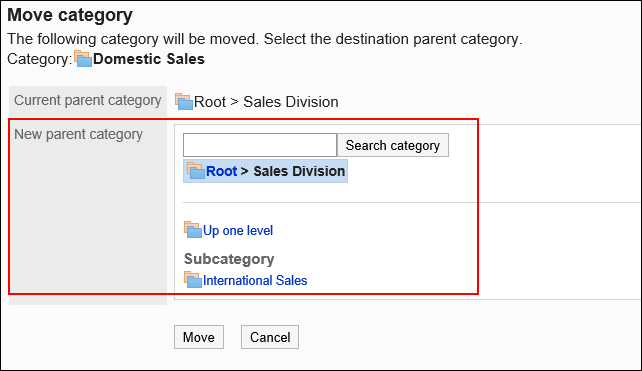
-
Confirm your settings and click "Move".
Reordering Subcategories
Reorder subcategories.
-
Click the administration menu icon (gear icon) in the header.
-
Click System settings.
-
Select "Application settings" tab.
-
Click Bulletin Board.
-
Click "Setting categories".
-
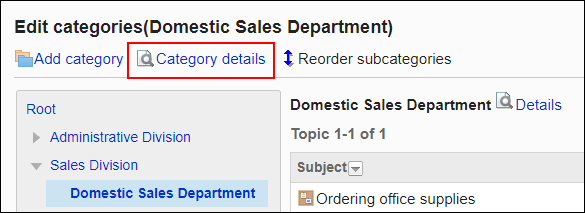
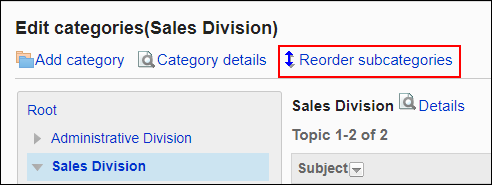
On "Setting categories" screen, select a category, and then click Reorder subcategories.
-
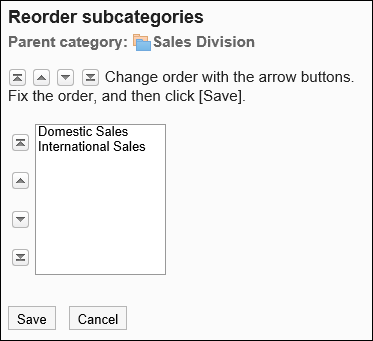
On the screen to reorder subcategories, reorder subcategories.
-
Confirm your settings and click Save.
Deleting Categories
Delete empty categories.
The following categories cannot be deleted:
- Root category
- Categories with topics or subcategories
-
Click the administration menu icon (gear icon) in the header.
-
Click System settings.
-
Select "Application settings" tab.
-
Click "Bulletin Board".
-
Click "Setting categories".
-
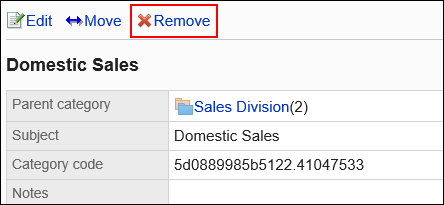
On "Setting categories" screen, select a category and click Details.
-
On the screen for category details, click Delete.
-
Click Yes on the page to delete categories.