Setting up Portlet Groups
You can group HTML portlets in portlet groups.
When you set up portlet groups, you can group HTML portlets by usage and make them quickly be selected when you create portals.
When you create a portlet group and add portlets to it, you can do so from the details screen of HTML portlets.
For details, refer to Configuring HTML Portlets.
Adding Portlet Groups
Create a portlet group to group HTML portlets.
-
Click the Administration menu icon (gear icon) in the header.
The gear-shaped icon appears only on the screen for the users with administrative privileges. -
Click Garoon System Administration.
-
Select "Application settings" tab.
-
Click Portal.
-
Click Portlet Group.
-
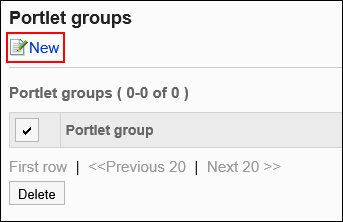
On the screen for portlet groups, click an item to add a portlet group.
-
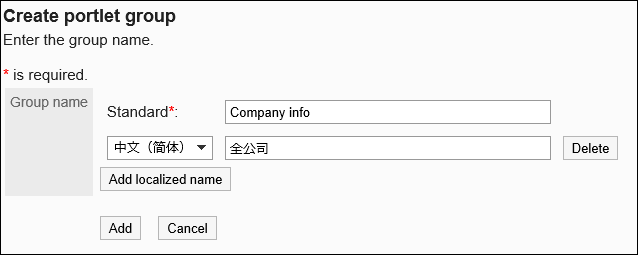
On the screen to add portlet groups, enter the name of the group.
You should set the default group name.
Clicking "Add localized name" allows you to set group names in multiple languages.
If you do not set the group name in the user preference language, the default group name is displayed.
The following languages can be set:- 日本語
- English
- 中文(简体)
- 中文(繁體)
Displayed in Traditional Chinese.
-
Confirm your settings and click Add.
Changing Portlet Groups
Change group names.
-
Click the Administration menu icon (gear icon) in the header.
The gear-shaped icon appears only on the screen for the users with administrative privileges. -
Click Garoon System Administration.
-
Select "Application settings" tab.
-
Click Portal.
-
Click Portlet Group.
-
On the screen for portlet groups, click the portlet group name of the portlet group.
-
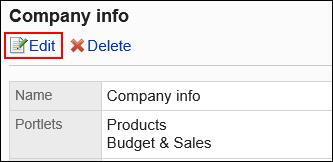
On the screen for portlet group details, click Save.
-
On the screen to change portlet groups, change the group name, then click Save.
Deleting Portlet Groups
Delete portlet groups.
When you delete portlet groups, the memberships of HTML portlets belonging to the group are cleared. The portlets themselves are not deleted.
Deleting Portlet Groups One by One
Delete each portlet group one by one.
-
Click the Administration menu icon (gear icon) in the header.
The gear-shaped icon appears only on the screen for the users with administrative privileges. -
Click Garoon System Administration.
-
Select "Application settings" tab.
-
Click Portal.
-
Click Portlet Group.
-
On the screen for portlet groups, click the portlet group name of the portlet group to delete.
-
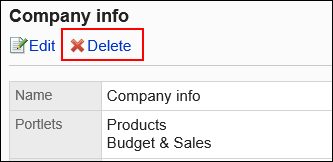
On the screen for portlet group details, click Delete.
-
On the screen to delete portlet groups, click Yes.
Deleting Multiple Portlet Groups in Bulk
Delete multiple portlet groups.
-
Click the Administration menu icon (gear icon) in the header.
The gear-shaped icon appears only on the screen for the users with administrative privileges. -
Click Garoon System Administration.
-
Select "Application settings" tab.
-
Click Portal.
-
Click Portlet Group.
-
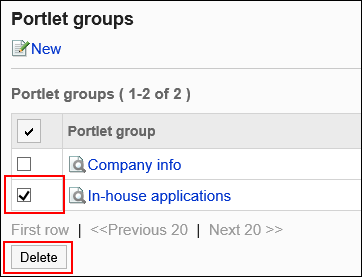
On the screen for portlet groups, select the checkbox for the portlet group to delete, and then click Delete.
-
Click Yes on the screen to delete portlet groups.