Exporting Request Data to a CSV File
You can export request data to a CSV file per form. The CSV file can be used as backup data.
It cannot be imported from a CSV file.
Steps:
-
Click the administration menu icon (gear icon) in the header.
-
Click System settings.
-
Select "Application settings" tab.
-
Click Workflow.
-
Click the item to manage request data.
-
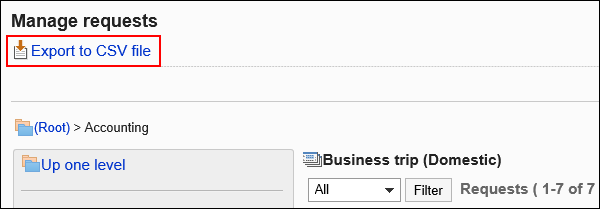
On the screen to manage request data, select a category, then select a request form, and click Export to CSV file.
-
On the screen to export request data, set the required items for the exported data.
The setting fields are as follows:
- Number:
Enter the request number to filter by it. - Subject:
Enter the subject to filter by it. - Applicant:
Enter the applicant to filter by it.
To perform filtering, fill in the "Applicant" field with the applicant when the workflow was originally requested.
The applicant name in the CSV file is the applicant name of the workflow at the time of file export. - Status:
Clear the checkboxes for the statuses as needed to filter by them. - Requested (time range of date applied):
Filter by date or or period that requests applied. - Items:
Select items from request forms to export to a CSV file.
Select the items to export from the available item list, and click Add.
To delete items, select the item to delete from the export item list, and then click "Delete". - Character encoding:
Select the character code that you want to use for encoding.
The following character encoding can be selected:- Unicode (UTF-8)
You can select with BOM as required. - Japanese (Shift-JIS)
- ASCII
- English (Latin1)
- Simplified Chinese (GBK/GB2312)
- Thai (TIS-620)
- Unicode (UTF-8)
- Include header row:
To export an item name to the header row of a CSV file, select "Yes".
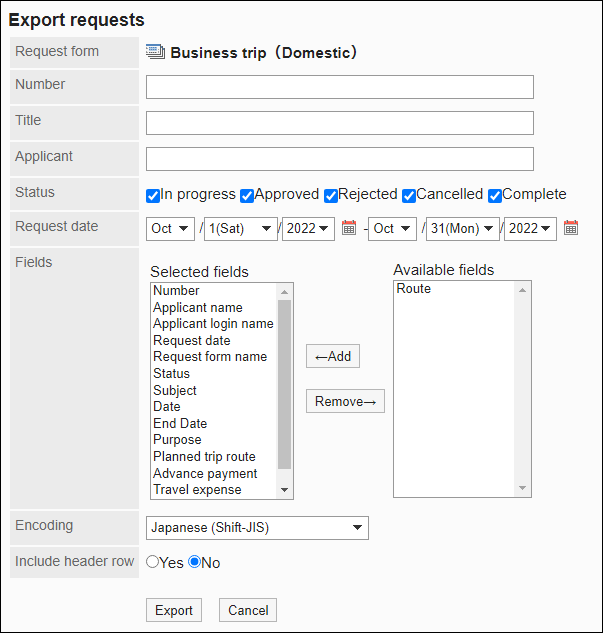
- Number:
-
Confirm your settings and click Export.
-
Save the file with a function provided by your Web browser.