Migrating Mail Server
This section describes the necessary settings in Garoon when you migrate a mail server.
The following describes how to add a destination mail server and e-mail accounts in Garoon.
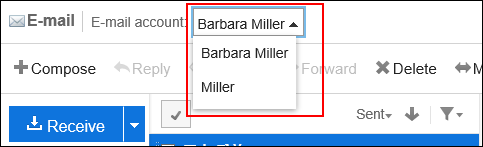
Users can switch e-mail accounts so that they can check sent and received e-mails on the servers before and after the migration.
Follow the steps below to add a destination mail server e-mail accounts in Garoon.
Steps:
Add the destination mail server information.
Do not delete the source mail server information yet.
For details, refer to Adding Mail Servers.
For details, refer to Adding Mail Servers.
Export registered user accounts to a CSV file.
For details, refer to Exporting Data to a CSV file.
Add the destination user account information to the CSV file.
For information on items that can be managed in CSV files, refer to the CSV format in User Accounts.
Import the CSV file edited in Step 3.
For details, refer to Importing Data from a CSV File.
Ensure that the e-mails can be sent/received with the destination mail server settings.