Web Proxy Settings
Configure a Web proxy. This setting is required if you access the Internet from a server where Garoon is installed, and you go through a proxy.
Steps:
-
Click the administration menu icon (gear icon) in the header.
-
Click System settings.
-
Select "Basic system administration" tab.
-
Click the item for external servers.
-
Click "Web Proxy Settings".
-
On the screen for setting Web proxy, select to use a Web proxy.
To stop using it, disable it.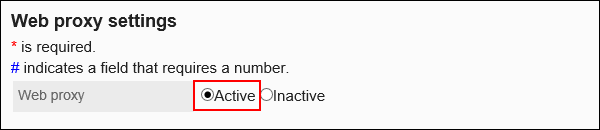
-
Enter the proxy server name.
Always set the proxy server name.
Enter the host name or IP address of the proxy server.
-
In the proxy server port number field, enter the port number of the proxy server.
Always set this proxy server port number. Enter the value using single-byte numbers.
The default value is 8080.
-
If necessary, set the exception address field.
If you want to allow access without using a proxy, specify the address to allow.
- If you want to specify multiple e-mail addresses:
Separate multiple addresses using semicolons (;). - If you want to specify multiple e-mail addresses within a certain range:
Specify a string that partially matches the target addresses.
For example, specifying ".example.com" allows addresses having ".example.com", including "www.example.com" and "some.example.com".
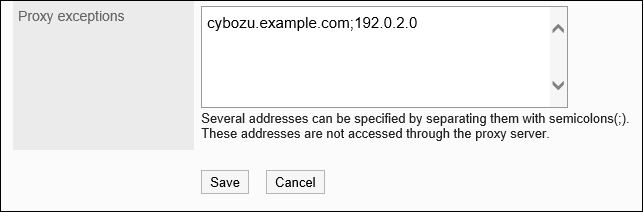
- If you want to specify multiple e-mail addresses:
-
Confirm your settings and click Save.