Portal Customization
This section describes how to customize the portal.
The portal can be customized only for HTML portlets. Before you customize, prepare the HTML portlets to which you apply the customizations. For details, refer to Adding HTML Portlets.
For the screens that allow customization to be applied, refer to For Portals.
-
You can prepare JavaScript files and CSS files yourself.
-
Click the Administration menu icon (gear icon) in the header.
The gear-shaped icon appears only on the screen for the users with administrative privileges. -
Click Garoon System Administration.
-
Select "Application settings" tab.
-
Click Portal.
-
Click HTML portlet.
-
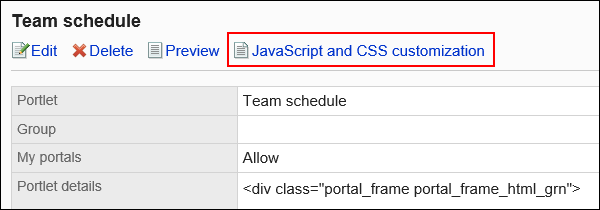
On the "HTML portlet" screen, select the portlet name of the HTML portlet to which you apply the JavaScript files or CSS files.
-
On the Details screen of HTML portlet, click "JavaScript and CSS customization".
-
In the "JavaScript customization" field on the "JavaScript and CSS customization" screen, set the JavaScript file to apply.
You can add up to 30 files or links.
- File:
Only files with a file extension of ".js" can be added.
Up to 5 MB of files can be uploaded. - Link:
Specify a URL starting with "https://" in up to 512 characters.
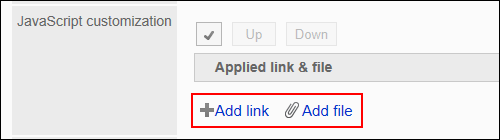
- File:
-
In the "CSS customization" field, set the CSS file you want to apply.
You can add up to 30 files or links.
- File:
Only files with a file extension of ".css" can be added.
Up to 5 MB of files can be uploaded. - Link:
Specify a URL starting with "https://" in up to 512 characters.
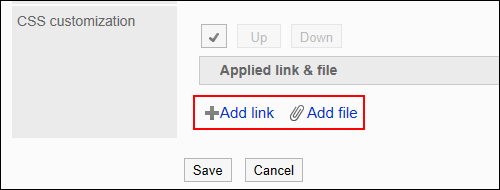
- File:
-
You can change the order of the files and links as needed.
JavaScript files run from top to bottom.
Select the checkboxes for the files and links you want to reorder, and then click "Move Up" or "Move Down".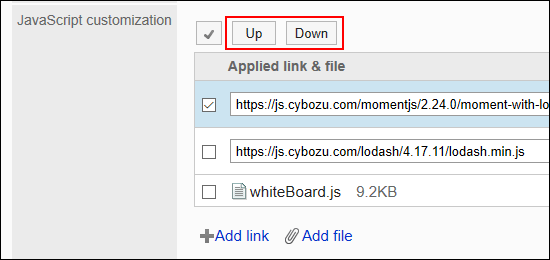
-
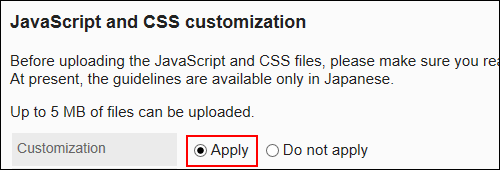
In the "Customization" field, select "Apply".
-
Confirm your settings and click Save.
-
On the screen where the customizations are applied, confirm that the design and item functions are fine.