Route Preview
Confirm the request route view on the preview screen. However, route branching conditions are not reflected in the preview screen.
If you have set the default value for the route step, you can check the display of the processors for each route step for each user.
-
Click the Administration menu icon (gear icon) in the header.
The gear-shaped icon appears only on the screen for the users with administrative privileges. -
Click Garoon System Administration.
-
Select "Application settings" tab.
-
Click Workflow.
-
Click Request forms.
-
On the "Request forms" list screen, select a category, and then click the name of the request form to check the appearance of the form.
-
On the screen for request form details, click to preview routes in "Route Information".

-
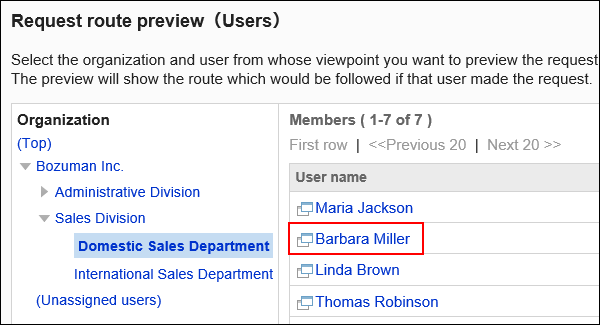
On the "Request Route preview (user list)" screen, select the user who you want to confirm the display.
The preview screen opens in a new tab or window.
-
On the "Request Route preview" screen, confirm the display of the route.
If you have set the default value for the route step, users of the default value will be displayed in each route step.
On the preview screen, buttons such as "Add" and "Cancel" cannot be used.