Adding or changing users and departments using a file
This page describes the steps to add or change data such as users, departments, job titles, and groups (or roles) in cybozu.com in bulk using text files.
Types of the data that can be changed using files
As for the data in cybozu.com that can be changed using files, refer to the following page:
User administration
How to prepare import files
To prepare an import file, export the data in cybozu.com or download a template file.
File format
For details on the file formats for each data, refer to the following page:
File format
Notes on changing the data using files
Users
When you add users using a file, you will not receive an email notifying password and login information.
An administrator must notify users of password and login information.
Departments
When you change the department information, enter all necessary departments in a file.
The departments that are not entered in the imported file will be deleted.
We recommend that you export existing departments to a file and edit the exported file to create an import file.
For details on how to export a file, refer to the following page:
Exporting users, departments, and other information to files
Groups (or roles)
You cannot change the conditions for dynamic groups when you use a text file to update information.
Add dynamic groups using a file, and specify conditions for the added dynamic groups.
Specifying conditions for dynamic groups
Steps
-
Access Administration.
Accessing Administration -
Click Import from file.
-
From the "Contents to import" dropdown list, select a type of data to be imported.
- Users
- User available services
- Departments
- Departments to which users belong
- Job titles
- Groups (or roles)
- Static groups (or roles) to which users belong
-
Click Browse and select a file to import.
-
If the first line of the file contains field names, select "Skip header row"
-
In "Character encoding", select the character encoding of the file to import.
-
In "Delimiter", select one of the following:
- Comma
- Semicolon
- Tab
- Spaces
-
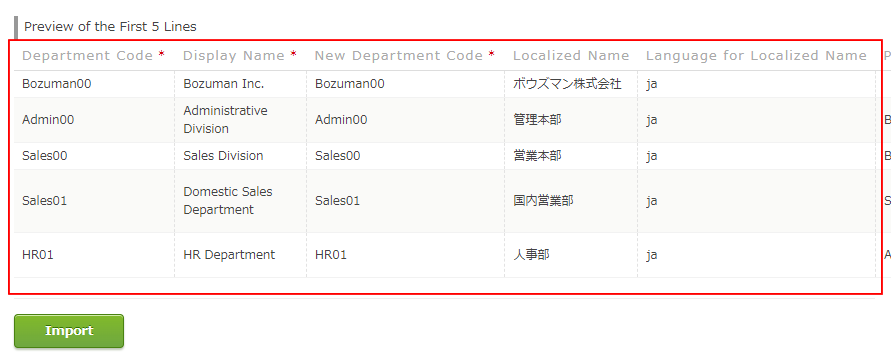
Use "Preview" to check that the data is correct.
"Preview" displays the first five lines of the file.
-
If a confirmation screen appears, check the description and then click Import.
-
Check the processing status in "Import results".
If "Failed" is displayed, it indicates that the file failed to be imported. Read the error description and correct the data in the file.
If you receive a 'Language for localized name is not valid' message