Creating an App from Scratch
You can create an app from scratch.
This article describes the steps and operations to set up an app, using the "Daily Report" app as an example.
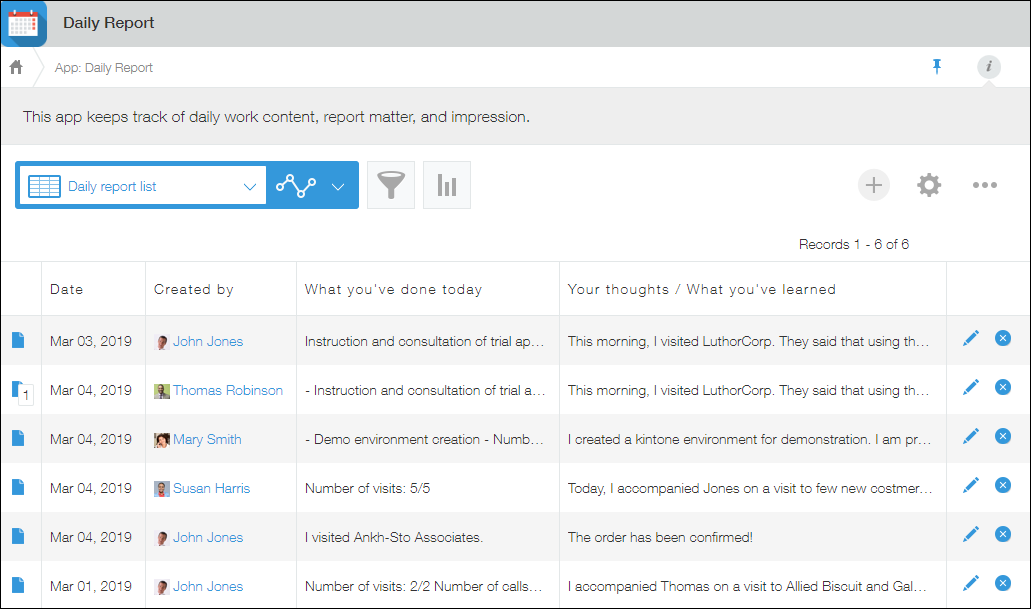
How the completed app will look
Creating an app
-
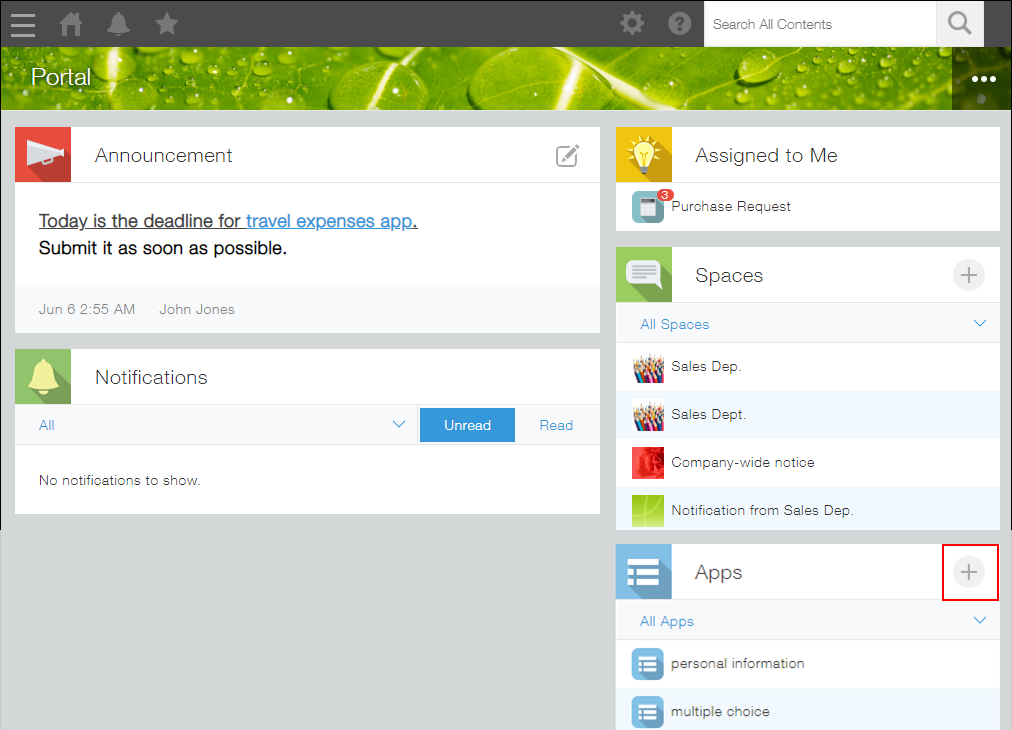
On the kintone Portal, click the Create app icon (the plus sign-shaped icon) in the Apps section.
-
On the kintone marketplace screen, click Create app from scratch.
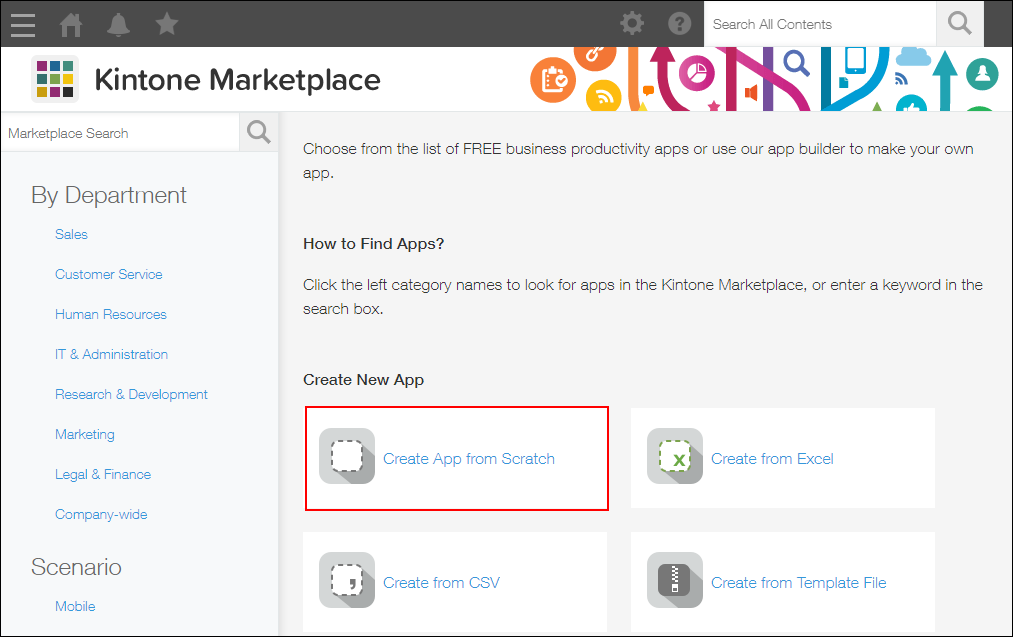
You will be navigated to the Form settings screen of the new app.
-
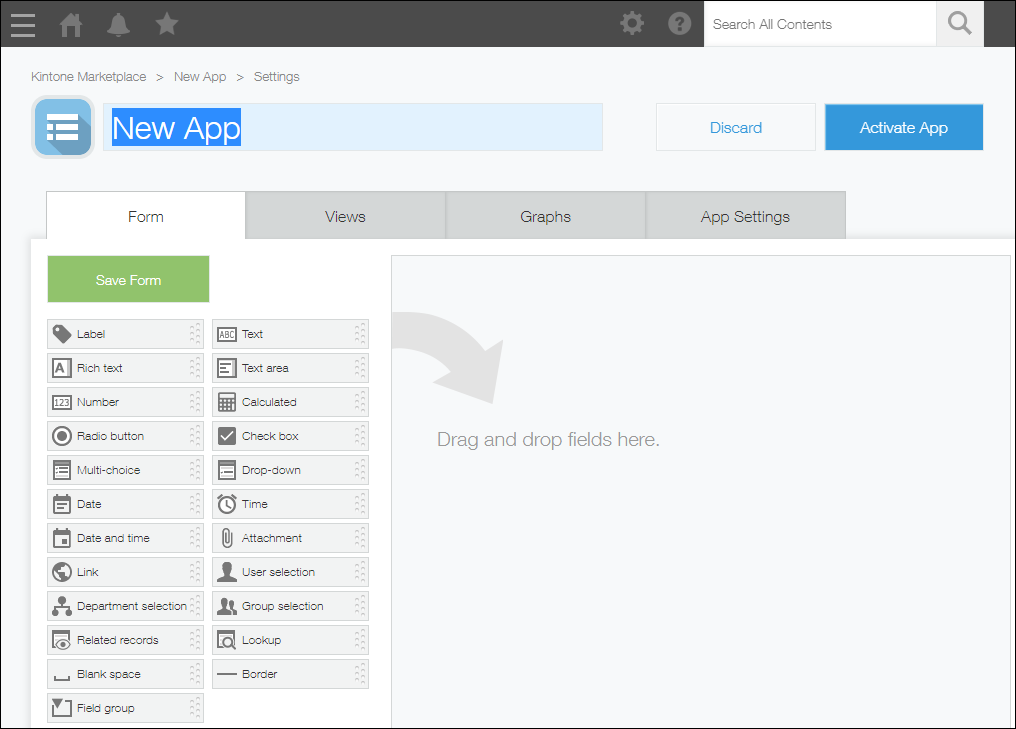
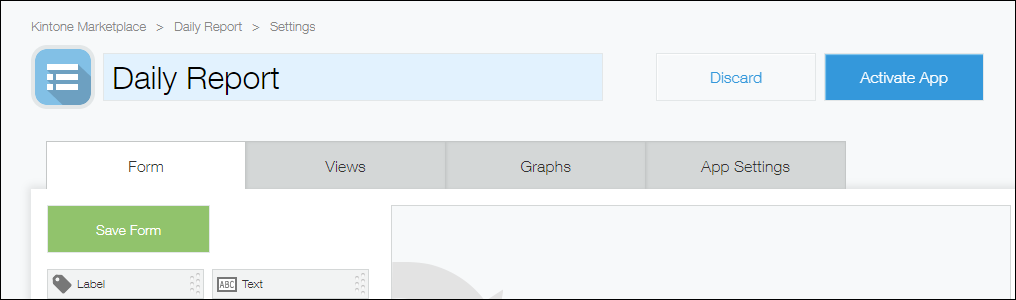
On the App settings screen, enter a name for the app. In this example, we will enter "Daily Report" as the app name. You can change the app name anytime from the App settings screen.
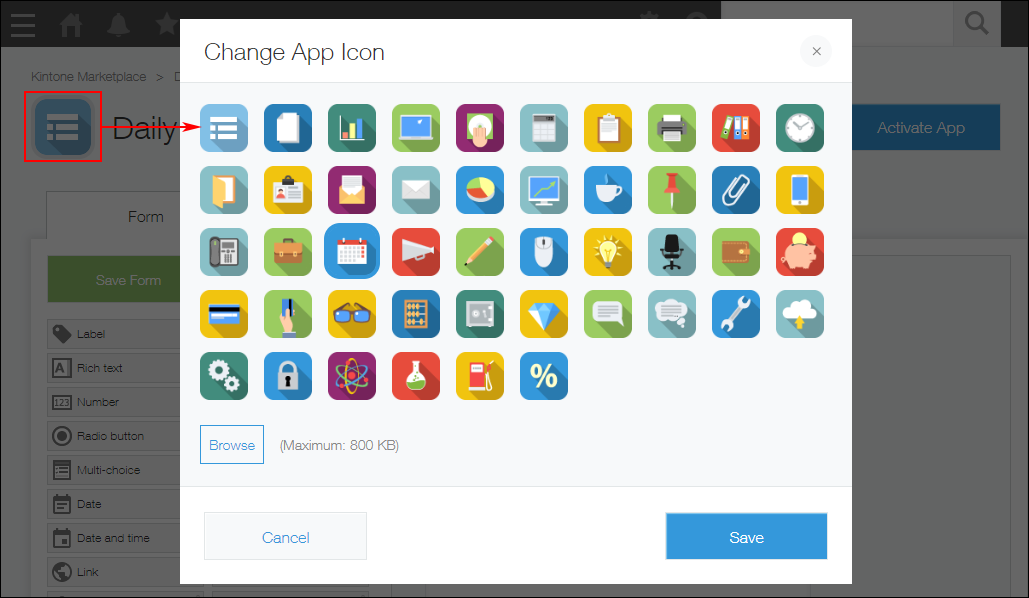
You can click on the app's icon to change it to a different one. It is also possible to change the icon after you create the app.
-
Place fields on the app form by dragging them from the list on the left side of the screen to the area on the right.
In this example, we will place Date, Created by, and Text area fields on the app form.
You can expand the width and height of the fields you have placed on the app form.


-
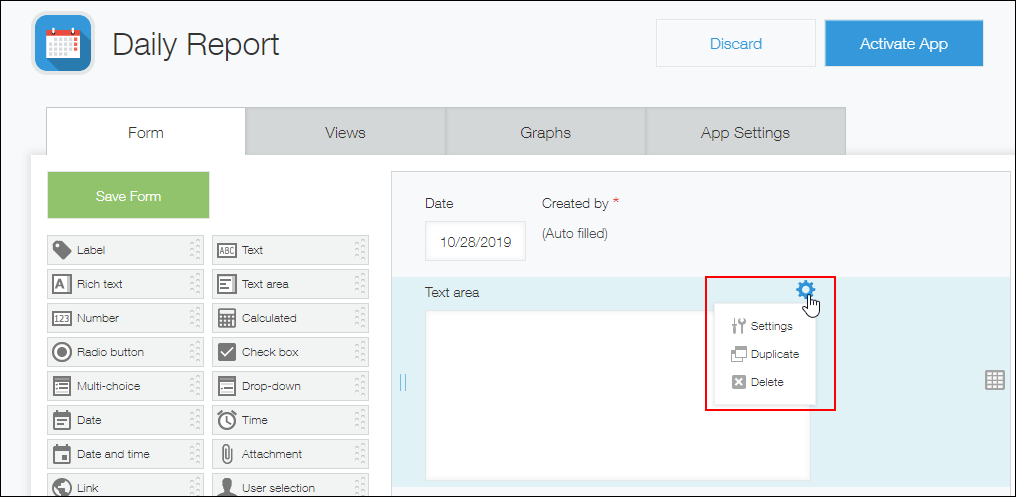
Duplicate the Text area field to add two more fields of the same type.
Hover your cursor over the top right of the field. When the Field settings icon (the gear-shaped icon at the top right of the field) appears, click Duplicate.
-
Change the name of the fields you have placed.
Hover your cursor over the top right of the Text area field. When the Field settings icon (the gear-shaped icon at the top right of the field) appears, click Settings.
-
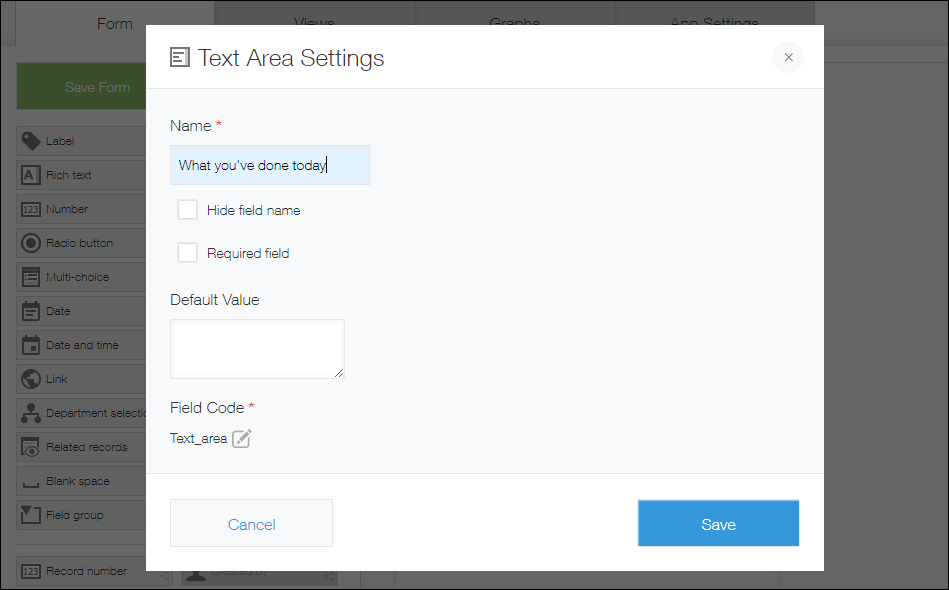
Enter "What you've done today" in the Name section and click Save.
-
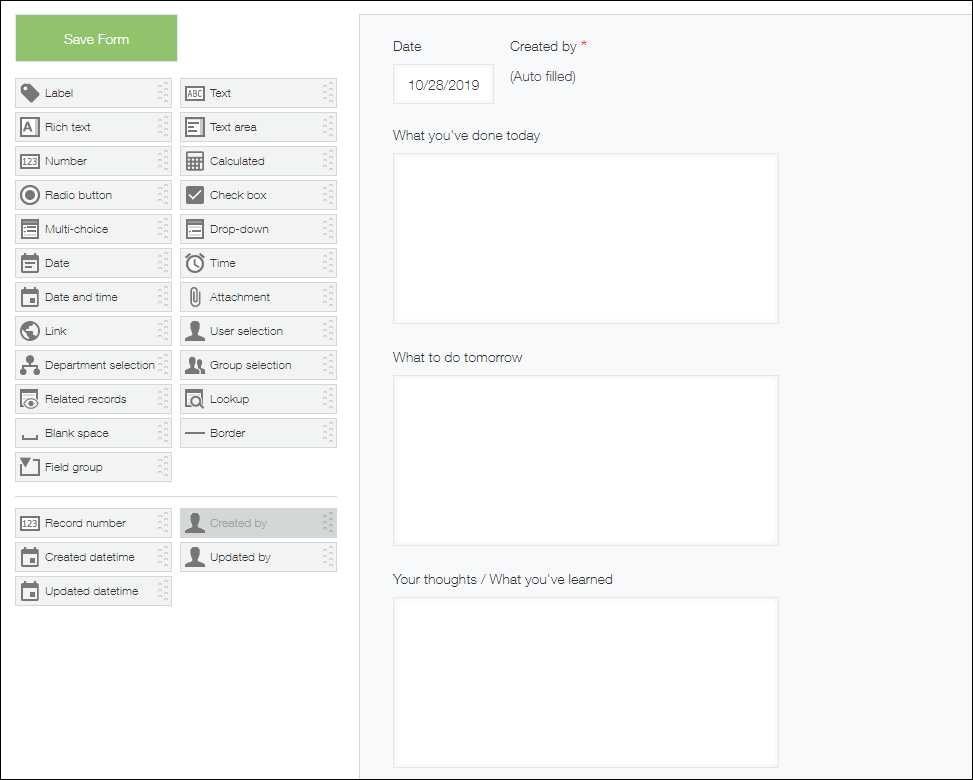
Use the same method to change the names of the other two fields. In this "Daily Report" app, we will change the name of the other two fields to "What to do tomorrow" and "Your Thoughts / What you've learned" respectively.
-
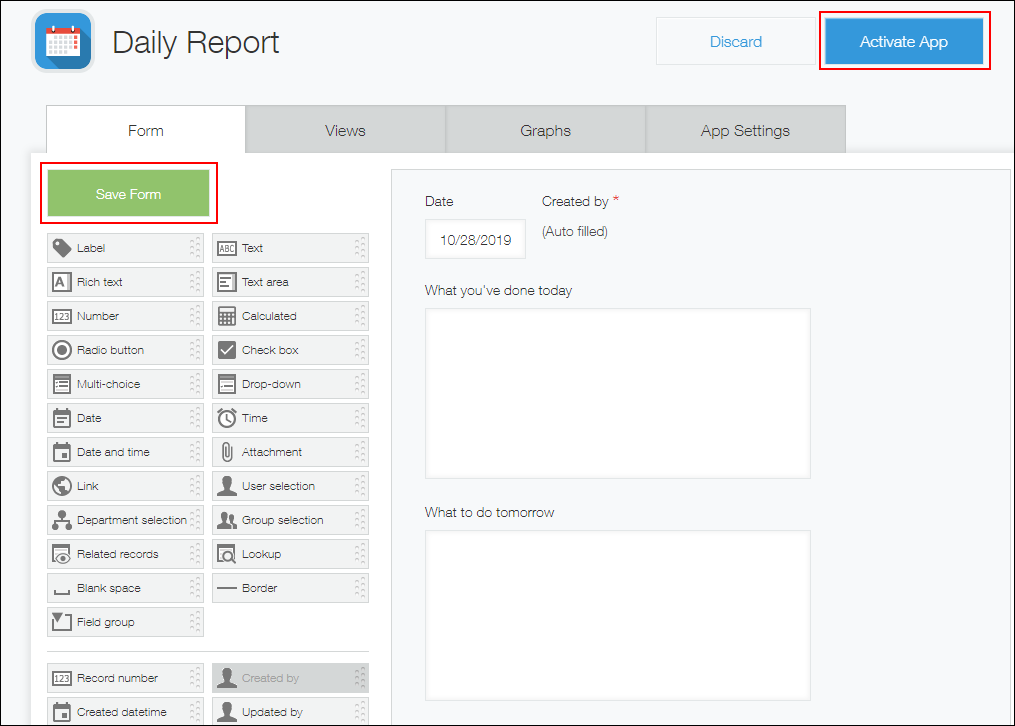
Click Save form at the upper left of the screen to save the app form.
To publish the app in your actual environment, click Activate app at the upper right.
Changing an app's settings
After creating an app, you can change its settings at any time.
-
Click the App settings icon (the gear-shaped icon) at the upper right of the View screen.

-
On the App settings screen, make the necessary changes to the app's settings.
You can also rearrange the positions of the fields that are already placed on the app form.
Place your cursor over the field you want to move, then drag the field to the position of your choice.
 Fields that are horizontally aligned can be moved up and down all together.
-
Click Update app.
-
On the Update app dialog, click Update app.