Setting up webhooks
By using webhooks in kintone, you can have specified external services receive information on specific actions when they are carried out on kintone apps.
For example, you can make it so records are automatically posted in a chat service when they are added to kintone. Integrations like this can be configured without writing a program.
How webhooks work
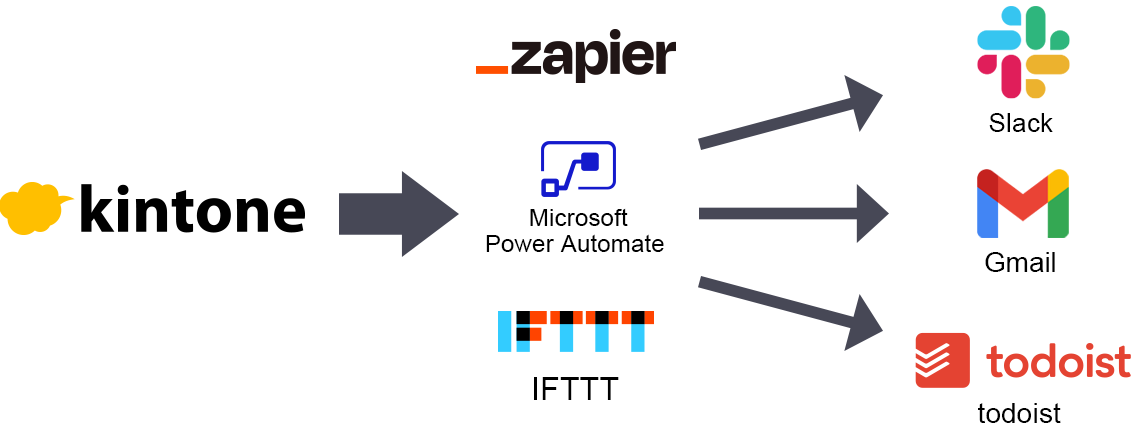
By using an integration tool that enables the use of webhooks, you can connect kintone to services supported by the tool.
Examples of such tools are Zapier, Microsoft Power Automate, and IFTTT.
By setting up webhooks on a kintone app, you can set notifications for the following app actions.
- Adding a record
- Editing a record
- Deleting a record
- Posting a comment
- Updating the status (When the process management status is updated)
For details on parameters used in webhook notifications that are triggered by actions on kintone, refer to Content of webhook notifications triggered by actions on kintone.
Overview of setting up a webhook
You can set up a webhook by following the steps below.
- Set up a trigger using an integration tool (e.g. Zapier)
- Set up a webhook on kintone
- Set up an action using the integration tool
Example of configuring the settings
This section provides an example of using Zapier to set up a webhook that sends a notification to a Gmail account when a new record is added on kintone.
Preparation
Before setting up a webhook, make the following preparations.
- Create a Gmail account
- Create a kintone app
When your Gmail account and kintone app are ready, follow the steps described below.
1) Setting up a trigger on Zapier
-
Access the Zapier website and sign up.
If you do not have a Zapier account, create a new one or sign up with another kind of account (e.g., a Google account). -
Click Create Zap on the Zapier website.
-
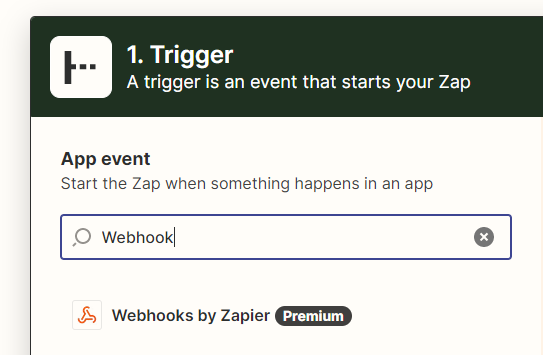
On the screen to choose a trigger, enter "Webhook" in the search box and click Webhooks by Zapier.
-
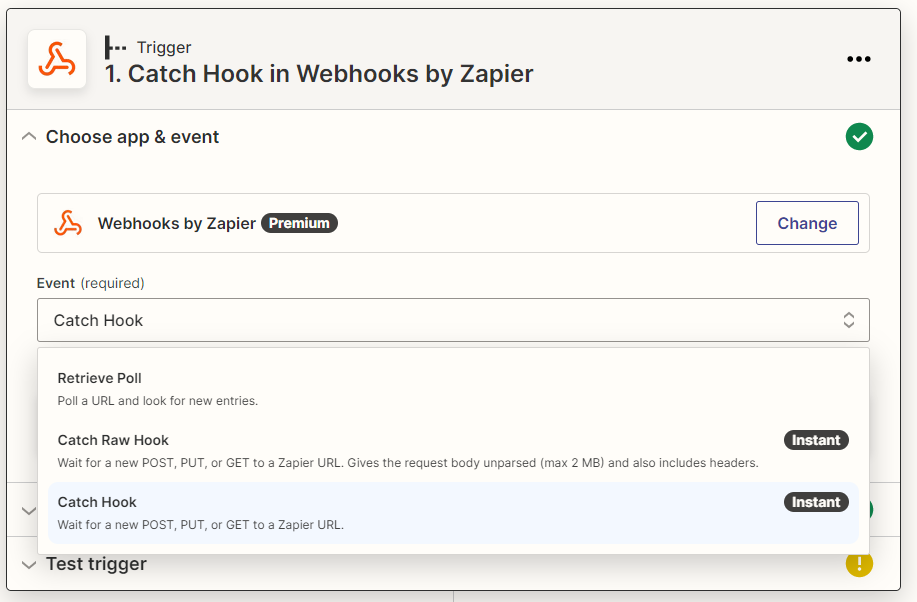
Select Catch Hook under Event and then click Continue.
-
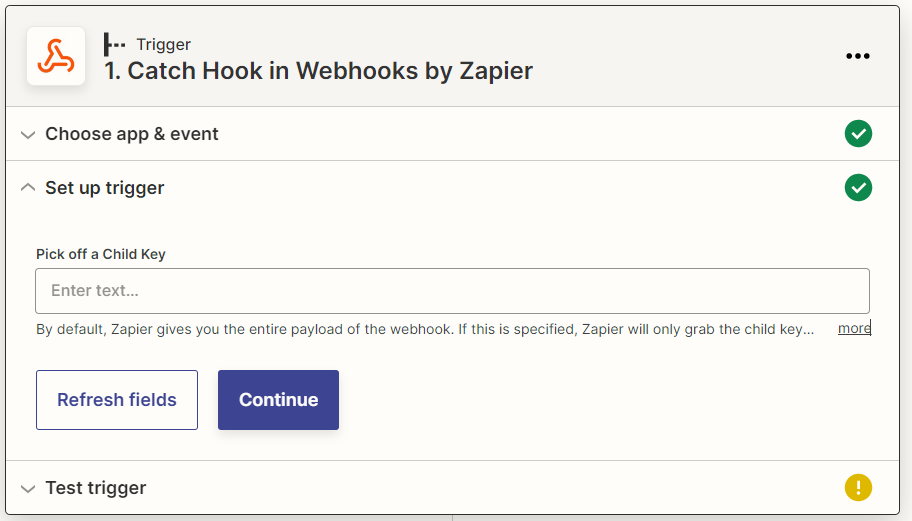
On the screen that follows, click Continue.
-
When a webhook URL is generated, click Copy.
Paste the copied URL somewhere at hand, such as a text editor.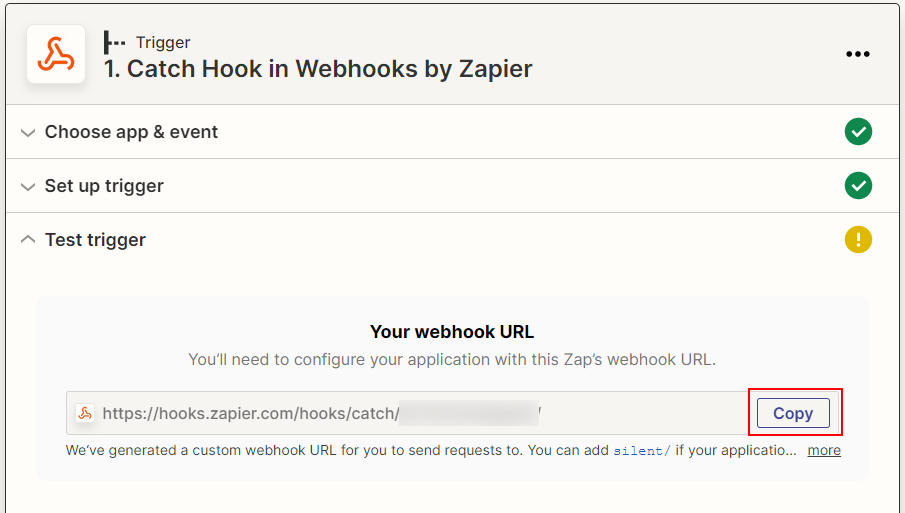
Next, you will set up a webhook on kintone. Keep the Zapier website open.
2) Set up a webhook on kintone
-
Click the App settings icon (the gear-shaped icon) at the upper right of the View screen.

-
On the App settings screen, select the App settings tab, and then click Webhooks under Customization and integration.
-
On the Webhooks screen, click Add webhook.
-
On the New webhook screen, enter a description of the webhook to be set.
The description you enter here will be displayed in the list of webhooks. You can enter up to 64 characters. -
In the Webhook endpoint input field, paste the URL you copied in Step 6 of the "Setting up a trigger on Zapier" section.
Delete "https://" at the beginning of the URL.
You can enter up to 1,024 characters in the input field.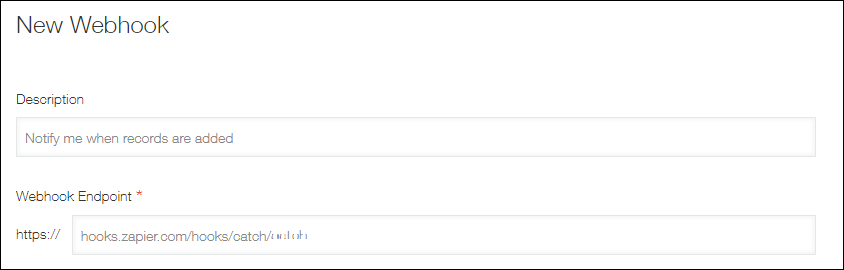
-
In the Events section, specify the actions that will trigger a webhook notification.
In this example, select Record is added.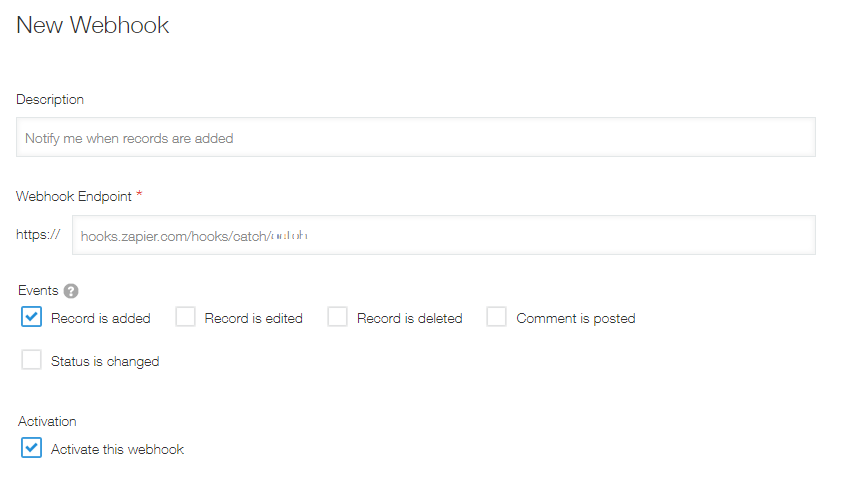
-
Make sure the Activate this webhook checkbox is selected.
The checkbox is selected by default. -
Click Save at the bottom right of the screen.
-
On the Webhooks screen, click App settings in the message displayed at the top of the screen or click Back to app settings displayed at the bottom left of the screen.
-
On the App settings screen, click Update app.
-
On the Update app dialog, click Update app.
-
Add a new record on the kintone app so that you can test the trigger you have set up on Zapier.
-
Return to the Zapier website and click Test trigger.
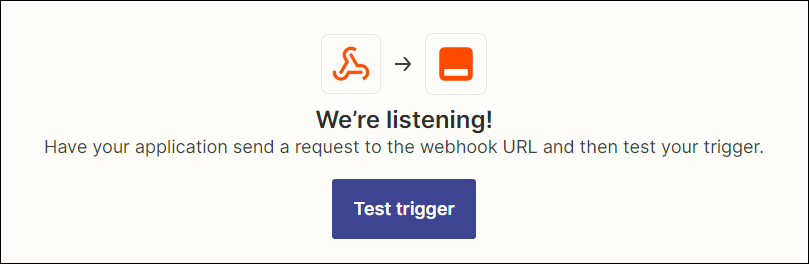
-
Check that the test is successful. Then, click Continue.
If the test fails, try Test trigger several times.
If the test still fails, check that the URL you copied and pasted in the Webhook endpoint input field is correct.
3) Setting up an action on Zapier
-
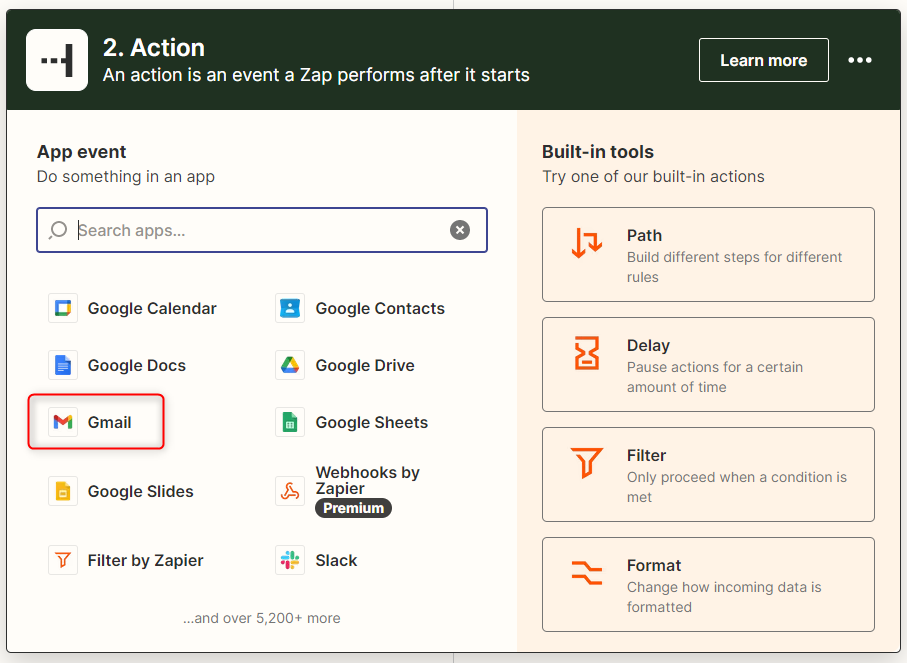
When the screen to set up an action is displayed in Zapier, select Gmail.
-
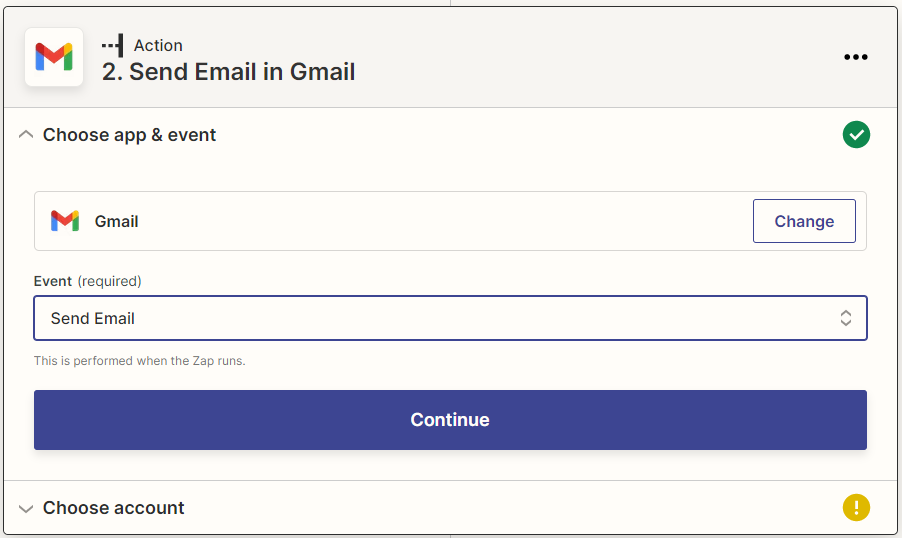
Select Send Email under Event and then click Continue.
-
Select a Gmail account and then click Continue.
If you haven't signed in to Gmail, a screen appears for you to sign in to Gmail.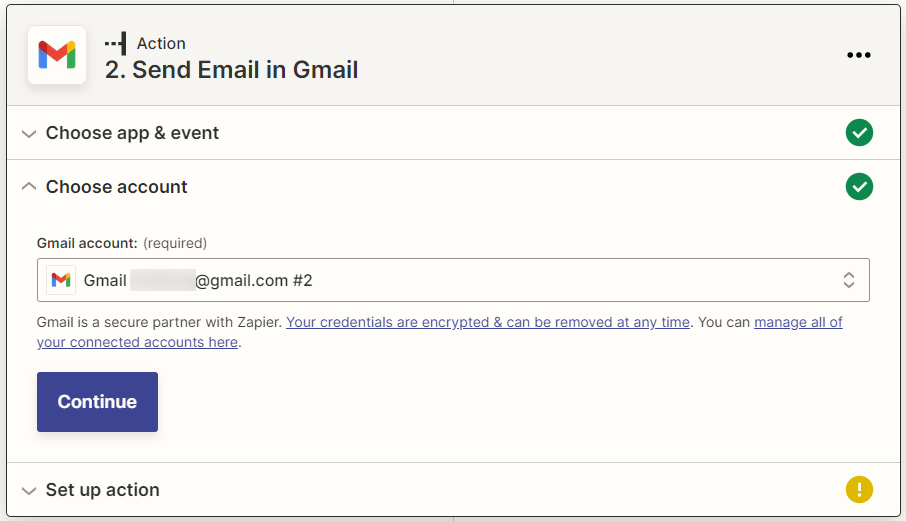
-
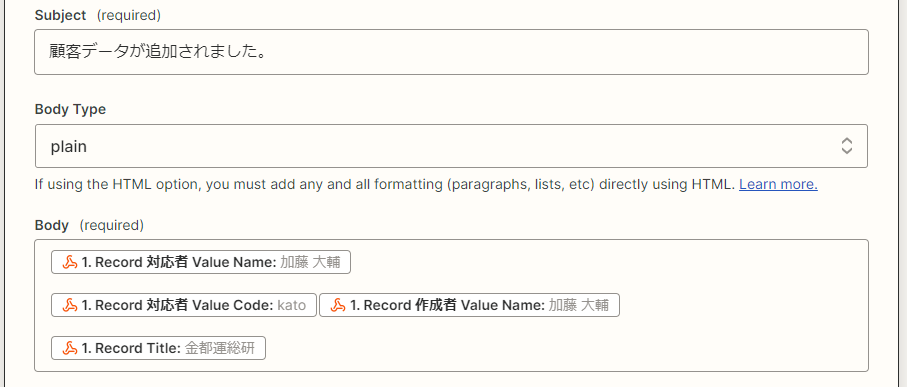
Specify the information to be sent to the Gmail account.
Enter the Gmail account of the recipient into the To section, and set up other necessary items including the Subject and Body sections. Then, click Continue.
-
Confirm the setting you have set up and click Test & Continue.
-
Click Publish Zap.
-
Check that the notification email is sent to the recipient's Gmail account, and click Publish & Turn On.
The Zap is now valid.
Changing the settings of a webhook in kintone
Webhook settings in kintone can be changed later on. The steps are as follows.
-
Click the App settings icon (the gear-shaped icon) at the upper right of the View screen.
-
On the App settings screen, select the App settings tab, and then click Webhooks under Customization and integration.
-
On the Webhooks screen, click the Edit icon in the far right column of the webhook for which you want to change the settings.
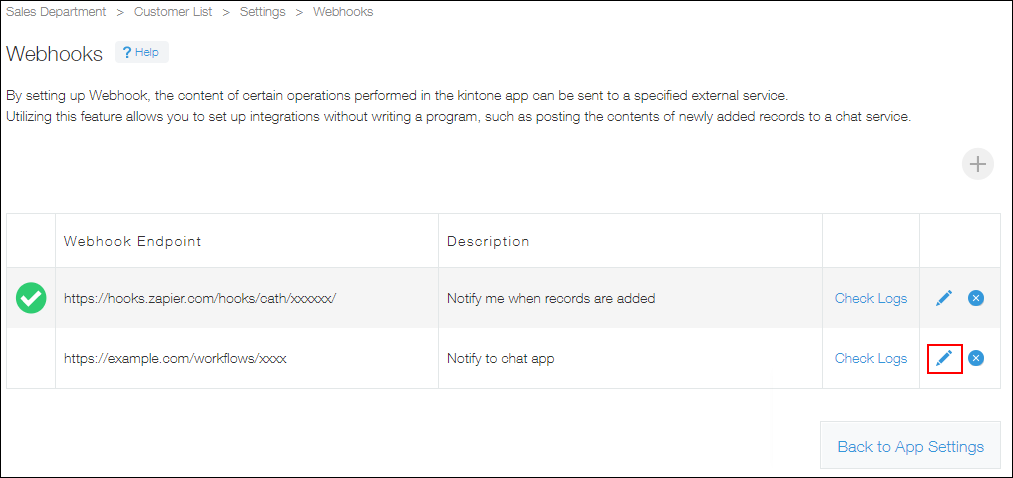
-
On the Edit webhook screen, edit the settings and click Save.
-
On the Webhooks screen, click App settings in the message displayed at the top of the screen or click Back to app settings displayed at the bottom left of the screen.
-
On the App settings screen, click Update app.
-
On the Update app dialog, click Update app.