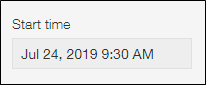
Date and time
Placing a Date and time field on your app form creates an input field for entering a date and time.
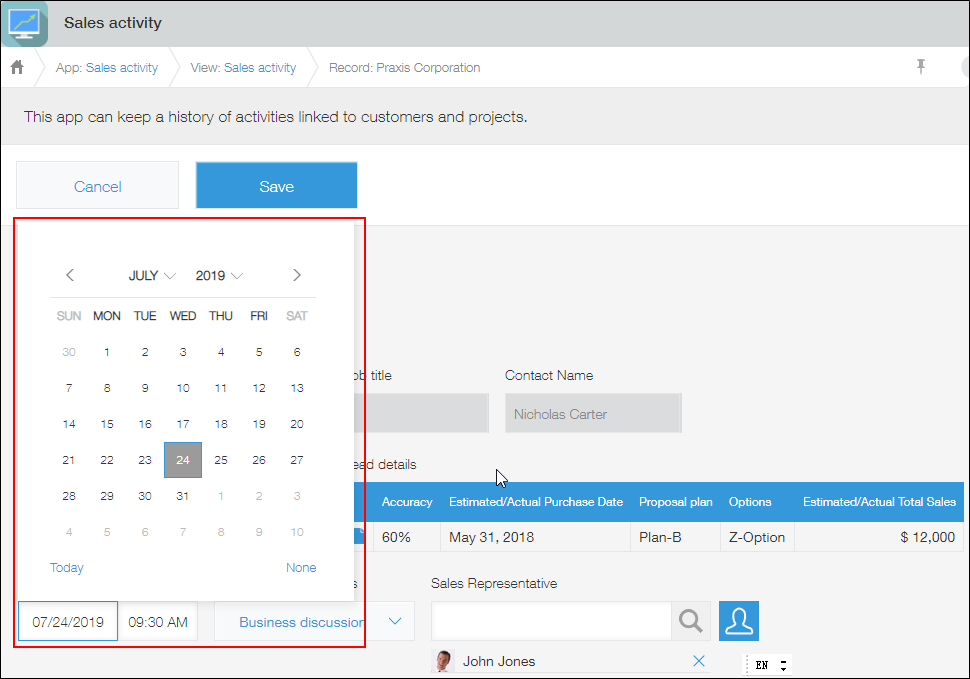
If you click a date input field on the screen for adding or editing a record, a calendar appears from which you can choose a year, month, and day. You can change the year and month of the calendar from the year and month drop-down lists.
If you click a time input field, a drop-down list with times in 30-minute increments appears from which you can choose a time.
You can also use your keyboard to directly enter a date or time in the input fields.
"Date and time" field settings
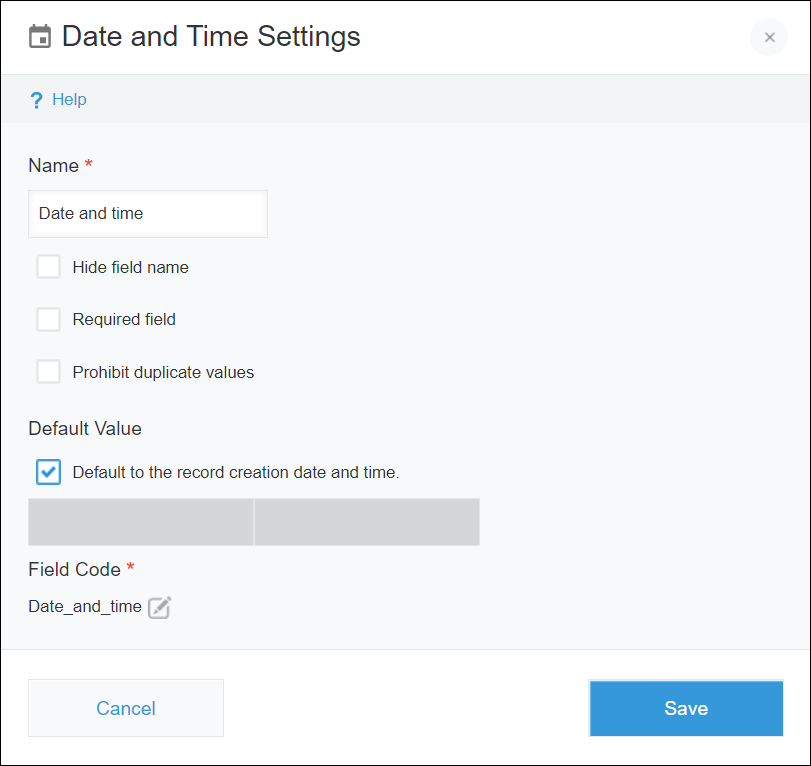
Name
Specify the field name. The field name is displayed as the label of the field in the app.
Hide field name
Selecting the Hide field name checkbox hides the field name on the following screens.
- The New record screen
- The Edit record screen
- The Record details screen
- The screen for printing a record
- The form settings screen
Required field
Selecting the Required field checkbox makes specifying a field value mandatory.
Prohibit duplicate values
Selecting the Prohibit duplicate values checkbox prohibits the same date and time value from being specified in multiple records.
Default value
This setting lets you set a default field value.
If you want to make the default field value the date and time when the record was created, select the Default to the record creation date and time checkbox.
If you want to enter a different date and time as the default value, uncheck the Default to the record creation date and time checkbox and enter the date and time of your choice in the input fields.
If you do not want to set a default value, uncheck the Default to the record creation date and time checkbox and leave the date and time input fields blank.
Field Code
The character string used for specifying the field in APIs.
Date and time format for input fields
Date format
The date format of input fields will differ depending on the user's display language and web browser language settings.
For details, refer to the following page.
Date format for input fields
Time format
The time format for input fields is "hour:minutes".
Usage examples
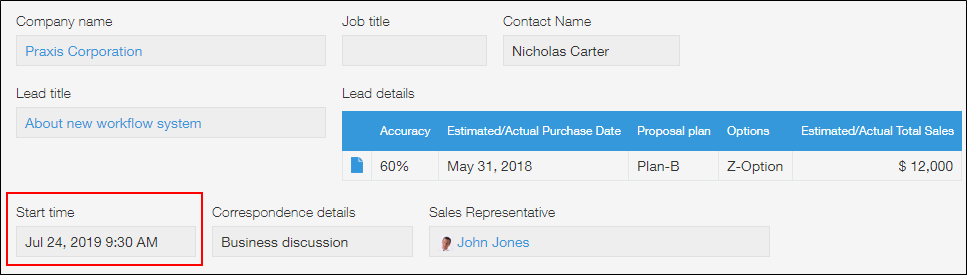
Use a Date and time field when you want an input field for entering both a date and time.
For example, you can use a Date and time field when you have an inquiry management app and want to create a field for registering the date and time inquiries are received.
Use a "Date and time" field to calculate deadlines
Since Date and time fields can be specified in formulas, you can set a formula for displaying a reply deadline of two days after the date in the Date and time field.
In this example, the formula is set in a Calculated field.
Place a Date and time field and a Calculated field on your app form, specify the following formula in the Calculated field, and set the calculation result to be displayed as a date or date and time.
Date_and_time+(60\*60*24)*2For more information about Calculated fields, refer to Calculated.
For information on how to calculate dates and times, refer to Calculation of date, time, and date and time.