Overview of field codes
Field codes are character strings used to specify fields in formulas and APIs.
Although a default field code is set, you can change it to any value.
Steps
This article describes how to check or change field codes.
-
Click the App settings icon (the gear-shaped icon) at the upper right of the View screen.

-
On the App settings screen, click the Form tab.
-
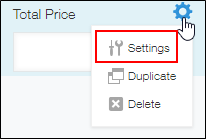
Hover your cursor over the Field settings icon (the gear-shaped icon) at the upper right of the field you want to change the field code, then click Settings.
-
On the field's settings dialog, check the string under Field code.
If you want to change the field code, click the Edit icon next to the field code and enter a new field code.
A field code must be between 1 and 128 characters long.
After entering a field code, click Save.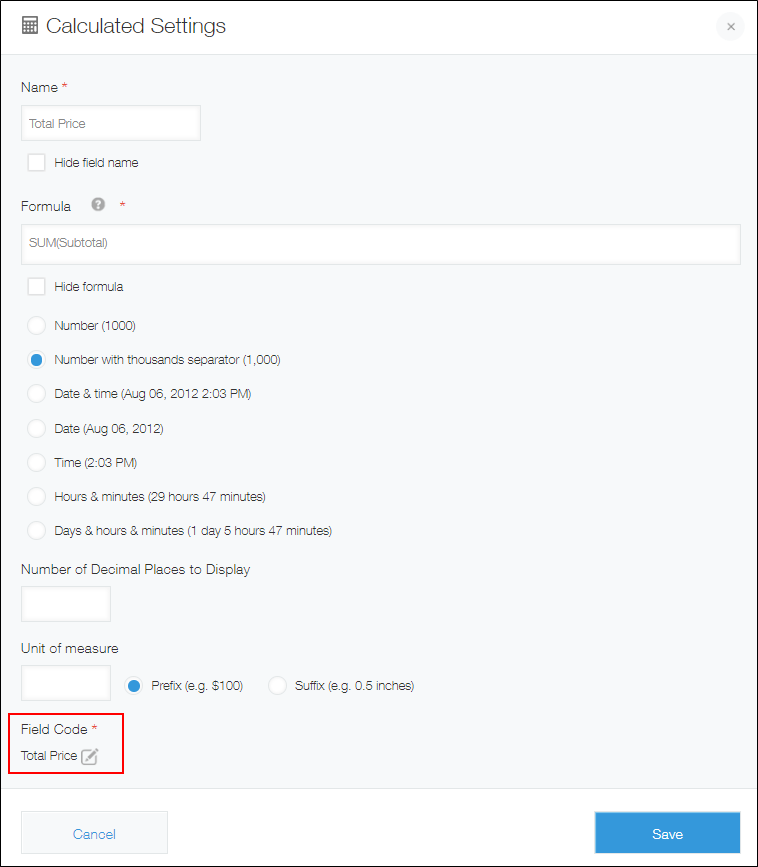
-
Click Save form at the upper left of the screen.
-
Click Update app at the upper right of the screen.
-
On the Update app dialog, click Update app.
Valid characters
The characters that can be used for field codes are as follows.
- Hiragana
- Katakana (half-width and full-width)
- Kanji
- Alphanumeric characters (half-width and full-width)
- The following special characters:
- Half-width underscore (_)
- Full-width underscore (_)
- Half-width middle dot (·)
- Full-width middle dot (・)
- Full-width currency symbols (e.g., $, ¥)
If you enter an invalid character in the field code, the system displays an error message when you save it.
Note that if you enter the following symbol, the symbol will be converted to "_" when you save it.
For example, if you enter "A&B" into a field code, it will be changed to "A_B".
- () (parentheses), [] (square brackets), {} (curly brackets)
- @, +, ~, #, %, &, ', =, |, ^, *, ;, :, ?
When a field code containing spaces is saved, the spaces are converted as shown below.
- If there are spaces before or after a field code, they will be deleted.
- If there are spaces in the middle of a field code, they will be replaced with an underscore (_).
Notes on the "Field code" setting
Rules for the "Field code" setting
- Duplicate field codes are not allowed within a form.
If you set a field code that is already used for another field, the field code will be suffixed with an underscore (_) followed by a number (e.g., "string_0") when you save the settings. - The following strings cannot be set as field codes.
- Status
- Assignee
- Categories
- __ROOT__
- not
- If a field code begins with a number, a half-width underscore (_) is prefixed to the field code when you save the settings.
Field codes that require special treatment
The field codes for the following fields are assigned by default as the field names with underscores in place of spaces.
- Record number
- Created datetime
- Updated datetime
- Created by
- Updated by
To use the field code of one of these fields for another field, you first need to change the originally assigned field code to a different value.
For detailed procedures, refer to the following section.
Use pre-assigned field codes in other fields
Note that if you change the field code of one of these fields, the modified field code will be saved even if the field is deleted from your app form.
When you place the field on your app form again, the field code that you set for it before it was deleted will be applied to it.
Use pre-assigned field codes in other fields
This section explains how to use pre-assigned field codes in other fields.
As an example, we will set a field code named "Record_number" to a Text field.
-
Click the App settings icon (the gear-shaped icon) at the upper right of the View screen.
-
On the App settings screen, click the Form tab.
-
Place the Record number field on the app form and change the field code to "Record_number_1".
-
Place a Text field on the app form and change the field code to "Record_number".
-
Click Save form.
-
Delete the Record number field that you placed on the app form in Step 3.
If an error message appears
If you enter a field code and click Save, you may see an error indicating that it contains invalid characters.
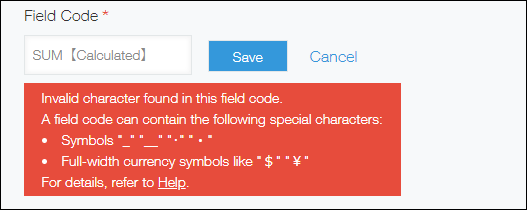
Check the following sections and make sure that the field code you have set does not contain any invalid characters.