Changing the header image and its hyperlink destination
This page describes the steps to change the image (logo) and its hyperlink displayed on the header.
Steps
-
Access Administration.
Accessing Administration -
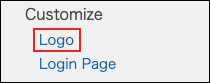
Click Logo.
-
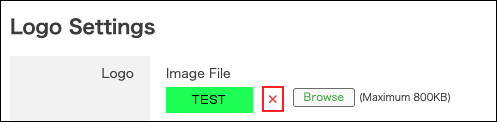
Click Browse in "Image file", and select an image file.
-
In "URL" field, enter the URL of the hyperlink destination of the logo, if necessary. When you leave the "URL" field blank, the logo has the link to the top page of the service.
-
Click Save.
Images that can be uploaded
The following file formats are supported: The maximum file size is 800 KB.
- GIF
- JPEG
- PNG
- BMP
Reverting to the default
This section describes the steps to revert the header to its default.
By default, the Users & System logo is displayed in the header. Additionally, the logo has the link to the top page of the service.
-
Access Administration.
Accessing Administration -
Click Logo.
-
Click "x" in "Image file" section.
-
Make the "URL" field blank.
-
Click Save.